
I’m excited to share this chili crisp recipe because it adds a perfect spicy crunch to so many dishes. I love how simple it is to make at home, and it always makes meals feel a little more special. Keep reading to see how you can make your own jar of this tasty treat.
Most of the ingredients for this chili crisp are easy to find, but if you don’t usually keep chili flakes or soy sauce in your kitchen, you might want to pick those up at the supermarket. Chili flakes give the crisp its heat, and soy sauce adds a nice salty depth. Vegetable oil, sugar, and salt are probably already in your pantry.
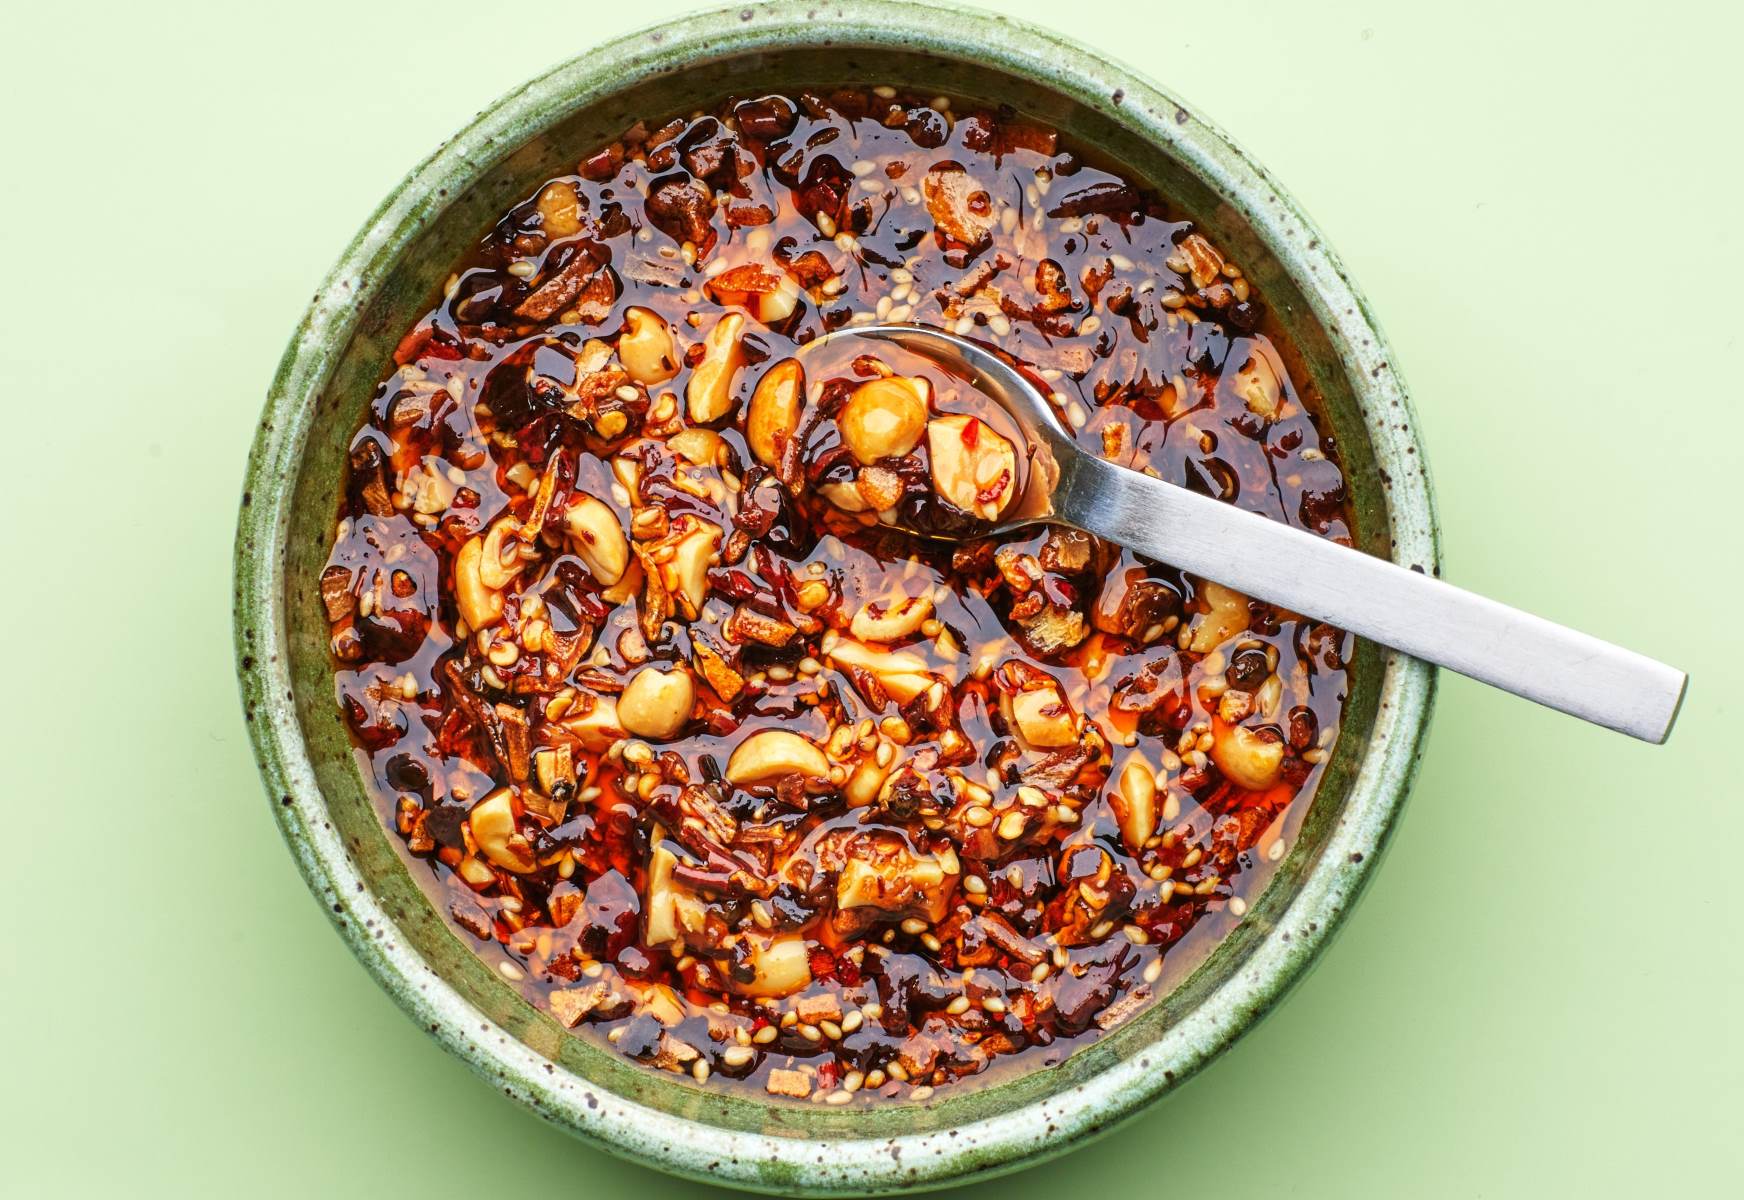
Ingredients For Chili Crisp Recipe
Vegetable oil: This is the base of the chili crisp and helps cook the chili flakes to release their flavor.
Chili flakes: These dried red pepper flakes bring the heat and texture to the recipe.
Soy sauce: Adds a salty, umami flavor that balances the spiciness.
Sugar: A little sweetness to round out the flavors.
Salt: Enhances all the other flavors and helps preserve the chili crisp.
Technique Tip for This Recipe
One of the most important steps in this Chili Crisp Recipe is heating the oil just right before adding the chili flakes. Here’s how to do it so your chili crisp turns out perfectly:
- Pour the vegetable oil into a pan and place it over medium heat.
- Wait patiently for the oil to get warm but not smoking hot. You can test it by dropping a tiny bit of chili flakes in—if it sizzles gently, you’re good to go.
- Add the chili flakes carefully and stir them around for 2 to 3 minutes. This lets the flavors come out without burning the spices.
Doing this slowly and at the right temperature helps the chili flakes release their spicy, smoky flavor into the oil without turning bitter. If the oil is too hot, the flakes can burn quickly and make the whole batch taste harsh. But if it’s too cool, the flavors won’t develop well, and your chili crisp might end up bland.
When I first tried this, I got impatient and turned the heat too high. The chili flakes burned in seconds, and I had to start over. Now, I always keep the heat medium and watch the pan closely. It’s worth the little wait because the result is so much tastier! Also, stirring gently helps the flakes cook evenly and stops them from sticking to the pan.
Once you get this part right, the rest of the recipe—adding the soy sauce, sugar, and salt—is a breeze. Your homemade chili crisp will be full of rich, balanced flavors that make any dish better.
Suggested Side Dishes
Alternative Ingredients
vegetable oil - Substitute with canola oil: Canola oil has a neutral flavor and a high smoke point, making it a suitable alternative for frying and infusing flavors.
vegetable oil - Substitute with peanut oil: Peanut oil also has a high smoke point and adds a subtle nutty flavor that complements the chili crisp.
chili flakes - Substitute with crushed red pepper: Crushed red pepper provides a similar level of heat and texture, making it a good alternative for chili flakes.
chili flakes - Substitute with gochugaru: Gochugaru, Korean chili flakes, offer a slightly smoky and sweet flavor profile that can add depth to the chili crisp.
soy sauce - Substitute with tamari: Tamari is a gluten-free alternative to soy sauce with a similar umami flavor.
soy sauce - Substitute with coconut aminos: Coconut aminos provide a slightly sweeter and less salty flavor, making them a good soy-free substitute.
sugar - Substitute with honey: Honey adds a natural sweetness and a slight floral note that can enhance the overall flavor.
sugar - Substitute with maple syrup: Maple syrup offers a rich, caramel-like sweetness that can complement the spicy elements of the chili crisp.
salt - Substitute with sea salt: Sea salt provides a similar level of salinity with a slightly different mineral profile.
salt - Substitute with kosher salt: Kosher salt has larger, coarser grains that can add a different texture and flavor distribution.
Other Alternative Recipes Similar to This Dish
How to Store / Freeze This Recipe
Allow the chili crisp to cool completely before storing. This ensures that condensation doesn't form inside the container, which could affect the texture and flavor.
Transfer the cooled chili crisp to an airtight jar or container. Glass jars with tight-fitting lids are ideal as they help preserve the freshness and prevent any unwanted odors from seeping in.
Store the jar in a cool, dark place, such as a pantry or cupboard. Avoid direct sunlight, which can degrade the quality of the chili flakes and other ingredients over time.
For longer storage, you can refrigerate the chili crisp. This will help maintain its flavor and extend its shelf life. Just make sure the jar is tightly sealed to prevent any moisture from getting in.
If you prefer to freeze the chili crisp, portion it into smaller, freezer-safe containers. This way, you can thaw only what you need without exposing the entire batch to air and moisture.
Label the containers with the date of preparation. This helps you keep track of how long the chili crisp has been stored and ensures you use it while it's still at its best.
When ready to use, thaw the frozen chili crisp in the refrigerator overnight. Avoid microwaving or heating it directly, as this can alter its texture and flavor.
Once thawed, give the chili crisp a good stir to redistribute the ingredients evenly. The oil may separate during freezing, but a quick mix will bring it back to its original consistency.
Enjoy your chili crisp as a topping for noodles, soups, or even grilled meats. Its versatile flavor can enhance a wide range of dishes, adding a delightful kick to your culinary creations.
How to Reheat Leftovers
Stovetop Method: Place a small pan over low heat. Add the chili crisp and stir gently for about 2-3 minutes until it’s warmed through. Be careful not to overheat, as this can alter the flavor.
Microwave Method: Transfer a portion of the chili crisp to a microwave-safe bowl. Cover it with a microwave-safe lid or plate to prevent splattering. Heat on medium power for 20-30 seconds, then stir and check the temperature. Repeat if necessary.
Oven Method: Preheat your oven to 250°F (120°C). Spread the chili crisp evenly on a baking sheet lined with parchment paper. Warm it in the oven for about 5-7 minutes, stirring halfway through to ensure even heating.
Double Boiler Method: Fill a pot with a few inches of water and bring it to a simmer. Place a heatproof bowl with the chili crisp over the pot, ensuring the bottom of the bowl doesn’t touch the water. Stir occasionally until warmed through, about 5 minutes.
Toaster Oven Method: Preheat your toaster oven to 250°F (120°C). Place the chili crisp in a small, oven-safe dish. Heat for 5-7 minutes, stirring once or twice to ensure even warming.
Best Tools for This Recipe
Pan: A medium-sized pan is essential for heating the oil and cooking the chili flakes evenly.
Stirring spoon: A wooden or heat-resistant spoon is needed to stir the mixture and ensure all ingredients are well combined.
Measuring cups: These are necessary for accurately measuring the vegetable oil and chili flakes.
Measuring spoons: These are used to measure the soy sauce, sugar, and salt precisely.
Jar: A clean, airtight jar is required for storing the chili crisp once it has cooled.
Heat-resistant gloves: These are useful for handling the hot pan safely.
Thermometer: Optional but helpful for ensuring the oil reaches the correct temperature without overheating.
How to Save Time on This Recipe
Prepare ingredients in advance: Measure out the vegetable oil, chili flakes, soy sauce, sugar, and salt before you start cooking.
Use a thermometer: Heat the vegetable oil to the right temperature quickly by using a kitchen thermometer.
Batch cooking: Make a larger batch of chili crisp and store it in jars for future use.
Preheat the pan: Preheat your pan while you measure out the ingredients to save time.
Quick cooling: Pour the chili crisp into a shallow dish to cool faster before transferring to a jar.
Chili Crisp Recipe
Ingredients
Main Ingredients
- 1 cup Vegetable oil
- 1 cup Chili flakes
- 1 tablespoon Soy sauce
- 1 teaspoon Sugar
- 1 teaspoon Salt
Instructions
- Heat the oil in a pan over medium heat.
- Add chili flakes and cook for 2-3 minutes.
- Stir in soy sauce, sugar, and salt. Cook for another 2 minutes.
- Let it cool and transfer to a jar.
Nutritional Value
Keywords
More Amazing Recipes to Try 🙂
- Watermelon Basil Salad Recipe15 Minutes
- Ciabatta Grinder Salad Sandwich Recipe15 Minutes
- Sweet Potato Rolls Recipe55 Minutes
- Smoked Corn on the Cob Recipe40 Minutes
- Banana Pancakes Recipe30 Minutes
- Beef Noodle Soup Recipe2 Minutes
- Whole Wheat Banana Nut Bread Recipe1 Hours 15 Minutes
- Finnish Long Drink Recipe5 Minutes
Leave a Reply