
I love making mexi rollups because they are simple, tasty, and perfect for sharing with friends or family. They bring together cheesy, spicy, and savory flavors in every bite, which always makes snack time more fun. I think you’ll enjoy how easy they are to put together and how great they taste!
Most of the ingredients in this recipe are pretty common, like tortillas, shredded cheese, and cooked chicken. The salsa might be the only thing you want to check when you go to the supermarket. Look for a salsa that matches your taste—mild if you don’t like spicy, or a little hotter if you want more kick. You can find salsa in the condiment aisle or near the fresh produce section.

Ingredients For Mexi Rollups Recipe
Tortillas: Soft flatbreads that hold all the fillings together and make rolling easy.
Shredded cheese: Adds a melty, creamy texture and rich flavor to the rollups.
Salsa: A sauce made from tomatoes, peppers, and spices that gives the rollups a fresh and zesty taste.
Cooked chicken: Provides protein and a savory element, shredded to fit nicely inside the rollups.
Technique Tip for This Recipe
Rolling up your tortillas tightly is a simple step that makes a big difference in how your Mexi Rollups turn out. Here’s how to do it without making a mess or having the filling fall out:
- Start by laying your tortilla flat on a clean surface.
- After spreading the salsa and sprinkling the cheese and chicken on top, make sure the filling is evenly spread but not piled too high near the edges.
- Begin rolling from one edge, using your fingers to tuck the filling in as you go. This helps keep everything snug inside.
- Roll slowly and firmly, but don’t squeeze too hard or the tortilla might tear.
- Once rolled, press gently along the seam to seal it.
Doing this makes your rollups neat and easy to slice into bite-sized pieces without the filling spilling out. It also helps the flavors stay together, so every bite has a good mix of cheese, salsa, and chicken.
I remember the first time I made these, I rolled too loosely and the filling slipped out when I cut them. After that, I learned to tuck the filling in and roll tighter, which made serving so much easier. Sometimes, if I’m in a hurry, I use a little bit of extra salsa near the edge as a “glue” to help seal the rollup better. It works like a charm!
Once you get the hang of rolling tightly, these Mexi Rollups become a fun and tasty snack that’s simple to make and share.
Suggested Side Dishes
Alternative Ingredients
tortillas - Substitute with lettuce wraps: For a low-carb option, lettuce wraps provide a fresh and crunchy alternative.
tortillas - Substitute with whole wheat tortillas: These offer more fiber and nutrients compared to regular tortillas.
shredded cheese - Substitute with vegan cheese: For a dairy-free option, vegan cheese can provide a similar texture and flavor.
shredded cheese - Substitute with nutritional yeast: This can add a cheesy flavor without the dairy and is rich in B vitamins.
salsa - Substitute with pico de gallo: This fresh tomato-based salsa provides a chunkier texture and a fresher taste.
salsa - Substitute with guacamole: For a creamy and rich alternative, guacamole adds healthy fats and a different flavor profile.
cooked chicken, shredded - Substitute with cooked turkey, shredded: Turkey provides a similar texture and flavor, making it an easy swap.
cooked chicken, shredded - Substitute with black beans: For a vegetarian option, black beans add protein and a hearty texture.
Other Alternative Recipes Similar to This Dish
How to Store / Freeze This Dish
To keep your Mexi Rollups fresh and delicious, first wrap each rollup tightly in plastic wrap. This prevents them from drying out and keeps the flavors intact.
Place the wrapped rollups in an airtight container. This adds an extra layer of protection against moisture loss and helps maintain the tortillas' softness.
Store the container in the refrigerator if you plan to enjoy the rollups within 3-4 days. The cool temperature will keep the shredded chicken and shredded cheese fresh.
For longer storage, consider freezing the rollups. Wrap each rollup in aluminum foil after the plastic wrap to prevent freezer burn.
Place the foil-wrapped rollups in a freezer-safe bag or container. Label with the date to keep track of their freshness.
When ready to eat, thaw the rollups in the refrigerator overnight. This gradual thawing helps maintain the texture of the tortillas and the flavors of the salsa and shredded cheese.
For a quick thaw, you can microwave the rollups on a low setting, but be cautious not to overheat, as this can make the tortillas soggy.
If you prefer a warm rollup, reheat in the oven at 350°F for about 10 minutes. This will melt the shredded cheese and warm the shredded chicken without compromising the texture.
Serve immediately after reheating for the best taste and texture. Enjoy your Mexi Rollups with a side of guacamole or sour cream for an extra burst of flavor.
How to Reheat Leftovers
- Preheat your oven to 350°F (175°C). Place the Mexi Rollups on a baking sheet lined with parchment paper. Cover them with aluminum foil to prevent drying out. Bake for about 10-15 minutes or until heated through.
- For a quick reheat, use the microwave. Place the Mexi Rollups on a microwave-safe plate. Cover with a damp paper towel to retain moisture. Microwave on high for 1-2 minutes, checking halfway through to ensure even heating.
- If you prefer a crispy texture, use a skillet. Heat a non-stick skillet over medium heat. Place the Mexi Rollups in the skillet and cover with a lid. Cook for 2-3 minutes on each side or until they are warmed through and slightly crispy.
- For an air fryer, preheat to 350°F (175°C). Place the Mexi Rollups in the air fryer basket in a single layer. Heat for 3-5 minutes, shaking the basket halfway through to ensure even heating.
Best Tools for This Recipe
Cutting board: A flat surface to lay out and prepare your tortillas.
Knife: Used to slice the rolled-up tortillas into bite-sized pieces.
Spoon: Helps to spread the salsa evenly over each tortilla.
Cheese grater: If your cheese is not pre-shredded, this tool will help you shred it.
Mixing bowl: Useful for holding the shredded chicken if it needs to be mixed with any seasoning beforehand.
Measuring cup: Ensures you use the correct amount of shredded cheese, salsa, and chicken.
Plate: A surface to place the rolled-up tortillas before slicing and serving.
Plastic wrap: If you plan to refrigerate the rollups, this will keep them fresh.
How to Save Time on This Recipe
Pre-cook the chicken: Use rotisserie chicken or pre-cooked chicken breast to save time on preparation.
Use pre-shredded cheese: Opt for pre-shredded cheese to cut down on prep time.
Ready-made salsa: Choose a high-quality store-bought salsa to avoid making it from scratch.
Assemble ahead: Prepare the rollups in advance and refrigerate until ready to serve.
Slice with ease: Use a sharp knife or pizza cutter for quick and uniform slicing.
Mexi Rollups Recipe
Ingredients
Main Ingredients
- 4 pieces Tortillas
- 1 cup Shredded Cheese
- 1 cup Salsa
- 1 cup Cooked Chicken, shredded
Instructions
- 1. Lay out the tortillas on a flat surface.
- 2. Spread a thin layer of salsa over each tortilla.
- 3. Sprinkle shredded cheese evenly over the salsa.
- 4. Add shredded chicken on top of the cheese.
- 5. Roll up the tortillas tightly and slice into bite-sized pieces.
- 6. Serve immediately or refrigerate until ready to serve.
Nutritional Value
Keywords
Suggested Main Courses and Desserts for This Dish
More Amazing Recipes to Try 🙂
- Hot Cocoa Mix Recipe10 Minutes
- Simple Syrup Recipe10 Minutes
- Cauliflower Soup Recipe30 Minutes
- Gluten-Free Chicken Soup Recipe45 Minutes
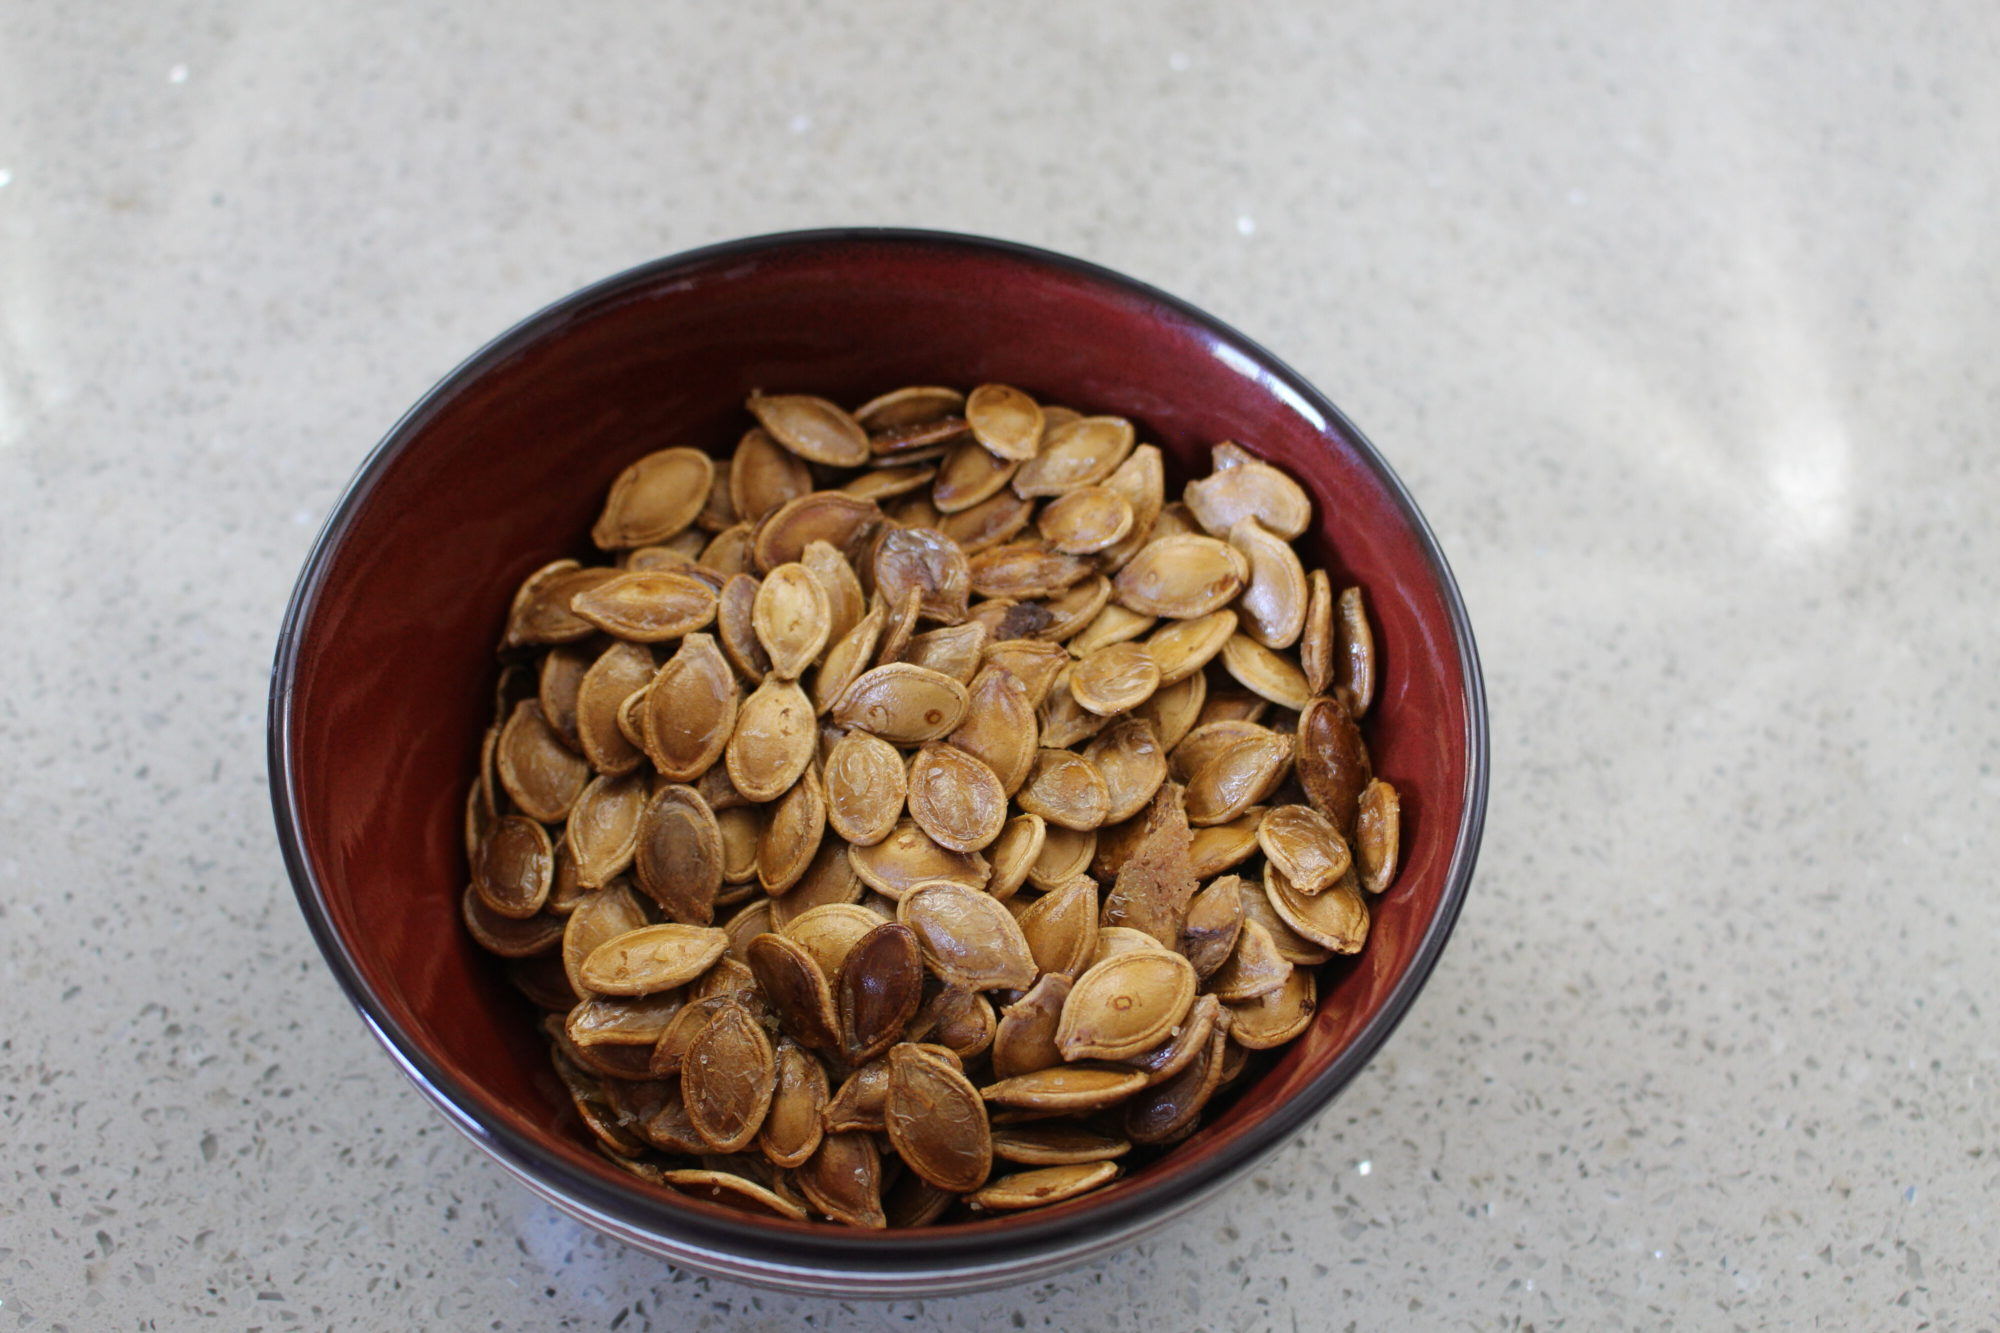
- Toasted Pumpkin Seeds Recipe30 Minutes
- Doughnuts Recipe35 Minutes
- Turkish Red Lentil Soup Recipe40 Minutes
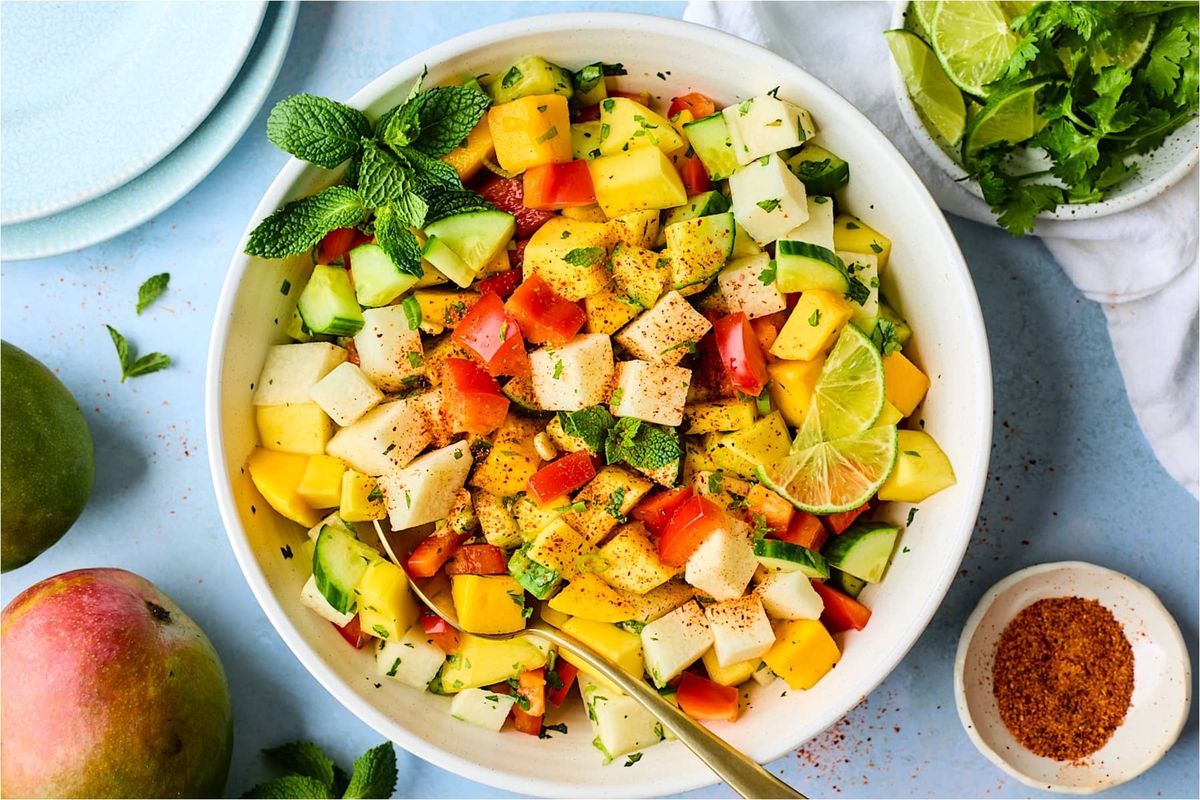
- Mango Salad Recipe15 Minutes





Leave a Reply