
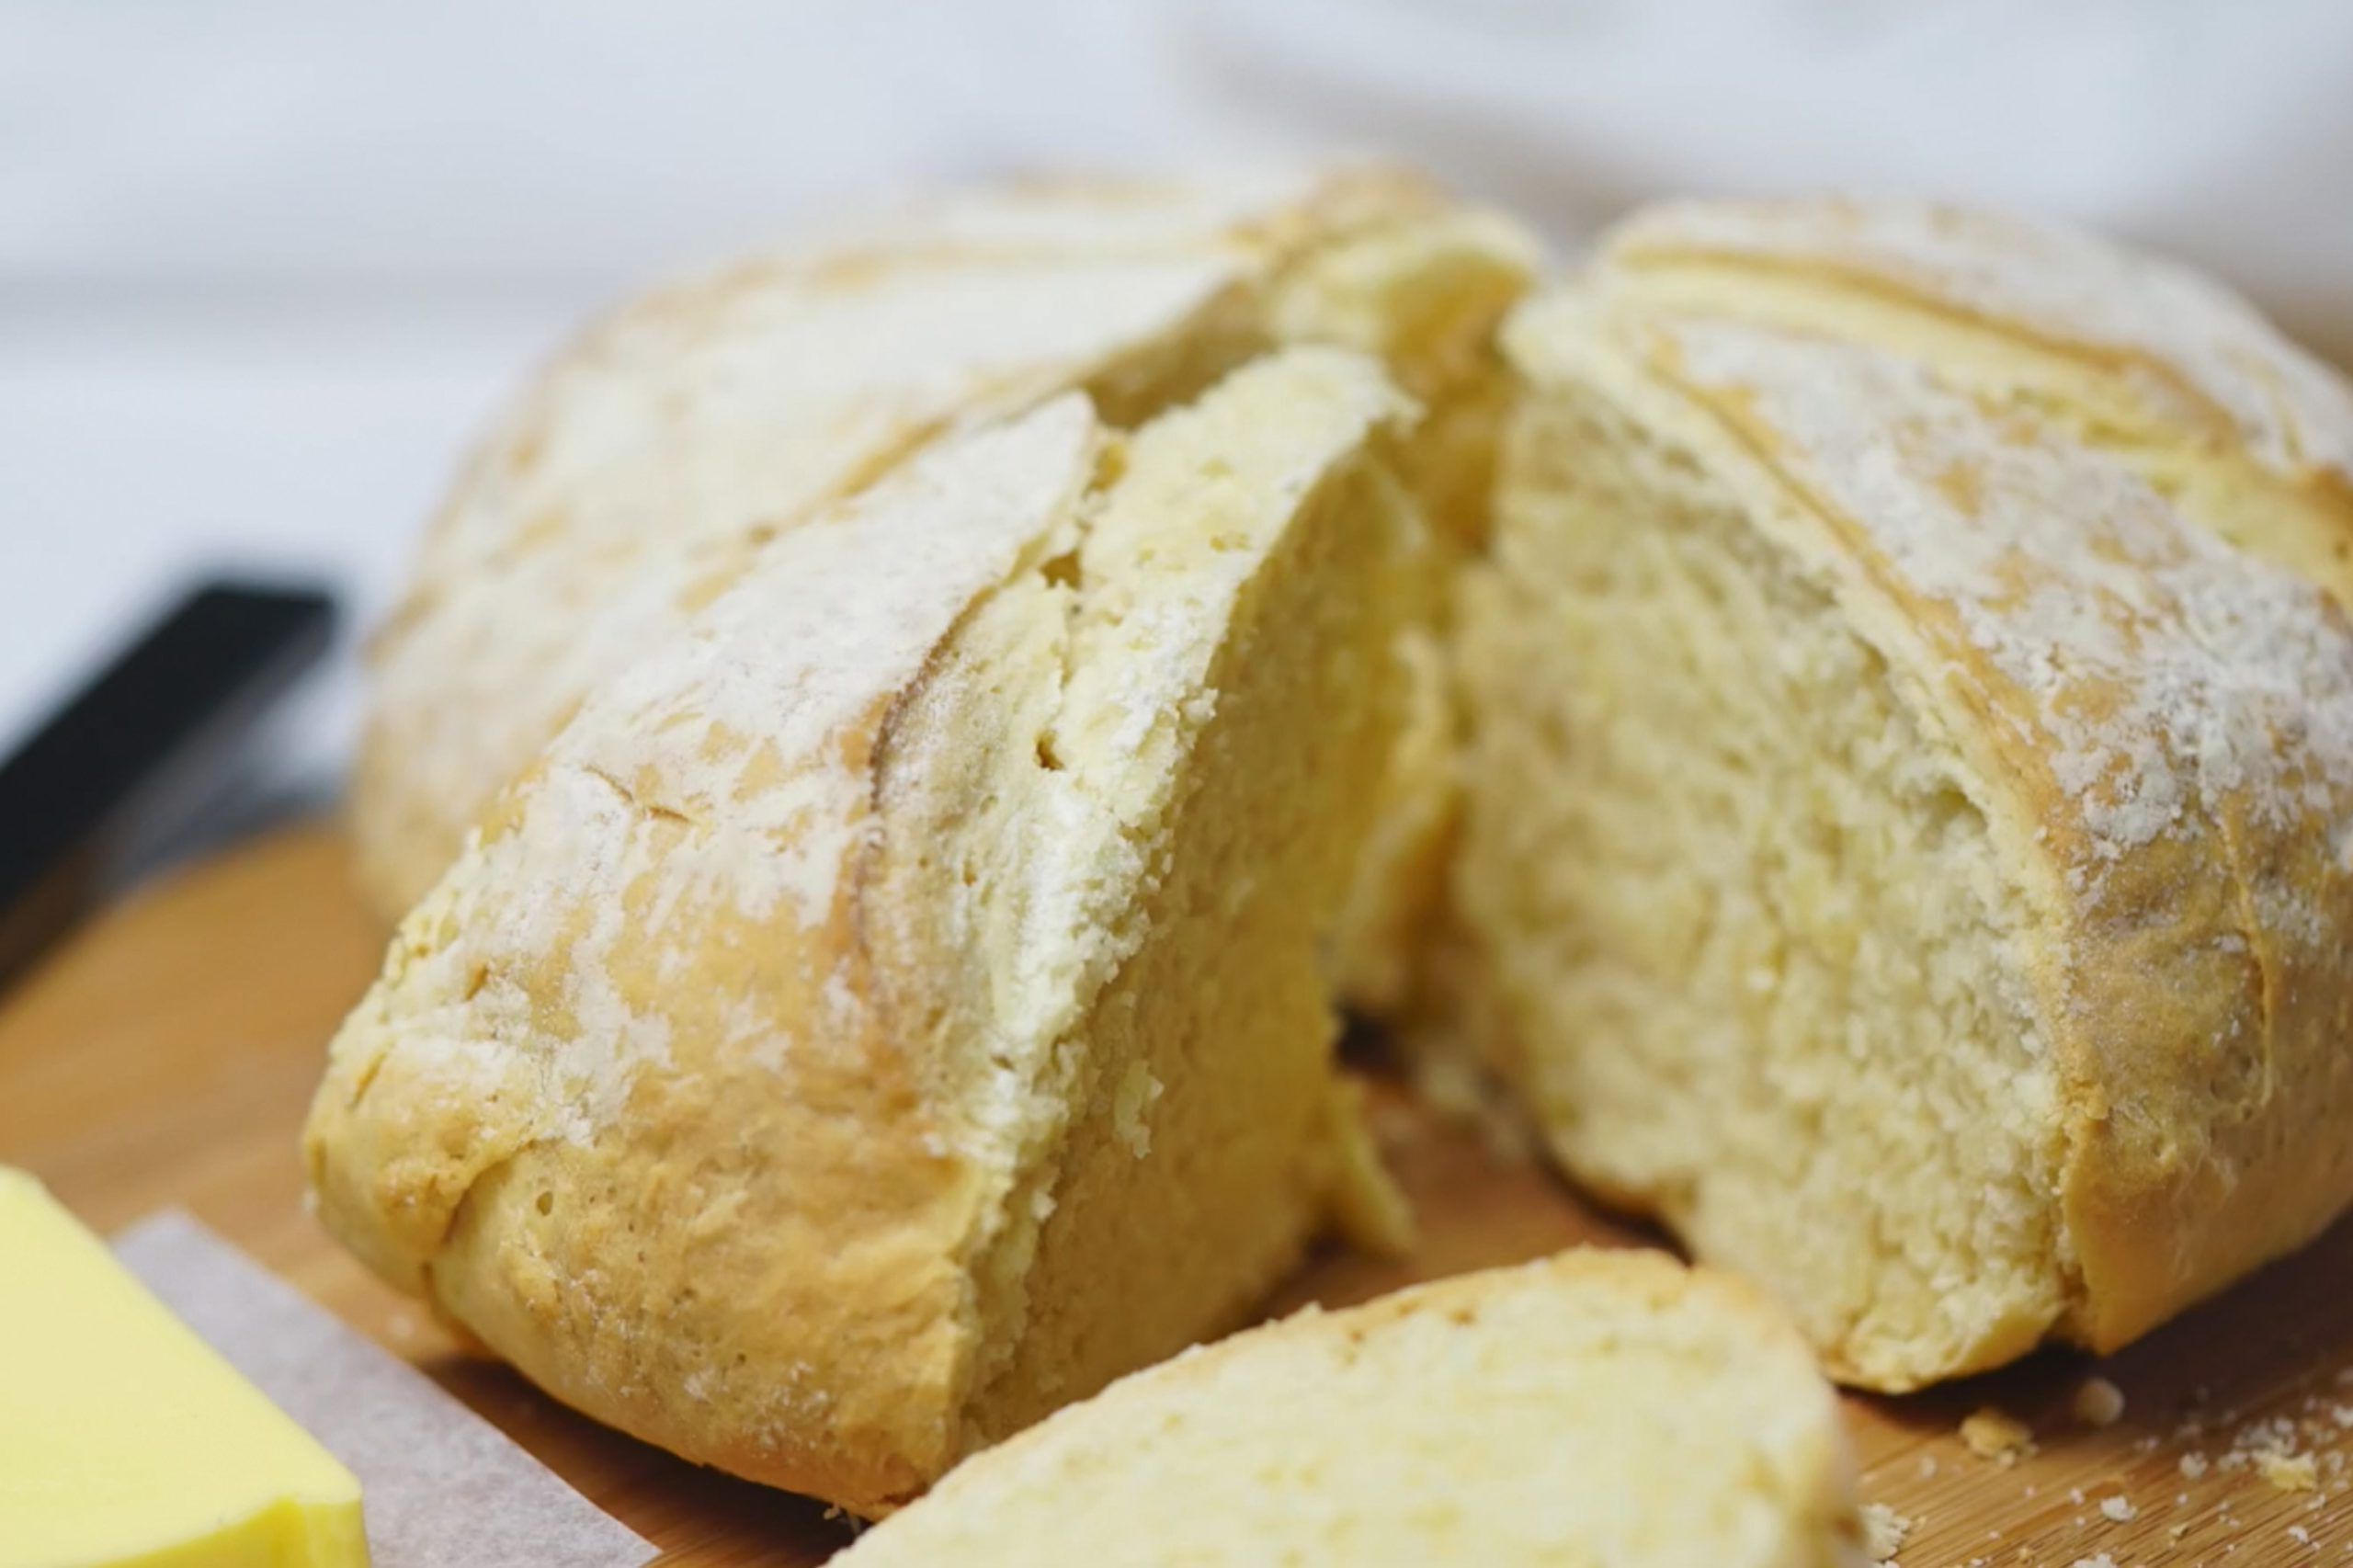
I love making this Australian damper because it’s simple and reminds me of cozy campfire moments. It’s a great recipe to try when you want fresh bread without a lot of fuss. Scroll down and you’ll see how easy it is to bake your own warm, soft loaf at home.
Most of the ingredients for this recipe are probably already in your kitchen, like flour, salt, and butter. The only one you might want to check for is self-raising flour, which is different from regular flour because it already has baking powder mixed in. You can find it in the baking aisle of most supermarkets, so just look for the package labeled “self-raising flour.”
Ingredients For Australian Damper Recipe
Self-raising flour: This is flour that has baking powder added, which helps the bread rise without needing yeast.
Salt: Adds flavor to the bread and balances the taste.
Milk: Makes the dough soft and helps everything stick together.
Melted butter: Adds richness and a little bit of moisture to the bread.
Technique Tip for This Recipe
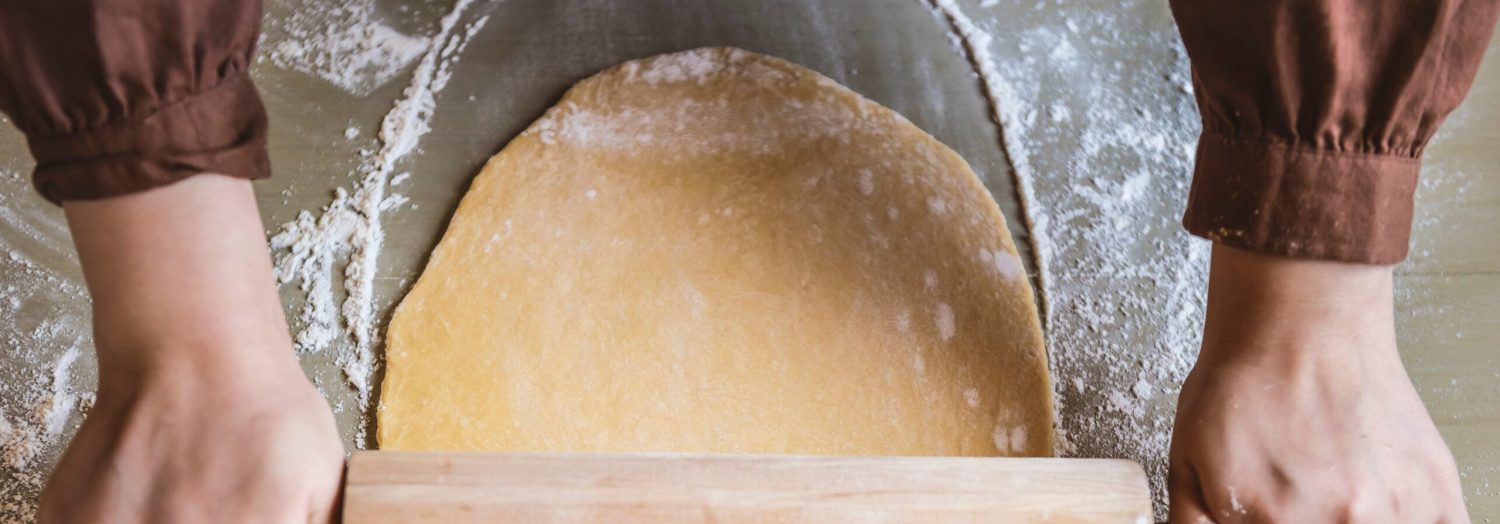
One of the most important steps in making this Australian Damper is kneading the dough lightly after you mix the flour and milk. Kneading might sound tricky, but it’s really just about gently working the dough to bring everything together. Here’s how you can do it:
- Sprinkle a little flour on your clean surface so the dough doesn’t stick.
- Place the dough on the floured surface.
- Use the heels of your hands to push the dough away from you, then fold it back over itself.
- Turn the dough a little and repeat this pushing and folding about 5 to 10 times.
- Don’t press too hard or knead for too long—just enough to make the dough smooth and soft.
Kneading helps the flour and milk mix well, making the dough stretchy and easier to shape. It also helps the damper bake evenly and get that lovely soft inside with a slightly crusty outside. If you skip this step or don’t knead enough, the bread might turn out crumbly or too dense.
When I first tried kneading, I pressed too hard and ended up with dough stuck all over my hands and the counter. Now, I remember to be gentle and use just enough flour on the surface to keep things smooth. Also, I like to knead just enough to feel the dough change from sticky to soft—that’s when you know it’s ready.
Kneading might seem like a small step, but it really makes a difference in how your damper turns out. Plus, it’s kind of fun to squish and fold the dough—it feels like you’re helping it come to life!
Suggested Side Dishes
Alternative Ingredients
self-raising flour - Substitute with all-purpose flour and baking powder: Use 3 cups of all-purpose flour mixed with 3 teaspoons of baking powder. This combination mimics the leavening effect of self-raising flour.
salt - Substitute with sea salt: Sea salt can be used in the same quantity to enhance flavor, offering a slightly different mineral profile.
milk - Substitute with buttermilk: Buttermilk adds a tangy flavor and can make the damper slightly more tender. Use the same amount as milk.
melted butter - Substitute with olive oil: Olive oil can be used in equal measure to provide moisture and a subtle flavor difference.
Alternative Recipes Similar to This Dish
How to Store or Freeze This Dish
Allow the freshly baked damper to cool completely on a wire rack. This prevents condensation from forming inside the storage container, which could make the bread soggy.
For short-term storage, wrap the damper in a clean kitchen towel or place it in a paper bag. This method helps maintain its crusty exterior while keeping the inside soft. Store at room temperature for up to 2 days.
If you plan to keep the damper for longer, consider freezing it. First, slice the bread into portions. This allows you to defrost only what you need, minimizing waste.
Wrap each slice or the whole loaf tightly in plastic wrap or aluminum foil. Ensure there are no gaps to prevent freezer burn.
Place the wrapped damper in a resealable freezer bag or an airtight container. Label it with the date to keep track of its freshness.
Store the damper in the freezer for up to 3 months. For best results, consume within this period to enjoy its optimal taste and texture.
When ready to enjoy, thaw the damper at room temperature. If you prefer a warm slice, reheat it in the oven at 180°c (350°f) for about 10 minutes or until heated through.
For a quick fix, you can also use a toaster or a grill pan to warm individual slices, giving them a delightful crispiness.
Pair your reheated damper with a spread of butter, a drizzle of honey, or a dollop of jam for a comforting treat.
How to Reheat Leftovers
Preheat your oven to 180°c (350°f). Wrap the leftover damper in aluminum foil to prevent it from drying out. Place it on a baking tray and heat for about 10-15 minutes. This method helps maintain its crusty exterior while warming the inside.
For a quick fix, slice the damper and pop it into a toaster. This will give it a delightful crunch, perfect for slathering with butter or jam.
If you prefer a softer texture, place the damper slices in a microwave-safe dish. Cover with a damp paper towel and microwave on medium power for 20-30 seconds. This method keeps it moist and tender.
For a touch of indulgence, pan-fry slices of damper in a bit of butter until golden brown. This adds a rich, buttery flavor and a crispy edge, making it a perfect companion for soups or stews.
If you're feeling adventurous, transform your damper into a savory delight by topping slices with cheese and herbs. Grill under a broiler until the cheese is bubbly and golden.
Essential Tools for This Recipe
Oven: Used to bake the damper at a consistent temperature of 200°C (400°F).
Mixing bowl: A large bowl to combine the flour, salt, milk, and melted butter into a dough.
Baking tray: A flat surface to place the shaped dough on for baking.
Floured surface: A work area dusted with flour to prevent the dough from sticking while kneading.
Measuring cups: Used to accurately measure the flour and milk.
Measuring spoons: Used to measure the salt and melted butter.
Wooden spoon: Helpful for mixing the ingredients together before kneading.
Pastry brush: Optional, but can be used to brush additional melted butter on the damper before baking for a golden crust.
How to Save Time on Preparation
Pre-measure ingredients: Measure out self-raising flour, salt, milk, and melted butter in advance to streamline the process.
Use a food processor: Quickly combine dry ingredients and mix in wet ingredients using a food processor for faster dough preparation.
Skip kneading: Lightly mix until just combined to save time on kneading, as over-kneading isn't necessary for damper.
Preheat the oven early: Start preheating your oven before you begin mixing to ensure it's ready when the dough is.
Line the baking tray: Use parchment paper to avoid sticking and save on cleanup time.
Australian Damper Recipe
Ingredients
Main Ingredients
- 3 cups self-raising flour
- 1 teaspoon salt
- 1 cup milk
- 1 tablespoon butter melted
Instructions
- Preheat your oven to 200°C (400°F).
- In a mixing bowl, combine the flour and salt.
- Gradually add the milk and melted butter, mixing until a soft dough forms.
- Turn the dough out onto a floured surface and knead lightly.
- Shape the dough into a round loaf and place it on a baking tray.
- Bake for 30 minutes or until the damper sounds hollow when tapped.
Nutritional Value
Keywords
More Amazing Recipes to Try 🙂
- Dandelion Salad Recipe15 Minutes
- Beef and Scallion Rolls Recipe25 Minutes
- Avocado Tacos Recipe15 Minutes
- Yogurt Bread Recipe1 Hours
- Pastry Cream Recipe20 Minutes
- Meatloaf Recipe1 Hours 15 Minutes
- Taco Pizza Recipe35 Minutes
- Snow Cone Syrup Recipe15 Minutes






Leave a Reply