
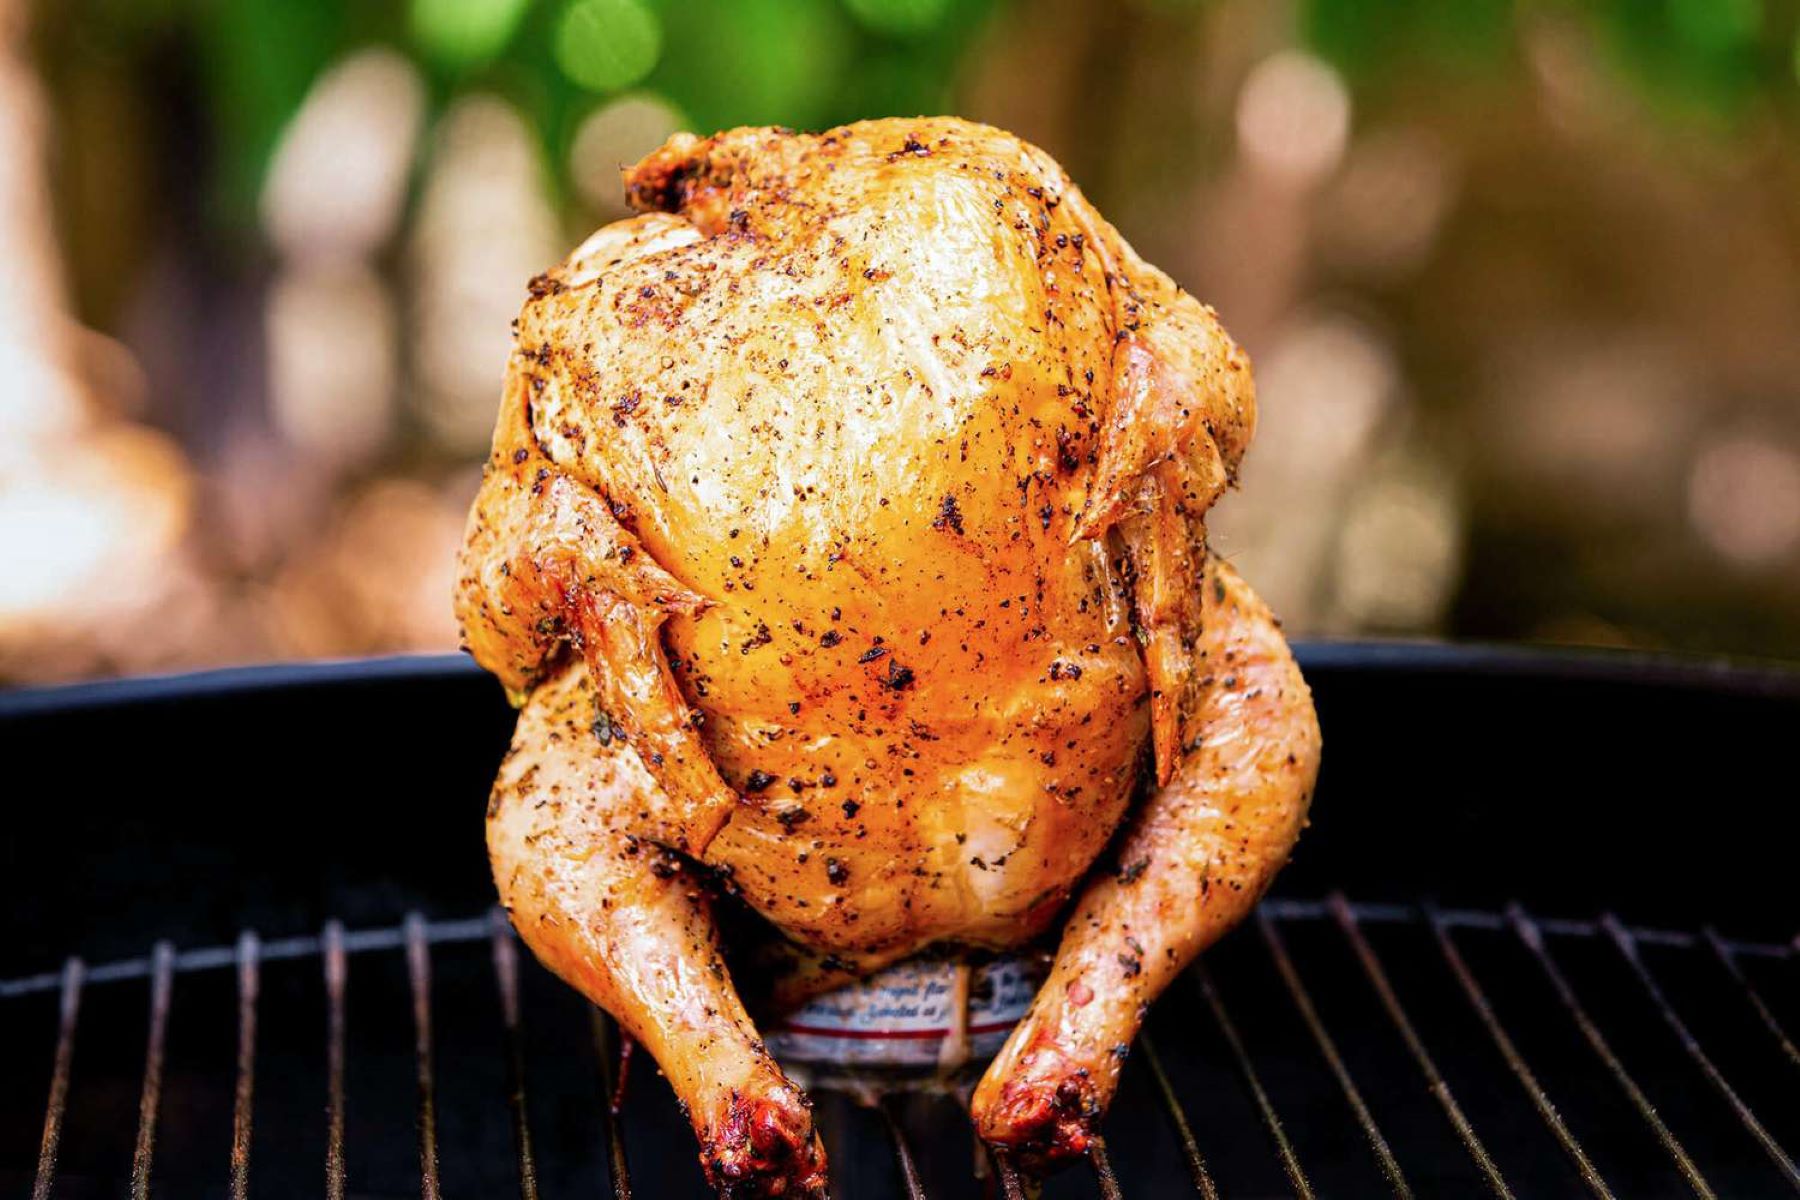
I love how this beer can chicken turns out juicy and full of flavor every time. It’s a fun way to cook chicken that feels a little special, especially when you’re grilling outside with friends or family. Scroll down to see how simple it is to make this tasty dish that always gets compliments.
Most of the ingredients for this recipe are common pantry staples like olive oil, salt, pepper, garlic powder, and paprika. The only item you might need to pick up at the store is a can of beer, which adds moisture and flavor while the chicken cooks. Just grab your favorite kind, but avoid anything too sweet or flavored to keep the taste balanced.
Ingredients For Beer Can Chicken Recipe
Whole chicken: The main part of the dish, about 4 pounds, which will cook evenly over the beer can.
Beer: A 12 oz can that helps keep the chicken moist and adds a subtle flavor.
Olive oil: Used to rub on the chicken so the seasoning sticks and the skin crisps up nicely.
Salt: Brings out the natural flavors of the chicken.
Black pepper: Adds a little heat and depth.
Garlic powder: Gives a mild garlic flavor without the moisture of fresh garlic.
Paprika: Adds color and a smoky, slightly sweet taste.
Technique Tip for This Recipe
One of the trickiest parts of this Beer Can Chicken Recipe is getting the chicken to stand up on the beer can without tipping over. Here’s how you can do it step by step:
- After you’ve opened the beer can and drunk half (or poured it out if you prefer), place the can on a flat surface.
- Hold the chicken by the legs and carefully lower it onto the beer can so the can fits inside the chicken’s cavity.
- Make sure the chicken’s legs are spread out enough to act like a tripod, helping it balance.
- If it feels wobbly, gently adjust the legs or the angle of the chicken until it stands steady.
This step is important because the beer can acts like a little stand and also helps steam the inside of the chicken while it cooks. When the chicken stands upright, the heat circulates evenly all around it, making the skin crispy and the meat juicy. If it falls over, the chicken won’t cook evenly, and you might end up with some parts dry and others undercooked.
I remember the first time I tried this, I didn’t spread the legs wide enough, and the chicken kept tipping over on the grill. It was a bit messy but also funny! Now, I always make sure the legs are like a tripod before I put it on the grill. Also, if you’re worried about spills, you can put a drip pan under the chicken to catch any juices.
Getting the chicken to stand right might take a little patience, but once it’s steady, you’re all set for a delicious, juicy grilled chicken that’s full of flavor and looks pretty cool too!
Suggested Side Dishes
Alternative Ingredients
Whole chicken - Substitute with cornish hen: Cornish hens are smaller but can be used similarly for roasting, providing a similar flavor profile and texture.
12 oz can beer - Substitute with chicken broth: Chicken broth adds moisture and flavor without the alcohol, making it a suitable alternative for those avoiding beer.
Olive oil - Substitute with canola oil: Canola oil has a neutral flavor and similar smoke point, making it a good substitute for roasting.
Salt - Substitute with kosher salt: Kosher salt has larger crystals and a purer flavor, which can enhance the seasoning of the chicken.
Freshly ground black pepper - Substitute with white pepper: White pepper provides a similar heat and flavor profile, with a slightly different color that won't affect the appearance of the dish.
Garlic powder - Substitute with onion powder: Onion powder offers a different but complementary flavor, adding depth to the seasoning mix.
Paprika - Substitute with cayenne pepper: Cayenne pepper adds a bit more heat and a similar color, though it is spicier, so use less if you prefer milder flavors.
Alternative Recipes Similar to This Dish
How to Store or Freeze This Dish
Allow the chicken to cool completely before storing. This prevents condensation, which can make the skin soggy.
For short-term storage, carve the chicken into pieces and place them in an airtight container. Refrigerate for up to 3-4 days.
To freeze, wrap each piece of chicken tightly in plastic wrap or aluminum foil. This helps maintain moisture and prevents freezer burn.
Place the wrapped pieces in a freezer-safe bag or container. Label with the date to keep track of freshness.
Store in the freezer for up to 3 months. For best results, consume within this period to enjoy optimal flavor and texture.
When ready to enjoy, thaw the chicken in the refrigerator overnight. This slow thawing process helps retain the juiciness.
Reheat in the oven at 350°F (175°C) until warmed through, about 20 minutes. Cover with foil to prevent drying out.
For a crispy skin, remove the foil during the last 5 minutes of reheating. You can also use a broiler for a quick crisp.
If you have leftover beer can chicken bones, consider using them to make a rich and flavorful chicken soup. Simply simmer with vegetables and herbs for a comforting broth.
How to Reheat Leftovers
Preheat your oven to 350°F (175°C). Place the leftover chicken in a baking dish and cover it with aluminum foil to prevent it from drying out. Heat for about 20 minutes or until the internal temperature reaches 165°F (75°C).
For a quick fix, use the microwave. Slice the chicken into smaller pieces to ensure even heating. Place the pieces on a microwave-safe plate, cover with a damp paper towel, and heat on medium power for 2-3 minutes, checking frequently to avoid overcooking.
If you prefer a crispy skin, use a skillet. Heat a bit of olive oil over medium heat, then add the chicken pieces skin-side down. Cook for a few minutes until the skin is crispy and the meat is heated through.
For a smoky flavor, reheat on the grill. Preheat the grill to medium heat, wrap the chicken in foil, and place it on the grill for about 10-15 minutes, turning occasionally, until warmed through.
Use a steamer basket for a gentle reheating method that retains moisture. Place the chicken in the basket over simmering water, cover, and steam for about 5-10 minutes until heated thoroughly.
Essential Tools for This Recipe
Grill: Used to cook the chicken by providing heat from below, giving it a smoky flavor and crispy skin.
Paper towels: Essential for patting the chicken dry, which helps achieve a crispy skin by removing excess moisture.
Meat thermometer: Important for checking the internal temperature of the chicken to ensure it is cooked safely to 165°F (75°C).
Tongs: Useful for handling the chicken on the grill, allowing you to position it without burning your hands.
Can opener: If needed, to open the beer can before placing it inside the chicken cavity.
Basting brush: Handy for applying olive oil evenly over the chicken before seasoning.
Carving knife: Used for slicing the chicken once it has rested after grilling.
Cutting board: Provides a stable surface for carving the chicken after it has been cooked and rested.
How to Save Time on This Recipe
Pre-measure spices: Measure and mix the salt, pepper, garlic powder, and paprika in advance to save time during preparation.
Use a meat thermometer: Invest in a reliable meat thermometer to quickly check the internal temperature, ensuring the chicken is perfectly cooked without guesswork.
Prep the grill: Clean and preheat your grill while you prepare the chicken to streamline the cooking process.
Simplify cleanup: Line the grill with foil to catch drippings, making cleanup faster and easier after cooking.
Beer Can Chicken Recipe
Ingredients
Main Ingredients
- 1 Whole Chicken about 4 pounds
- 1 can Beer 12 oz can
- 2 tablespoon Olive Oil
- 1 tablespoon Salt
- 1 teaspoon Black Pepper freshly ground
- 1 teaspoon Garlic Powder
- 1 teaspoon Paprika
Instructions
- Preheat your grill to medium-high heat.
- Rinse the chicken and pat dry with paper towels.
- Rub the chicken with olive oil, then season with salt, pepper, garlic powder, and paprika.
- Open the beer can and drink half, then place the can inside the chicken cavity.
- Place the chicken on the grill, balancing it on the beer can.
- Grill for 90 minutes or until the internal temperature reaches 165°F (75°C).
- Carefully remove the chicken from the grill and let rest for 10 minutes before carving.
Nutritional Value
Keywords
Suggested Appetizers and Desserts
More Amazing Recipes to Try 🙂
- Banana Pancakes Recipe30 Minutes
- Beef Noodle Soup Recipe2 Minutes
- Whole Wheat Banana Nut Bread Recipe1 Hours 15 Minutes
- Finnish Long Drink Recipe5 Minutes
- Avocado Ranch Salad Dressing Recipe10 Minutes
- Bread Machine Bagels Recipe40 Minutes
- Slow Cooker Beans Recipe8 Hours 10 Minutes
- Chocolate Flan Cake Recipe1 Hours 20 Minutes
Leave a Reply