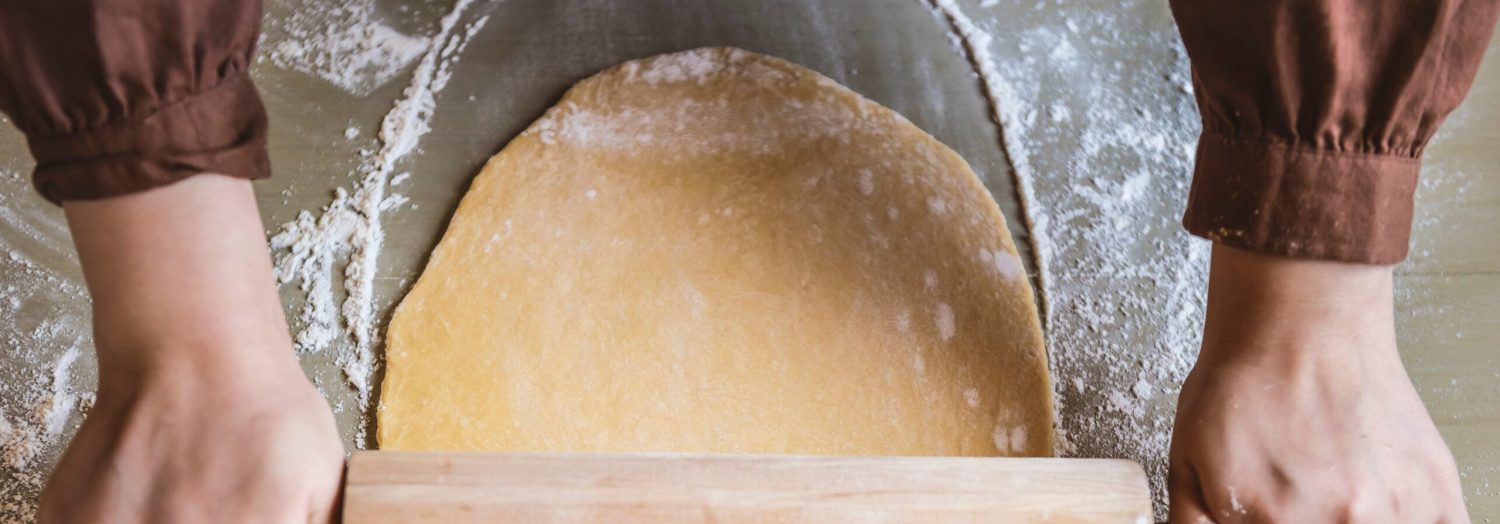

I love having self-rising flour ready because it makes baking so much easier and faster. This simple mix saves time when you want to whip up pancakes, biscuits, or other treats without measuring out each ingredient separately. Scroll down to see how you can make your own at home with just a few pantry staples!
All the ingredients in this recipe are common in most kitchens, but if you don’t have baking powder, you might want to pick some up at the supermarket. Baking powder is what helps your baked goods rise and become fluffy. Salt is usually easy to find, and all-purpose flour is a basic staple that you probably already have on hand.
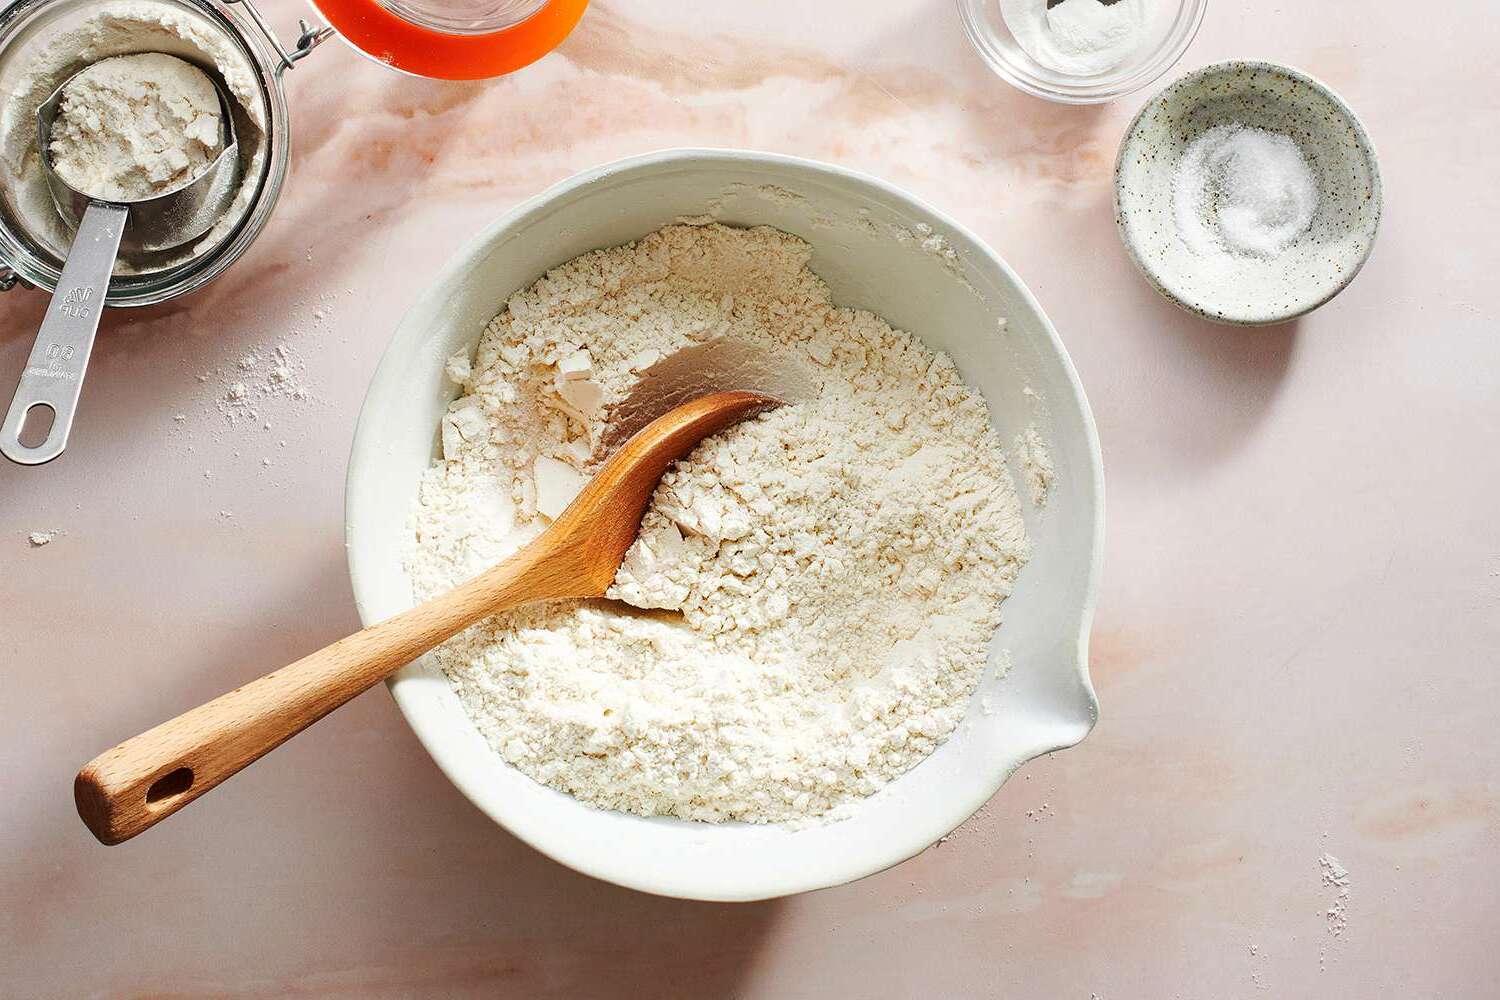
Ingredients for Self-Rising Flour Recipe
All-purpose flour: This is the main base of the mix and works well for many baking recipes.
Baking powder: A leavening agent that helps your dough or batter rise and become light.
Salt: Adds a little flavor and balances the other ingredients.
Technique Tip for This Recipe
When you’re mixing the flour, baking powder, and salt for your self-rising flour, one of the best moves is to whisk everything together really well. Here’s how to do it so your ingredients blend smoothly and your baking turns out just right:
- Grab a whisk or a fork—whisks work best because they have lots of little wires that help mix air in.
- Hold the bowl steady with one hand.
- Use the other hand to move the whisk in quick, small circles or back-and-forth motions.
- Keep whisking until you don’t see any clumps of baking powder or salt hiding in the flour. The mixture should look light and even.
Whisking like this helps spread the baking powder and salt evenly through the flour. That’s super important because if these don’t mix well, your baked goods might rise unevenly or have salty spots. Plus, whisking adds a little air, which can make your self-rising flour fluffier and ready to help your recipes puff up nicely.
When I first tried this, I didn’t whisk long enough and ended up with little lumps of baking powder that made some bites taste weird. After I started whisking more carefully, everything turned out much better. Also, if you don’t have a whisk, a fork works fine—just take a bit more time to mix well.
Once you’ve whisked your self-rising flour, you can use it right away or keep it in an airtight container so it stays fresh. Whisking well before storing means it’s ready to go whenever you want to bake something yummy!
Suggested Side Dishes
Alternative Ingredients
all-purpose flour - Substitute with whole wheat flour: Whole wheat flour can be used for a denser texture and a slightly nutty flavor, though it may alter the texture slightly.
all-purpose flour - Substitute with gluten-free flour blend: This is ideal for those with gluten sensitivities, though it may require additional binding agents like xanthan gum.
baking powder - Substitute with baking soda and cream of tartar: Use ¼ teaspoon of baking soda and ½ teaspoon of cream of tartar to mimic the leavening effect of baking powder.
baking powder - Substitute with baking soda and lemon juice: Use ¼ teaspoon of baking soda and ½ teaspoon of lemon juice to create a similar reaction for leavening.
salt - Substitute with sea salt: Sea salt can be used in the same quantity for a slightly different mineral content and flavor profile.
salt - Substitute with kosher salt: Kosher salt can be used for a similar taste, but you may need to adjust the quantity slightly due to its coarser texture.
Alternative Recipes to Try
How to Store or Freeze This Dish
Ensure your self-rising flour is completely dry before storing. Moisture is the enemy here, as it can lead to clumping or spoilage.
Transfer the self-rising flour into an airtight container. A glass jar with a tight-fitting lid or a sturdy plastic container works wonders. This will keep out any unwanted moisture and pests.
Label the container with the date of preparation. While self-rising flour can last a while, it's always good to know when it was made to ensure freshness.
Store the container in a cool, dry place. A pantry or cupboard away from direct sunlight is ideal. Avoid storing near the stove or dishwasher, where heat and humidity can be higher.
If you live in a particularly humid area, consider adding a food-safe desiccant packet to the container to absorb excess moisture.
For longer storage, you can freeze the self-rising flour. Place it in a freezer-safe bag, squeezing out as much air as possible before sealing. This method can extend its shelf life significantly.
When ready to use, allow the self-rising flour to come to room temperature. This prevents any condensation from forming, which could introduce moisture.
Give the flour a quick whisk or sift before using to ensure it's well-aerated and free of any clumps that might have formed during storage.
How to Reheat Leftovers
Preheat your oven to 350°F (175°C). Place your baked goods made with self-rising flour on a baking sheet. Cover them loosely with aluminum foil to prevent them from drying out. Heat for about 10-15 minutes or until warmed through.
For a quick fix, use the microwave. Place your muffins or biscuits on a microwave-safe plate. Cover them with a damp paper towel to maintain moisture. Heat on medium power for 20-30 seconds, checking frequently to avoid overcooking.
If you're reheating pancakes or waffles, try using a toaster. This method will help retain their crispiness. Set your toaster to a low setting and toast until they are warm and slightly crispy.
For stovetop reheating, use a non-stick skillet over low heat. Place your bread or pastries in the skillet, cover with a lid, and heat for a few minutes on each side until warmed through.
If you have an air fryer, it's a great tool for reheating. Set it to 300°F (150°C) and place your scones or rolls in the basket. Heat for 3-5 minutes, checking for desired warmth and texture.
Essential Tools for This Recipe
Mixing bowl: A large bowl used to combine the flour, baking powder, and salt. It provides enough space to whisk the ingredients together without spilling.
Whisk: A utensil used to blend the dry ingredients thoroughly. It helps to aerate the mixture and ensure even distribution of the baking powder and salt.
Airtight container: A storage container that keeps the self-rising flour mixture fresh and prevents moisture from affecting its quality if not used immediately.
Time-Saving Tips for This Recipe
Batch preparation: Mix a large quantity of self-rising flour at once and store it in an airtight container for future use.
Use a whisk: A whisk combines ingredients faster and more evenly than a spoon.
Label containers: Clearly label your container with the date and contents to avoid confusion later.
Pre-measure ingredients: Keep pre-measured baking powder and salt in small containers for quick access.
Organize your pantry: Keep your flour, baking powder, and salt in a designated area for easy access.
Self-Rising Flour Recipe
Ingredients
Main Ingredients
- 1 cup all-purpose flour
- 1 ½ teaspoons baking powder
- ¼ teaspoon salt
Instructions
- In a mixing bowl, combine the flour, baking powder, and salt.
- Whisk together until well combined.
- Use immediately or store in an airtight container.
Nutritional Value
Keywords
More Amazing Recipes to Try 🙂
- Doughnuts Recipe35 Minutes
- Turkish Red Lentil Soup Recipe40 Minutes
- Mango Salad Recipe15 Minutes
- Seasoned Swai Fish Fillet Recipe25 Minutes
- Birria Quesa Tacos Recipe4 Hours 30 Minutes
- Peanut Butter Loaf Recipe1 Hours 15 Minutes
- Strawberry Glaze Recipe15 Minutes
- Creme Fraiche Recipe24 Hours 5 Minutes








Leave a Reply