

I love how simple and refreshing this raita recipe is, especially on warm days when you want something cool and tasty. It’s one of those dishes that feels like a little hug in a bowl, perfect to enjoy with your favorite meals. I’m excited for you to try it and see how easy it is to make!
Most of the ingredients in this raita are common in many kitchens, like plain yogurt and salt. The roasted cumin powder adds a warm, nutty flavor and can usually be found in the spice section of the supermarket. If you don’t have fresh cilantro, you can find it in the produce aisle, and it really brightens up the dish. Grated cucumber is fresh and easy to prepare at home.
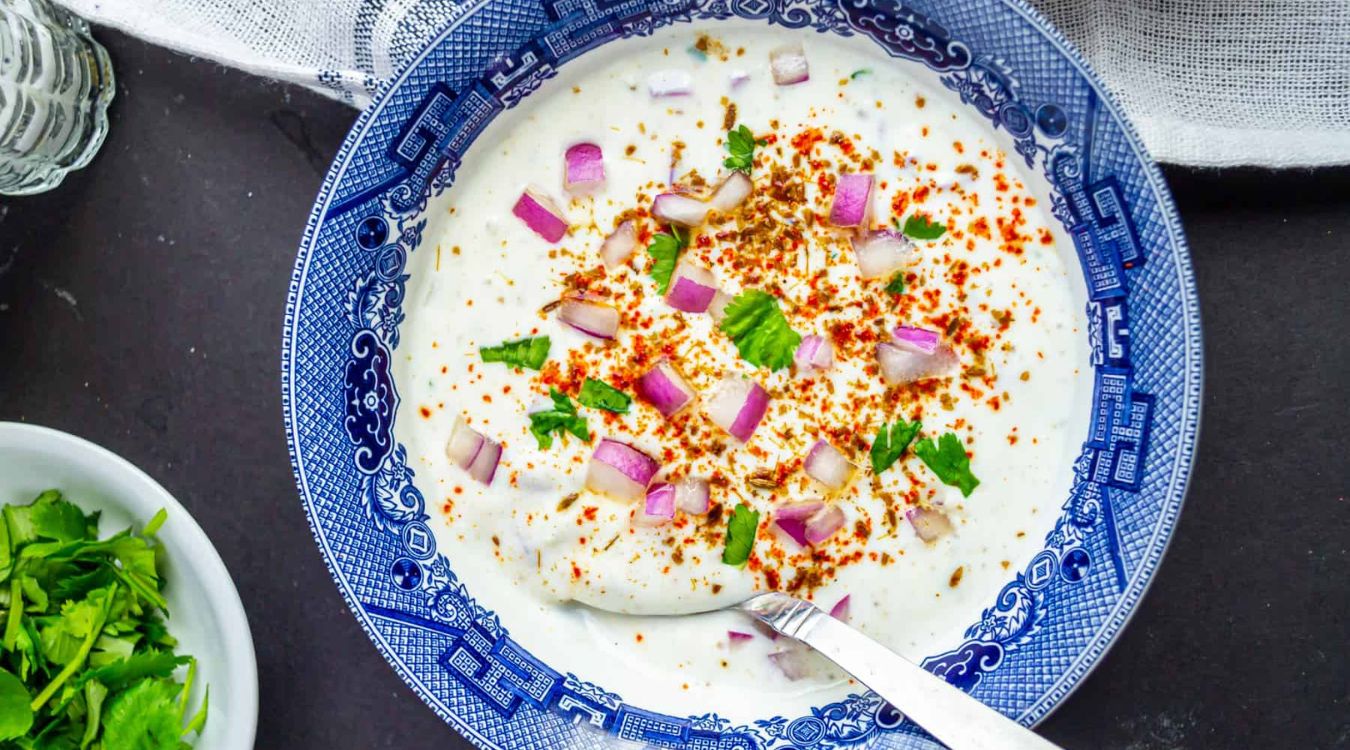
Ingredients For Raita Recipe
Plain yogurt: This is the base of the raita, giving it a creamy and tangy texture.
Grated cucumber: Adds a cool, crunchy freshness that balances the yogurt.
Roasted cumin powder: A spice that brings a warm, earthy flavor to the dish.
Salt: Enhances all the flavors and brings everything together.
Chopped cilantro: A fresh herb that adds a bright, slightly citrusy note as a garnish.
Technique Tip for Preparation
Whisking the yogurt until smooth is a simple step that makes a big difference in how your raita turns out. Here’s how to do it without making a mess or leaving lumps:
- Use a medium-sized bowl so the yogurt has enough room to move around.
- Hold the bowl steady with one hand.
- With the other hand, take a whisk and move it in small circles or a gentle back-and-forth motion.
- Keep the whisk moving steadily but not too fast, so the yogurt doesn’t splash out.
- Whisk until the yogurt looks smooth and creamy, with no clumps.
Doing this helps mix the yogurt evenly, making the raita taste creamier and more refreshing. When the yogurt is smooth, it blends better with the grated cucumber and spices, so every bite has the perfect balance of flavors.
I remember the first time I tried whisking yogurt for raita, I went too fast and ended up with yogurt splattered all over the counter! Now, I take it slow and steady, and it’s so much easier. Also, if you don’t have a whisk, a fork works just fine to get that smooth texture. It’s a little trick that makes the whole raita come together beautifully and keeps your kitchen clean too.
Suggested Side Dishes
Alternative Ingredients
plain yogurt - Substitute with Greek yogurt: Greek yogurt is thicker and creamier, providing a similar tangy flavor and texture to the raita.
plain yogurt - Substitute with coconut yogurt: Coconut yogurt is a great non-dairy alternative that adds a slight sweetness and creaminess to the dish.
grated cucumber - Substitute with grated zucchini: Zucchini has a similar texture and mild flavor, making it a suitable replacement for cucumber in raita.
grated cucumber - Substitute with grated carrot: Carrots add a bit of sweetness and color, while still providing a crunchy texture.
roasted cumin powder - Substitute with ground coriander: Ground coriander offers a warm, citrusy flavor that complements the other ingredients in raita.
roasted cumin powder - Substitute with garam masala: Garam masala adds a complex blend of spices, enhancing the flavor profile of the raita.
salt - Substitute with black salt: Black salt has a distinct, slightly sulfurous flavor that can add depth to the raita.
salt - Substitute with sea salt: Sea salt provides a cleaner, more mineral-rich taste compared to regular table salt.
chopped cilantro - Substitute with chopped mint: Mint adds a refreshing and cool flavor, which pairs well with the yogurt and cucumber.
chopped cilantro - Substitute with chopped parsley: Parsley offers a fresh, slightly peppery taste that can complement the other flavors in the raita.
Other Alternative Recipes
How to Store or Freeze This Dish
To keep your raita fresh and delightful, store it in an airtight container. This helps maintain its creamy texture and prevents any unwanted flavors from sneaking in.
Place the container in the refrigerator, ideally in the coldest section. This ensures your yogurt base stays chilled and refreshing.
If you plan to enjoy your raita over a few days, give it a gentle stir before serving. This will reincorporate any separated liquid and restore its smooth consistency.
For those who love to plan ahead, freezing raita is an option, though not typically recommended. The texture of yogurt can change upon freezing, becoming grainy or watery.
If you do freeze, transfer the raita into a freezer-safe container, leaving some space at the top for expansion. Label it with the date to keep track of its freshness.
When you're ready to enjoy your frozen raita, thaw it in the refrigerator overnight. Avoid using a microwave or hot water as this can further alter the texture.
Once thawed, give it a good whisk to bring back some of its original creaminess. You might need to adjust the seasoning, adding a pinch more salt or cumin powder to enhance the flavors.
Remember, while freezing is an option, fresh raita always offers the best taste and texture, making it a delightful accompaniment to any meal.
How to Reheat Leftovers
Embrace the chill: Raita is best enjoyed cold, so instead of reheating, consider serving it straight from the fridge. The coolness complements spicy dishes beautifully.
Refresh with a stir: If your raita has been sitting for a while, give it a good stir to reincorporate any separated liquid. This will bring back its creamy texture without the need for heat.
Add a fresh twist: If you feel the need to refresh the flavors, add a sprinkle of fresh cucumber or a dash of roasted cumin powder before serving. This can enhance the taste without altering the temperature.
Avoid the microwave: Heating yogurt can cause it to curdle and lose its smooth texture, so it's best to avoid using the microwave or stovetop for reheating.
Serve with warm dishes: Instead of reheating the raita, pair it with warm dishes like curries or grilled meats. The contrast between hot and cold can be delightful.
Essential Tools for Preparation
Mixing bowl: A large bowl used to combine and mix ingredients smoothly.
Whisk: A tool used to beat or stir ingredients, ensuring the yogurt becomes smooth and creamy.
Grater: An implement used to shred the cucumber into fine pieces for easy mixing.
Measuring spoons: Used to accurately measure the roasted cumin powder and salt, ensuring the right balance of flavors.
Chopping board: A flat surface used for chopping cilantro safely and efficiently.
Knife: A sharp tool used for chopping cilantro into small, even pieces.
Serving bowl: A bowl used to present the raita attractively when serving.
Refrigerator: An appliance used to chill the raita before serving, enhancing its refreshing taste.
How to Save Time on Preparation
Prep ingredients in advance: Grate the cucumber and chop the cilantro ahead of time. Store them in airtight containers in the fridge.
Use a whisk: Whisking the yogurt quickly with a whisk instead of a spoon will save time and ensure a smooth texture.
Batch roast cumin: Roast a larger batch of cumin powder and store it in a jar for future use.
Chill efficiently: Place the raita in the freezer for a few minutes to chill quickly if you're short on time.
Pre-measure spices: Measure out the salt and cumin powder before starting to streamline the process.
Raita Recipe
Ingredients
Main Ingredients
- 2 cups Yogurt plain
- 1 cup Cucumber grated
- 1 teaspoon Cumin powder roasted
- 1 teaspoon Salt to taste
- 2 tablespoon Cilantro chopped
Instructions
- In a mixing bowl, whisk the yogurt until smooth.
- Add grated cucumber, roasted cumin powder, and salt. Mix well.
- Garnish with chopped cilantro.
- Serve chilled.
Nutritional Value
Keywords
More Amazing Recipes to Try 🙂
- Hot Cocoa Mix Recipe10 Minutes
- Simple Syrup Recipe10 Minutes
- Cauliflower Soup Recipe30 Minutes
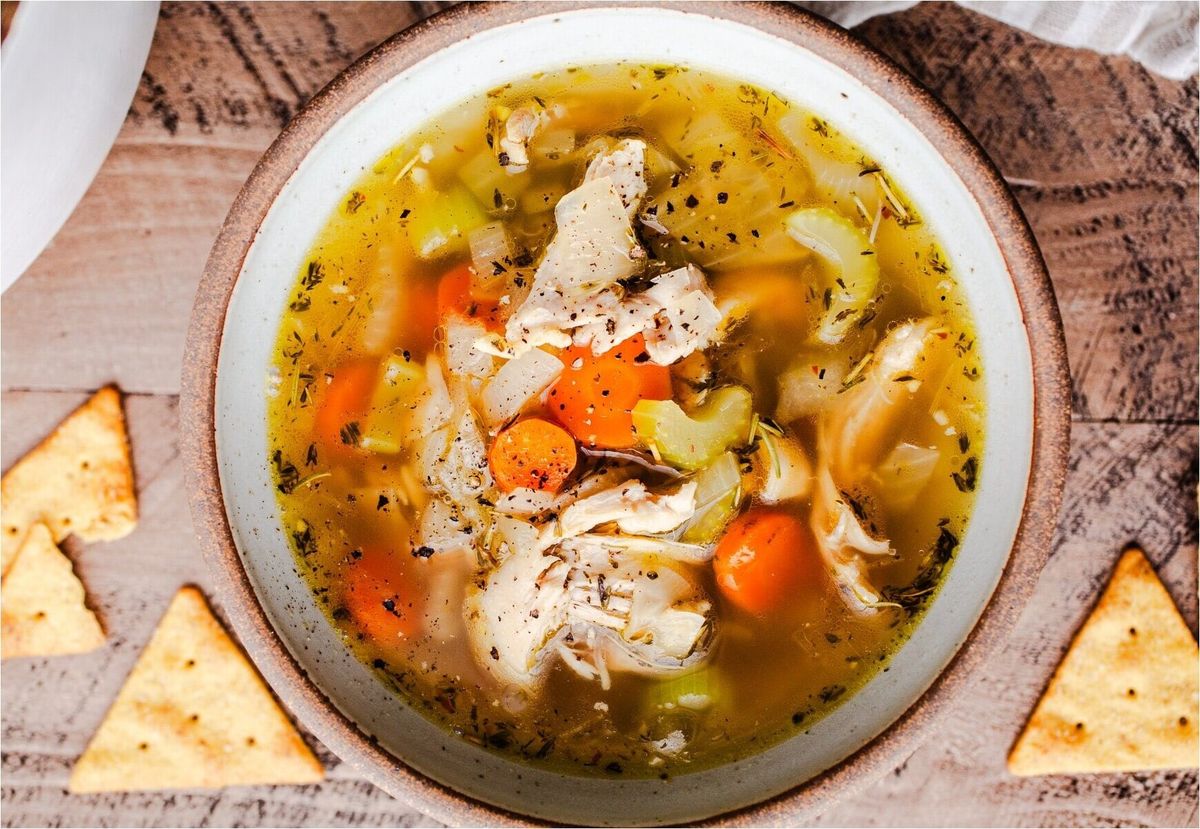
- Gluten-Free Chicken Soup Recipe45 Minutes
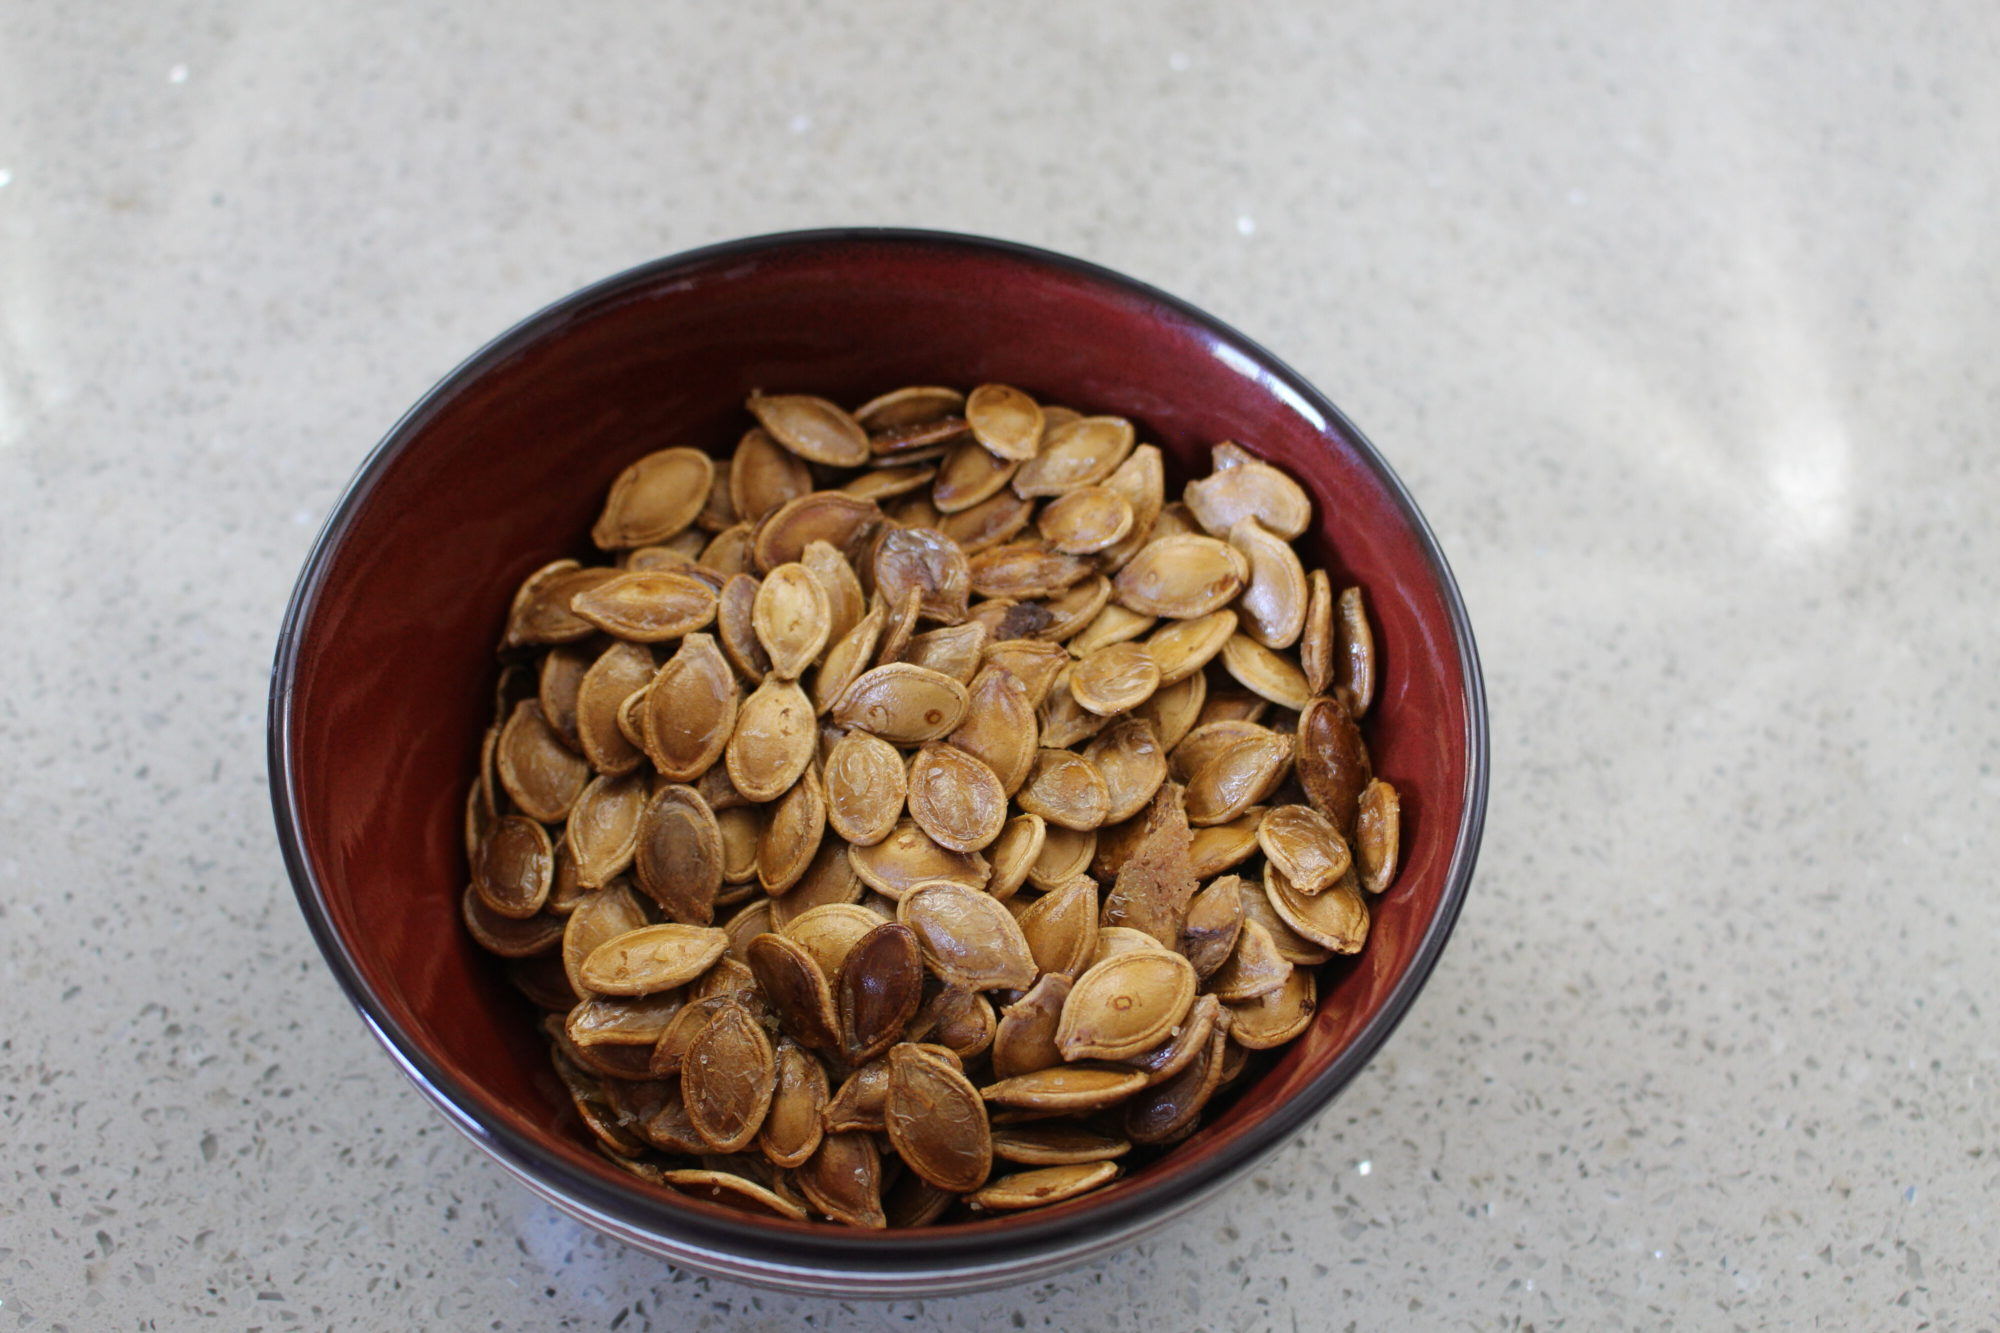
- Toasted Pumpkin Seeds Recipe30 Minutes
- Doughnuts Recipe35 Minutes
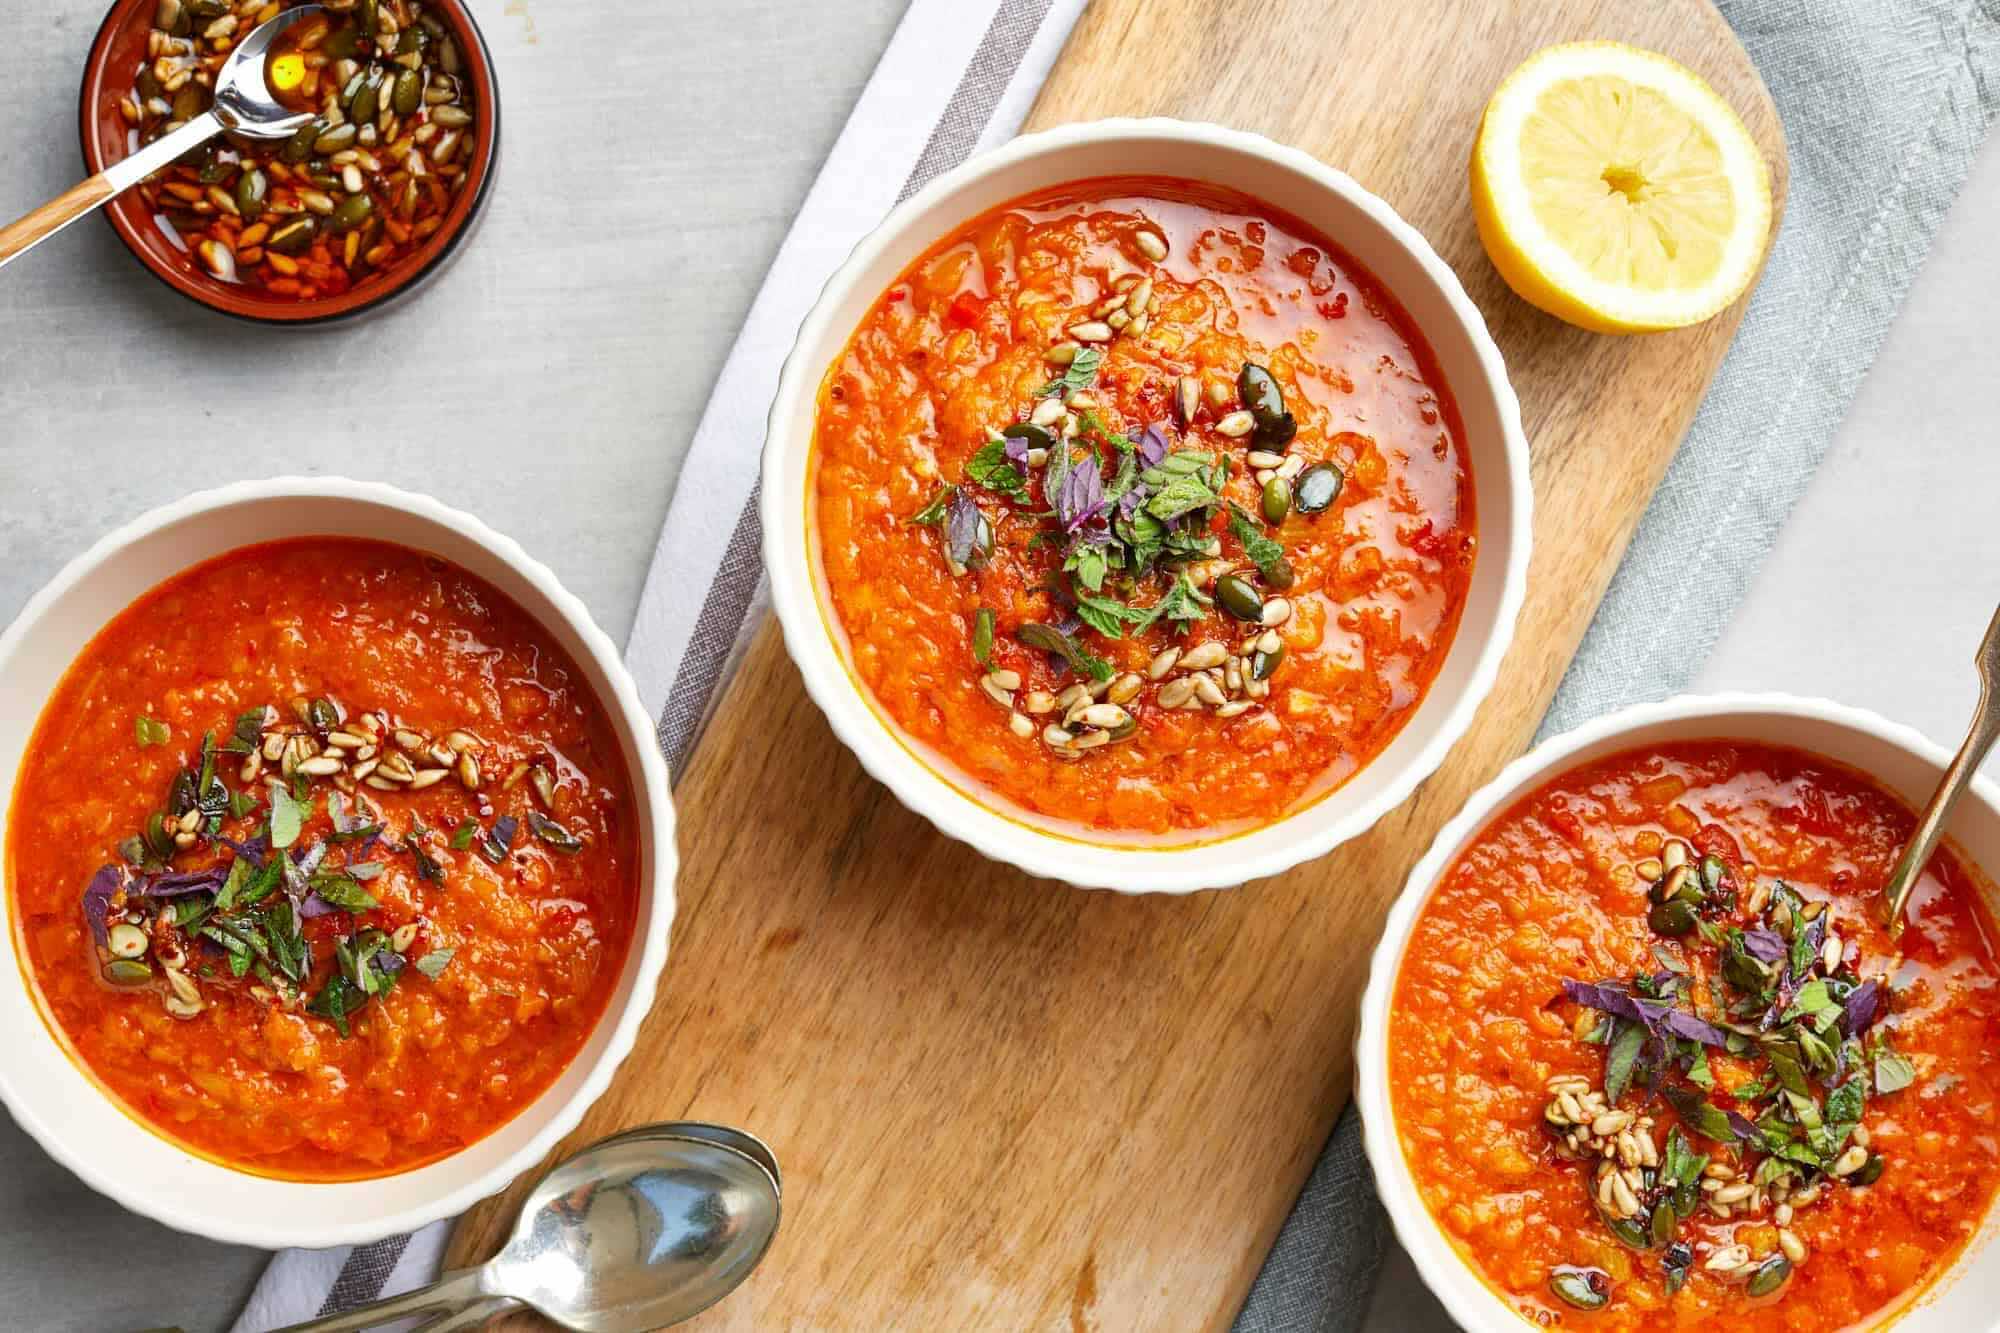
- Turkish Red Lentil Soup Recipe40 Minutes
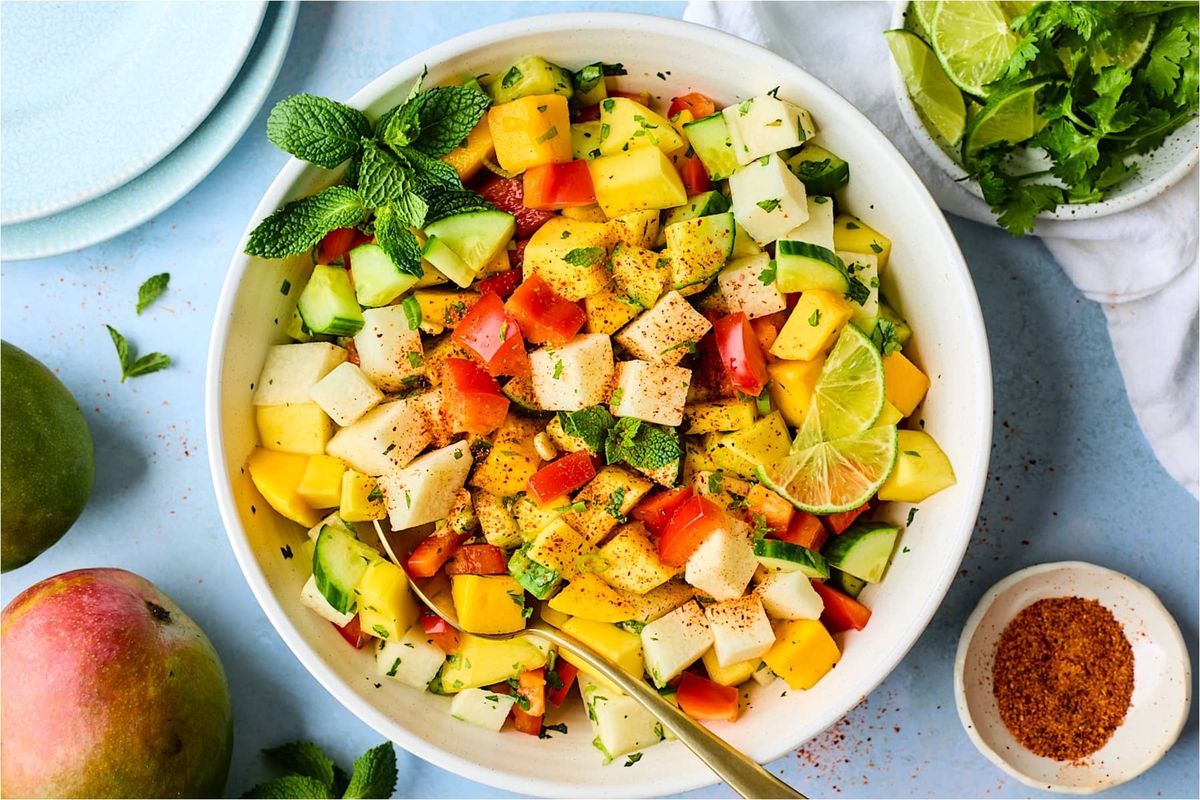
- Mango Salad Recipe15 Minutes



Leave a Reply