
I love making grilled cheese sandwiches because they are simple but so comforting. This inside out grilled cheese sandwich adds a fun twist that makes the outside crispy and cheesy, which is my favorite part. I think you’ll enjoy making it as much as eating it!
Most of the ingredients for this recipe are probably already in your kitchen, like bread, butter, and shredded cheese. If you need to buy cheese, cheddar is a great choice, but you can pick any cheese that melts well at the supermarket. Just look for a block or bag of shredded cheese in the dairy section.
Ingredients For Inside Out Grilled Cheese Sandwich Recipe
Bread: The base of the sandwich, usually white or whole wheat, soft enough to toast nicely.
Cheddar cheese: A popular cheese that melts well and has a sharp flavor, but you can use any shredded cheese you like.
Butter: Softened butter is spread on the bread to help it brown and add flavor while cooking.
Technique Tip for This Recipe
One of the coolest parts of making this Inside Out Grilled Cheese Sandwich is getting that crispy cheese layer on the outside. Here’s how you do it step by step so it turns out just right:
- After you cook your sandwich like usual and take it out of the skillet, sprinkle a thin layer of shredded cheese directly onto the hot skillet.
- Then, carefully put your sandwich back on top of that cheese layer.
- Let it cook for about 1-2 minutes on each side. You’ll see the cheese melt and then get golden and crispy, almost like a crunchy cheese crust.
Doing this makes the sandwich extra special because you get that gooey melted cheese inside and a crispy, cheesy outside too. It’s like a little surprise texture that makes every bite more fun and tasty.
When I first tried this, I didn’t wait long enough for the cheese on the skillet to melt and crisp up. The cheese just stuck to the pan and didn’t form that nice crust. Now, I make sure the skillet is hot enough and I’m patient while the cheese cooks. Also, using shredded cheese instead of slices helps it melt and crisp faster.
If you want a shortcut, you can sprinkle a bit more cheese on the sandwich itself before flipping it the second time. That way, you get even more cheesy crunch without extra steps. Just be careful not to add too much or it might get messy!
This little trick turns a simple grilled cheese into something a bit fancy but still super easy to make. Give it a try and enjoy that crispy, cheesy goodness!
Suggested Side Dishes
Alternative Ingredients
4 slices bread - Substitute with sourdough bread: Sourdough adds a tangy flavor and a chewy texture that enhances the grilled cheese experience.
4 slices bread - Substitute with whole grain bread: Whole grain bread provides more fiber and nutrients, making the sandwich healthier.
1 cup cheddar or your choice shredded cheese - Substitute with mozzarella cheese: Mozzarella melts beautifully and offers a mild, creamy flavor that pairs well with various breads.
1 cup cheddar or your choice shredded cheese - Substitute with gouda cheese: Gouda has a rich, buttery taste and melts smoothly, adding a gourmet touch to the sandwich.
2 tablespoon softened butter - Substitute with olive oil: Olive oil provides a healthier fat option and adds a subtle, fruity flavor to the grilled cheese.
2 tablespoon softened butter - Substitute with mayonnaise: Mayonnaise spreads easily and creates a crispy, golden crust when grilled, offering a slight tanginess.
Alternative Recipes Similar to This Sandwich
How to Store or Freeze This Sandwich
Allow the grilled cheese sandwich to cool completely before storing. This prevents condensation, which can make the bread soggy.
Wrap each sandwich individually in plastic wrap or aluminum foil. This helps maintain freshness and prevents the sandwiches from sticking together.
Place the wrapped sandwiches in an airtight container or a resealable plastic bag. This provides an extra layer of protection against moisture and odors.
Store the sandwiches in the refrigerator if you plan to eat them within 2-3 days. This keeps them fresh and ready for a quick reheat.
For longer storage, place the wrapped sandwiches in the freezer. They can be stored for up to 1 month without losing much quality.
When ready to enjoy, reheat the sandwiches directly from the freezer. Preheat your oven to 350°F (175°C), place the sandwiches on a baking sheet, and bake for about 10-15 minutes until heated through and crispy.
Alternatively, reheat in a skillet over medium heat. Cover the skillet with a lid to ensure the inside heats evenly, flipping occasionally until the sandwich is hot and the cheese is melted.
Avoid using a microwave for reheating, as it can make the bread chewy and the cheese less appealing.
How to Reheat Leftovers
Preheat your oven to 350°F (175°C). Place the sandwich on a baking sheet and cover it loosely with foil to prevent it from drying out. Heat for about 10 minutes, or until the cheese is melty and the bread is warm.
Use a skillet over medium heat. Place the sandwich in the skillet and cover it with a lid to trap the heat. Cook for about 3-4 minutes on each side, ensuring the cheese inside is gooey and the outside remains crispy.
For a quick fix, use a microwave. Wrap the sandwich in a damp paper towel to keep it moist and heat it for about 30 seconds to 1 minute. Note that this method may not keep the bread as crispy.
If you have an air fryer, set it to 350°F (175°C) and place the sandwich inside for about 3-5 minutes. This method helps maintain the crispy exterior while warming the inside.
Use a toaster oven for a similar effect to the oven method. Set it to 350°F (175°C) and heat the sandwich for about 5-7 minutes, ensuring the cheese is melted and the bread is warm.
Essential Tools for Crafting This Sandwich
Skillet: A flat-bottomed pan used for frying, searing, and browning foods. Essential for cooking the sandwich and achieving a crispy cheese crust.
Spatula: A tool with a broad, flat, flexible blade used to flip the sandwich and ensure even cooking on both sides.
Butter knife: A small knife with a blunt edge, perfect for spreading softened butter evenly on the bread slices.
Measuring cup: Used to measure the shredded cheese accurately, ensuring the right amount for the sandwich.
Stove: Provides the heat source for the skillet, allowing you to cook the sandwich to perfection.
Cutting board: A flat surface used to assemble the sandwich and prepare ingredients before cooking.
How to Save Time on Making This Recipe
Pre-shred cheese: Buy pre-shredded cheese to save time on grating. It melts just as well and speeds up the process.
Use a large skillet: A larger skillet allows you to cook multiple sandwiches at once, cutting down on cooking time.
Room temperature butter: Keep butter at room temperature for easy spreading, ensuring even browning and quicker preparation.
Assemble ahead: Prepare the sandwiches in advance and store them in the fridge. When ready to cook, just place them in the skillet.
Quick clean-up: Line the skillet with parchment paper to reduce clean-up time after cooking.
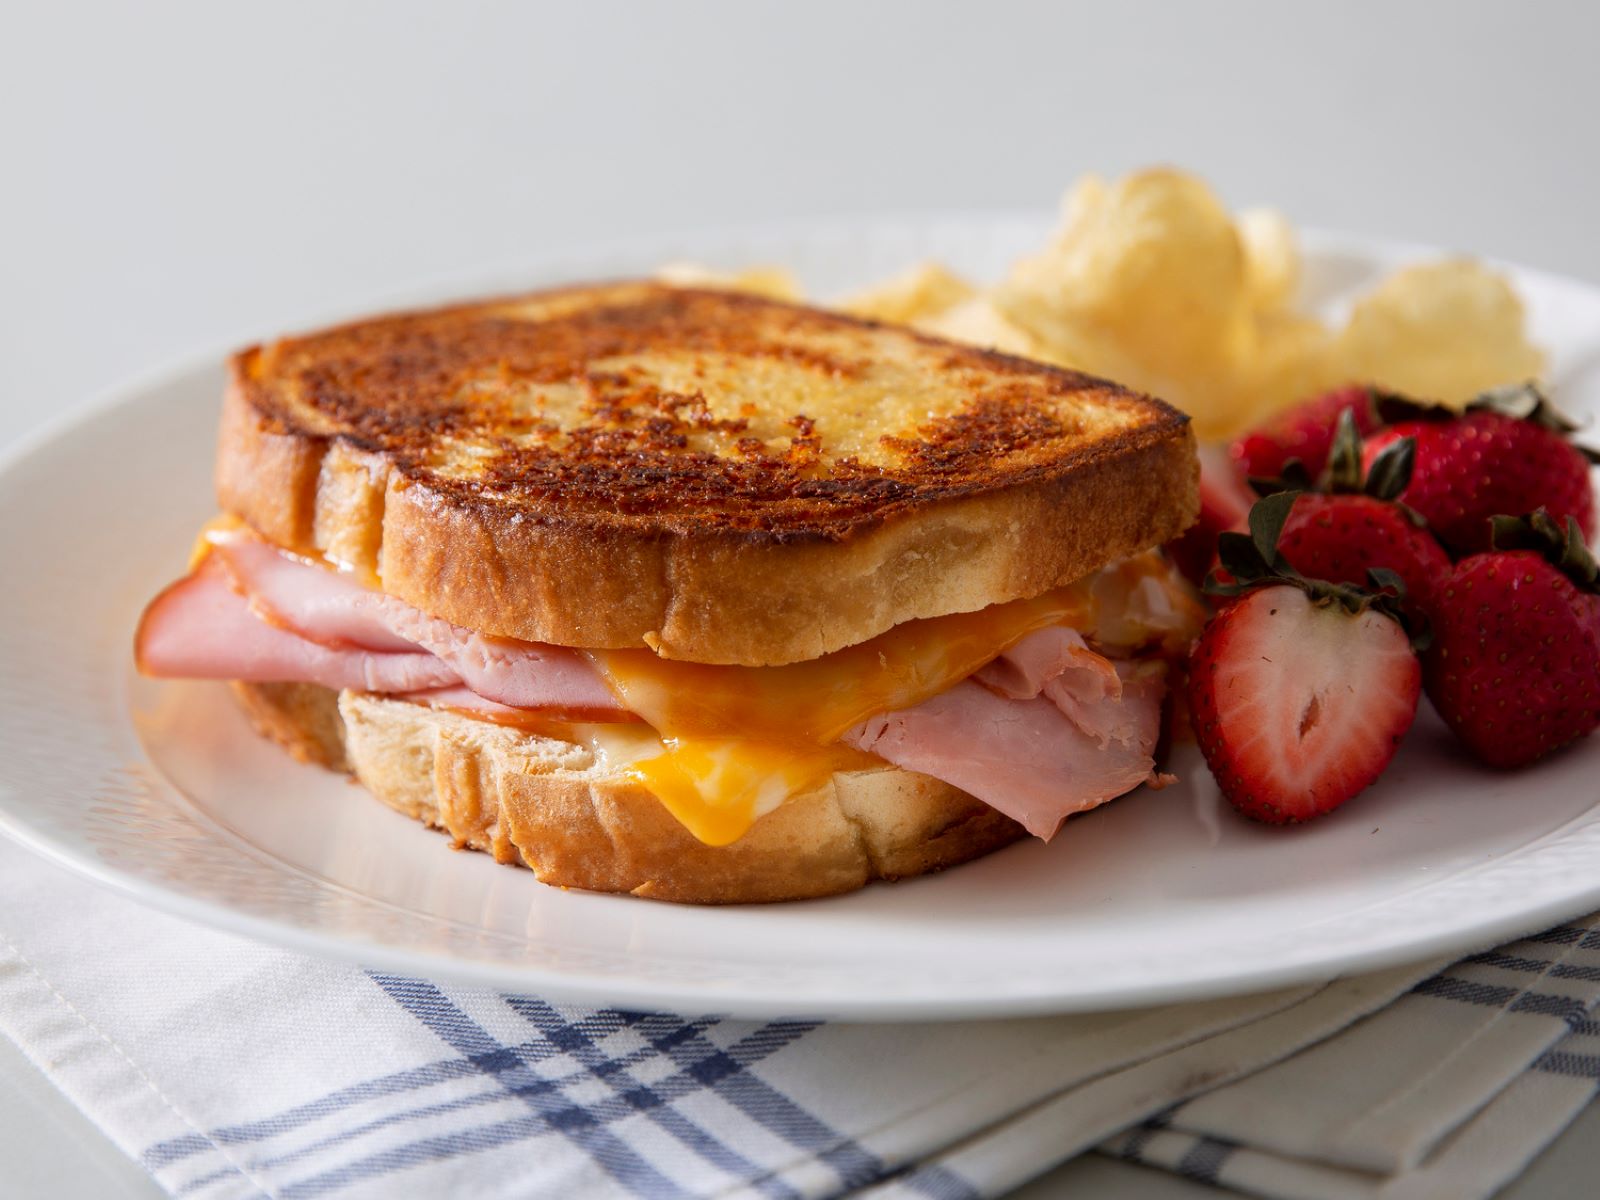
Inside Out Grilled Cheese Sandwich
Ingredients
Main Ingredients
- 4 slices Bread
- 1 cup Shredded Cheese Cheddar or your choice
- 2 tablespoon Butter Softened
Instructions
- 1. Butter one side of each bread slice.
- 2. Heat a skillet over medium heat.
- 3. Place one slice of bread, butter side down, in the skillet. Add a generous amount of shredded cheese on top.
- 4. Place the second slice of bread on top, butter side up.
- 5. Cook until the bread is golden brown and the cheese is melted, about 3-4 minutes per side.
- 6. Remove the sandwich from the skillet and sprinkle a layer of shredded cheese directly onto the skillet.
- 7. Place the sandwich back in the skillet on top of the cheese. Cook until the cheese on the outside is crispy, about 1-2 minutes per side.
- 8. Serve hot and enjoy!
Nutritional Value
Keywords
More Amazing Recipes to Try 🙂
- Pear Bread Recipe1 Hours 15 Minutes
- Spicy Tuna Fish Sandwich Recipe10 Minutes
- Keto Tuna Salad Recipe10 Minutes
- Chili Seasoning Mix Recipe5 Minutes
- Hot and Sour Soup Recipe35 Minutes
- Hatch Chili Recipe1 Hours
- Fig Preserves Recipe1 Hours 15 Minutes
- Steakhouse Wheat Bread Recipe50 Minutes
Leave a Reply