
I love making dilly beans because they add a fresh, tangy crunch to any meal. They’re a fun way to try pickling at home, and the smell of garlic and dill always makes the kitchen feel cozy. Scroll down to see how simple it is to turn green beans into a tasty snack you can enjoy for weeks.
Some ingredients like fresh dill and white vinegar might not be in your pantry right now. When you go to the supermarket, look for fresh dill in the produce section—it’s what gives these beans their bright, herby flavor. White vinegar is usually found near other vinegars or pickling supplies, and it’s important for the right tang and preserving the beans.

Ingredients for Dilly Beans Recipe
Green beans: Fresh and trimmed, these are the main vegetable that gets pickled.
White vinegar: Adds acidity and helps preserve the beans with a sharp, clean flavor.
Salt: Enhances flavor and helps with the pickling process.
Sugar: Balances the vinegar’s tartness with a touch of sweetness.
Garlic: Peeled cloves add a savory punch and aroma.
Fresh dill: Sprigs of this herb give the beans their signature dill flavor.
Technique Tip for Perfect Dilly Beans
One of the most important steps in this Dilly Beans Recipe is pouring the hot vinegar mixture over the green beans in the jars while leaving a little space at the top, called headspace. Here’s how to do it so everything turns out just right:
- After boiling the vinegar, water, salt, and sugar mixture, take the saucepan off the heat but keep it hot.
- Carefully pour the hot liquid over the packed green beans, garlic, and dill in each jar.
- Stop pouring when there’s about half an inch of space left at the top of the jar. This space is important because it lets the beans expand a little during processing without pushing the lid off.
- Wipe the rim of the jar clean before sealing it so the lid sticks well and no liquid gets trapped.
Leaving that small gap, or headspace, helps the jars seal properly when you process them in the boiling water bath. If you fill the jars all the way to the top, the liquid might bubble over and stop the lid from sealing, which can cause problems later. Plus, the vinegar mixture needs room to move and create a vacuum seal, which keeps your dilly beans fresh and tasty for weeks.
When I first tried this, I didn’t leave enough space and ended up with sticky jar rims and lids that didn’t seal well. Now, I always double-check the headspace before sealing, and it makes the whole process smoother and the pickled beans last longer. It’s a small step but one that really makes a difference!
Suggested Side Dishes
Alternative Ingredients
trimmed green beans - Substitute with asparagus spears: Asparagus has a similar texture and can absorb the pickling flavors well.
white vinegar - Substitute with apple cider vinegar: Apple cider vinegar provides a slightly sweeter and fruitier taste, which can complement the dill and garlic.
water - Substitute with vegetable broth: Vegetable broth can add an extra layer of flavor to the pickling liquid.
salt - Substitute with kosher salt: Kosher salt has a purer flavor and dissolves more easily in the pickling liquid.
sugar - Substitute with honey: Honey adds a natural sweetness and a slight floral note to the pickling brine.
peeled garlic - Substitute with shallots: Shallots provide a milder, slightly sweet onion flavor that can complement the other ingredients.
fresh dill - Substitute with dried dill: Dried dill can be used in place of fresh dill, though you should use about one-third the amount since dried herbs are more concentrated.
Alternative Recipes Similar to Dilly Beans
How to Store or Freeze Your Dilly Beans
- Ensure your dilly beans are completely cooled before storing. This helps to maintain their crisp texture and flavor.
- Store the jars in a cool, dark place, such as a pantry or cellar. The ideal temperature is between 50-70°F. This environment helps preserve the fresh dill and green beans.
- Once opened, keep the jars in the refrigerator. They should be consumed within a month for the best taste and texture.
- For long-term storage, consider freezing the dilly beans. Here’s how:
- First, remove the beans from the brine and pat them dry with a paper towel.
- Lay the beans out on a baking sheet in a single layer, ensuring they do not touch each other. This prevents them from sticking together.
- Place the baking sheet in the freezer for a few hours until the beans are frozen solid.
- Transfer the frozen beans to a freezer-safe bag or container, removing as much air as possible to prevent freezer burn.
- Label the bag with the date and contents. Frozen dilly beans can be stored for up to 6 months.
- When ready to use, thaw the beans in the refrigerator overnight. They may lose some of their crispness but will still be delicious in salads, as a snack, or as a garnish for cocktails.
- If you prefer not to freeze, you can also vacuum seal the jars for extended shelf life. This method can keep your dilly beans fresh for up to a year.
- Always check the seal of your jars before consuming. If the seal is broken or if there are any signs of spoilage, such as an off smell or mold, discard the contents immediately.
How to Reheat Leftovers
- Gently warm the dilly beans in a saucepan over low heat. Add a splash of the pickling liquid to maintain their tangy flavor and prevent them from drying out.
- Microwave the dilly beans in a microwave-safe dish. Cover with a microwave-safe lid or plastic wrap, leaving a small vent. Heat on medium power for 1-2 minutes, stirring halfway through.
- Sauté the dilly beans in a skillet with a bit of olive oil or butter. Cook over medium heat for 3-4 minutes until warmed through, adding a pinch of salt and pepper to taste.
- Steam the dilly beans by placing them in a steamer basket over boiling water. Cover and steam for 2-3 minutes until heated through, ensuring they retain their crisp texture.
- If you prefer a cold option, serve the dilly beans straight from the jar as a refreshing side dish or snack.
Essential Tools for Making Dilly Beans
Saucepan: Used to combine vinegar, water, salt, and sugar and bring the mixture to a boil.
Canning jars: Containers to pack the green beans, garlic, and dill, and to store the pickled beans.
Lid lifter: A magnetic tool to safely place lids on the jars without contaminating them.
Jar funnel: Helps to pour the hot vinegar mixture into the jars without spilling.
Boiling water bath canner: A large pot used to process the sealed jars in boiling water for preservation.
Jar lifter: A tool to safely remove hot jars from the boiling water bath.
Measuring cups: Used to measure the vinegar and water accurately.
Measuring spoons: Used to measure the salt and sugar precisely.
Tongs: Useful for handling hot jars and other items during the canning process.
Cooling rack: A place to let the jars cool down after processing.
Knife: Used to trim the green beans to the desired length.
Cutting board: A surface to trim the green beans and prepare the garlic.
Time-Saving Tips for Making Dilly Beans
Prepare ingredients in advance: Trim and wash the green beans ahead of time to streamline the process.
Use pre-peeled garlic: Save time by purchasing pre-peeled garlic cloves.
Batch process: Make a larger batch of the vinegar mixture to use for multiple jars at once.
Organize your workspace: Set up all your tools and ingredients before starting to ensure a smooth workflow.
Quick cooling: Place sealed jars in a cold water bath immediately after processing to speed up cooling.
Dilly Beans Recipe
Ingredients
Main Ingredients
- 1 lb Green Beans trimmed
- 2 cups White Vinegar
- 2 cups Water
- 1 tablespoon Salt
- 1 tablespoon Sugar
- 4 cloves Garlic peeled
- 4 sprigs Dill fresh
Instructions
- 1. In a saucepan, combine vinegar, water, salt, and sugar. Bring to a boil.
- 2. Pack green beans, garlic, and dill into canning jars.
- 3. Pour hot vinegar mixture over beans, leaving ½ inch headspace.
- 4. Seal jars and process in a boiling water bath for 10 minutes.
- 5. Let jars cool and store in a cool, dark place for at least 2 weeks before eating.
Nutritional Value
Keywords
More Amazing Recipes to Try 🙂
- Keto Dressing Recipe10 Minutes
- Teriyaki Chicken Wraps Recipe30 Minutes
- Cold Chicken Macaroni Salad Recipe25 Minutes
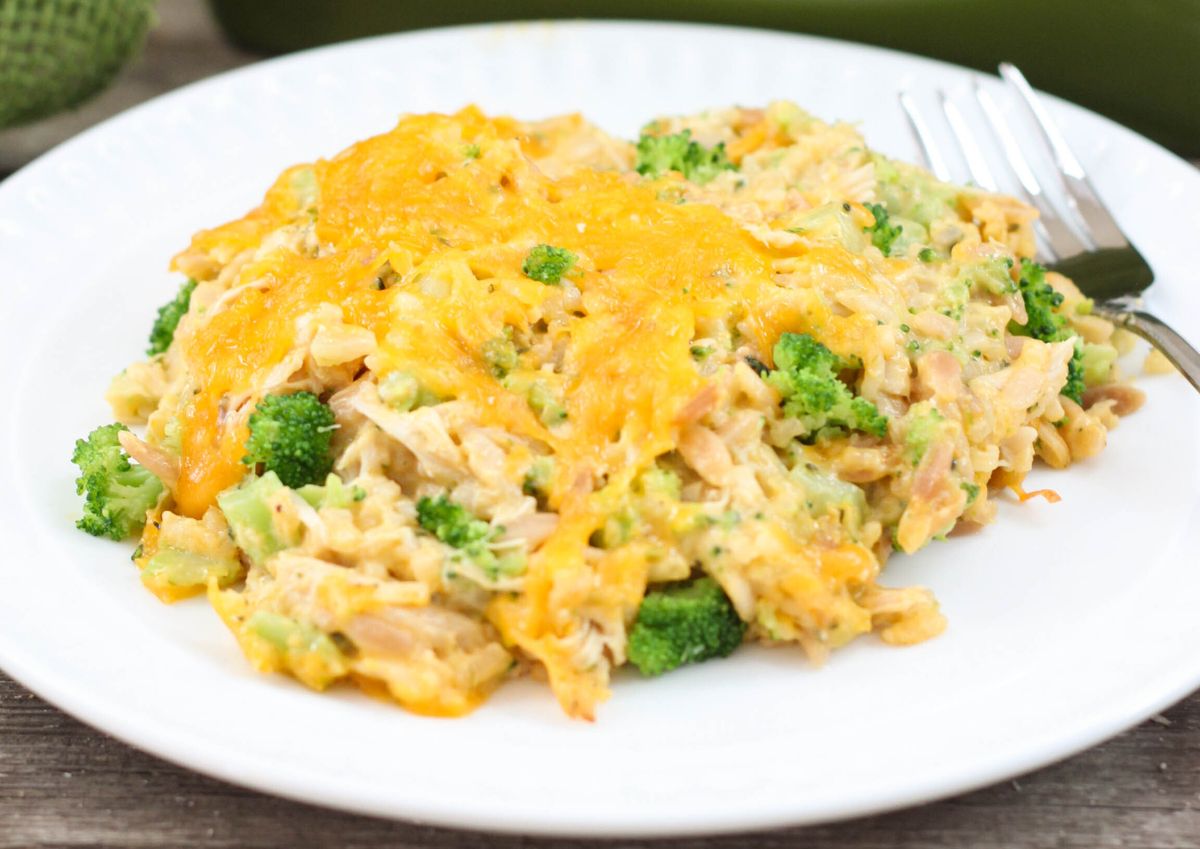
- Broccoli Rice Cheese and Chicken Casserole Recipe45 Minutes
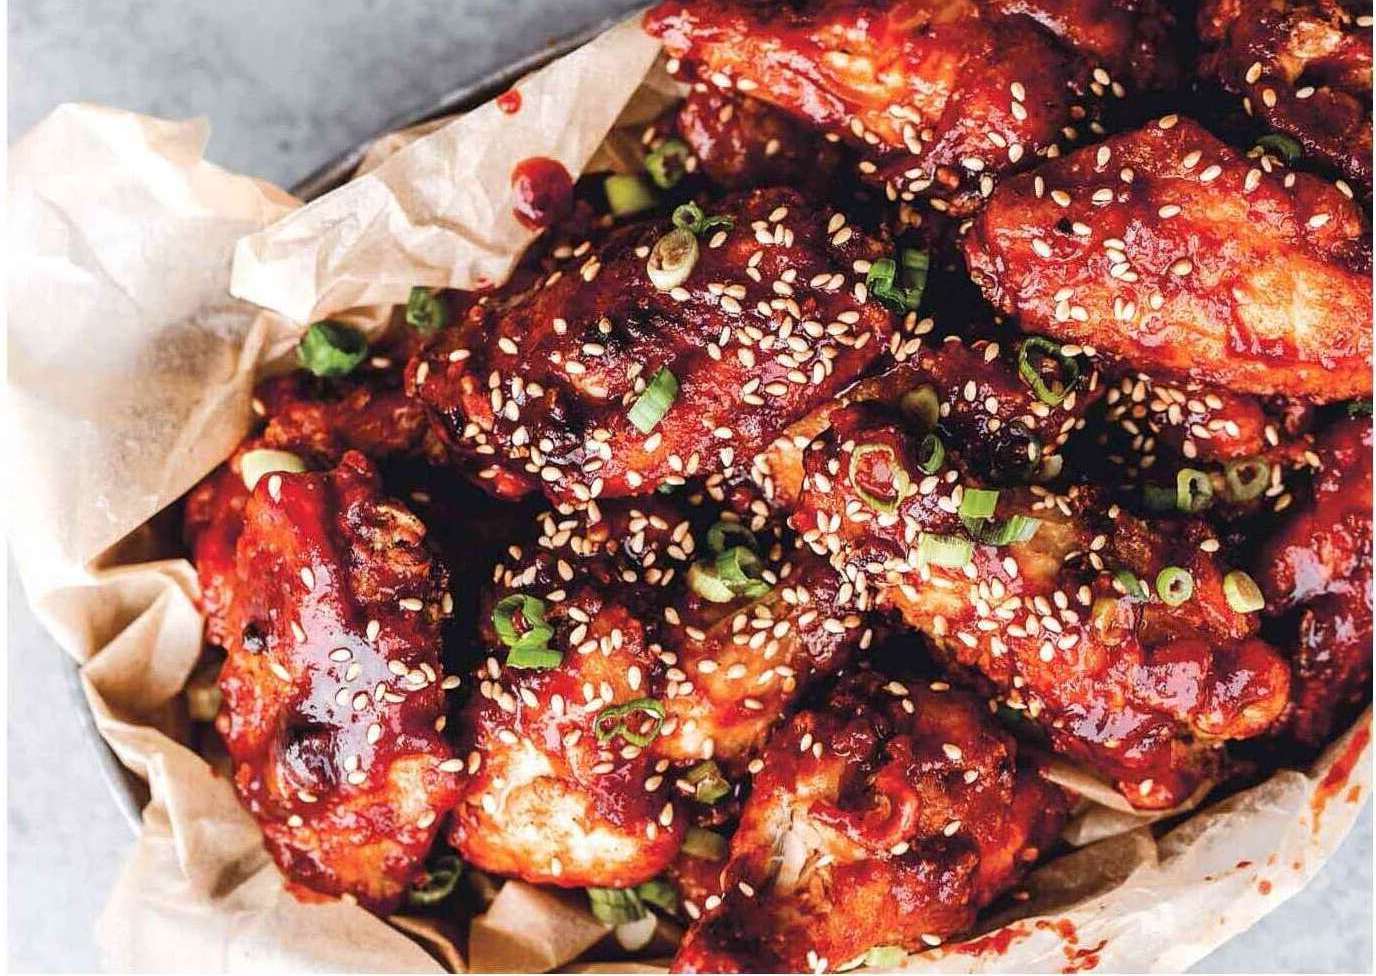
- Sweet Sticky and Spicy Chicken Recipe45 Minutes
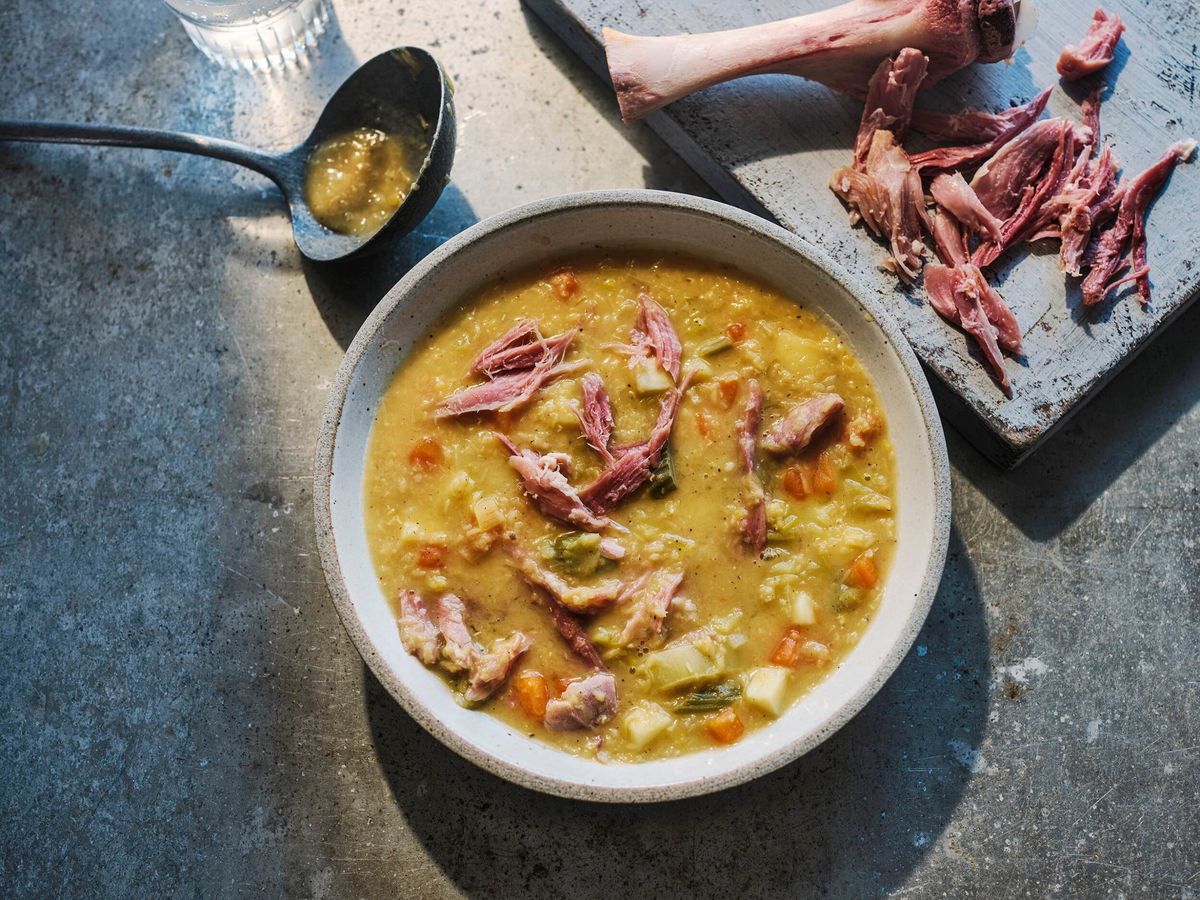
- Lentil Ham Soup Recipe1 Hours 15 Minutes
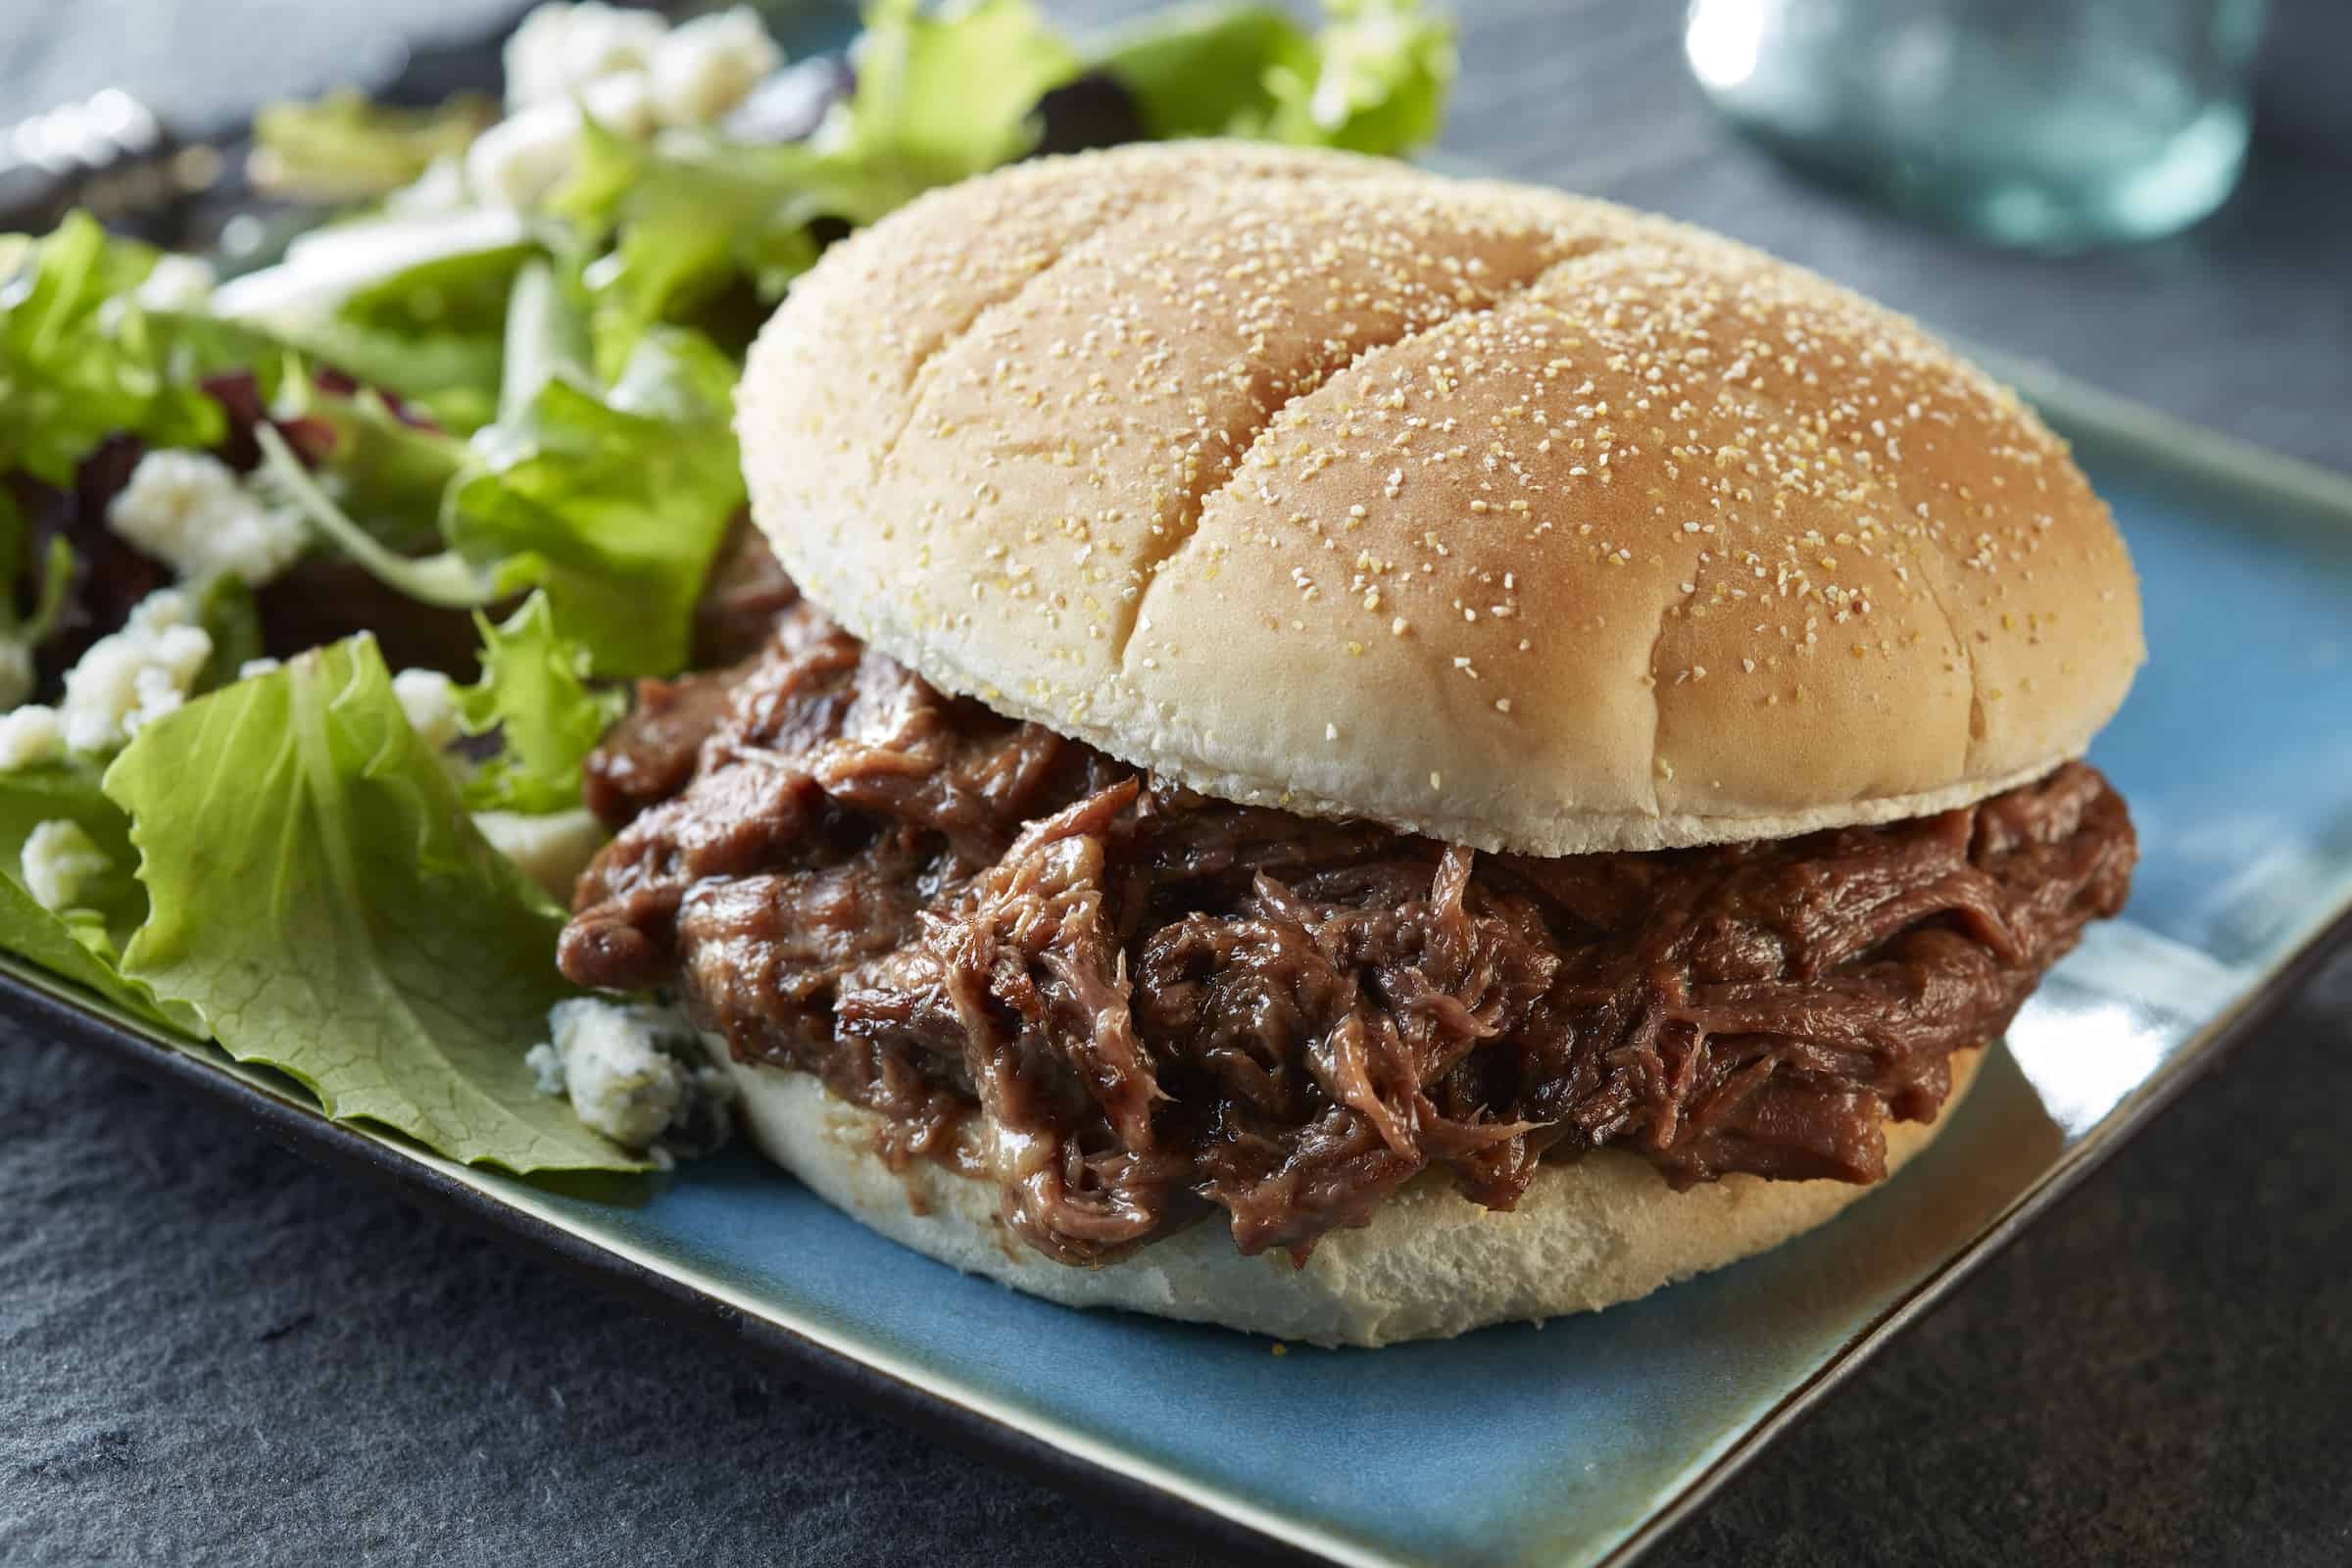
- Hot Beef Sandwiches Recipe30 Minutes
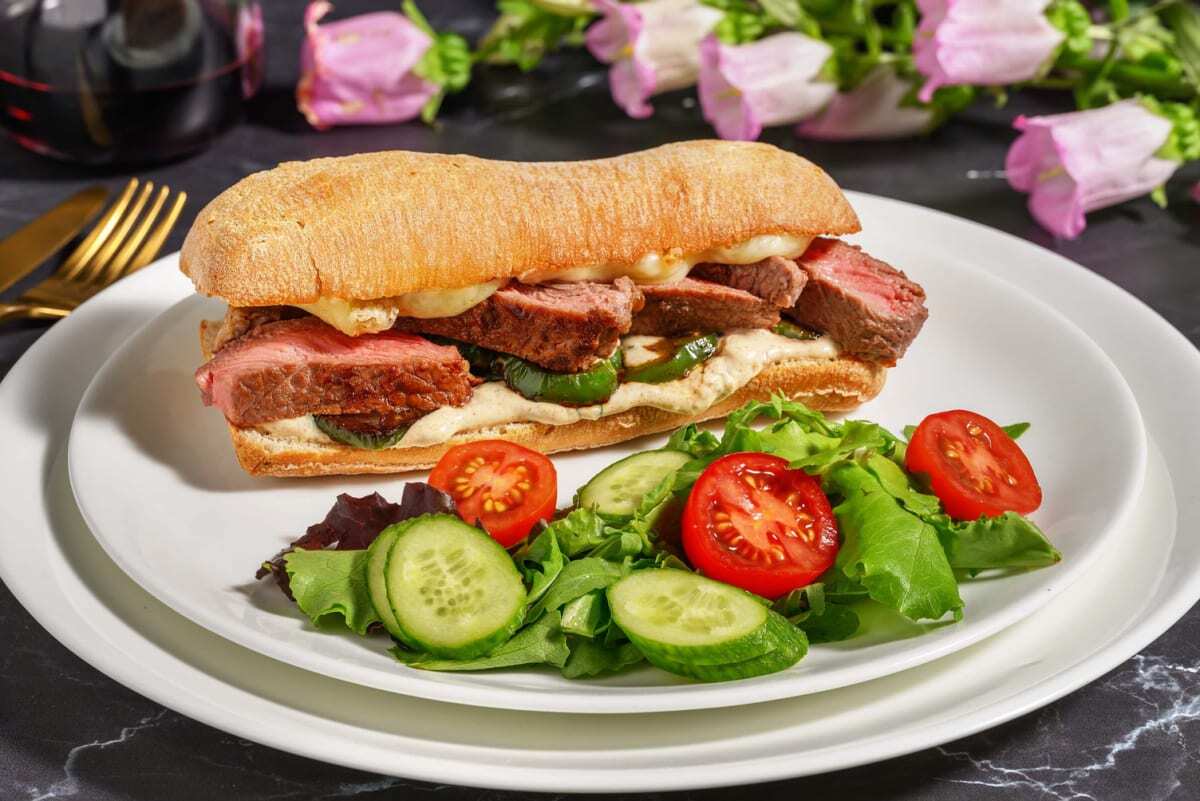
- Mexican Steak Torta Recipe30 Minutes

Leave a Reply