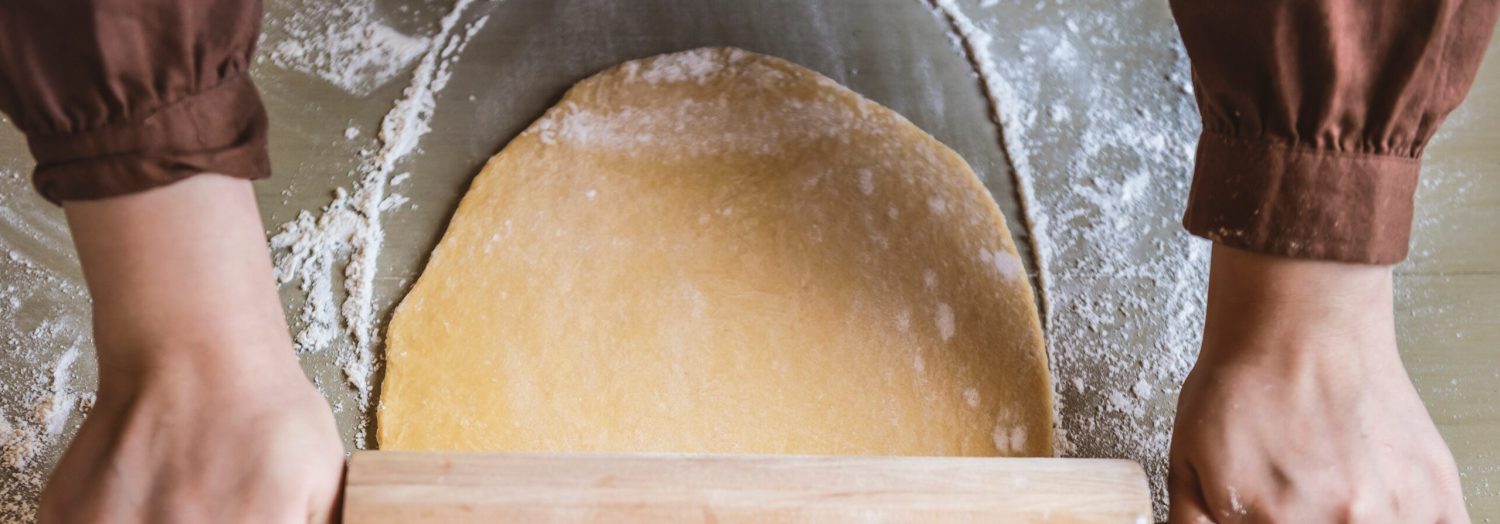

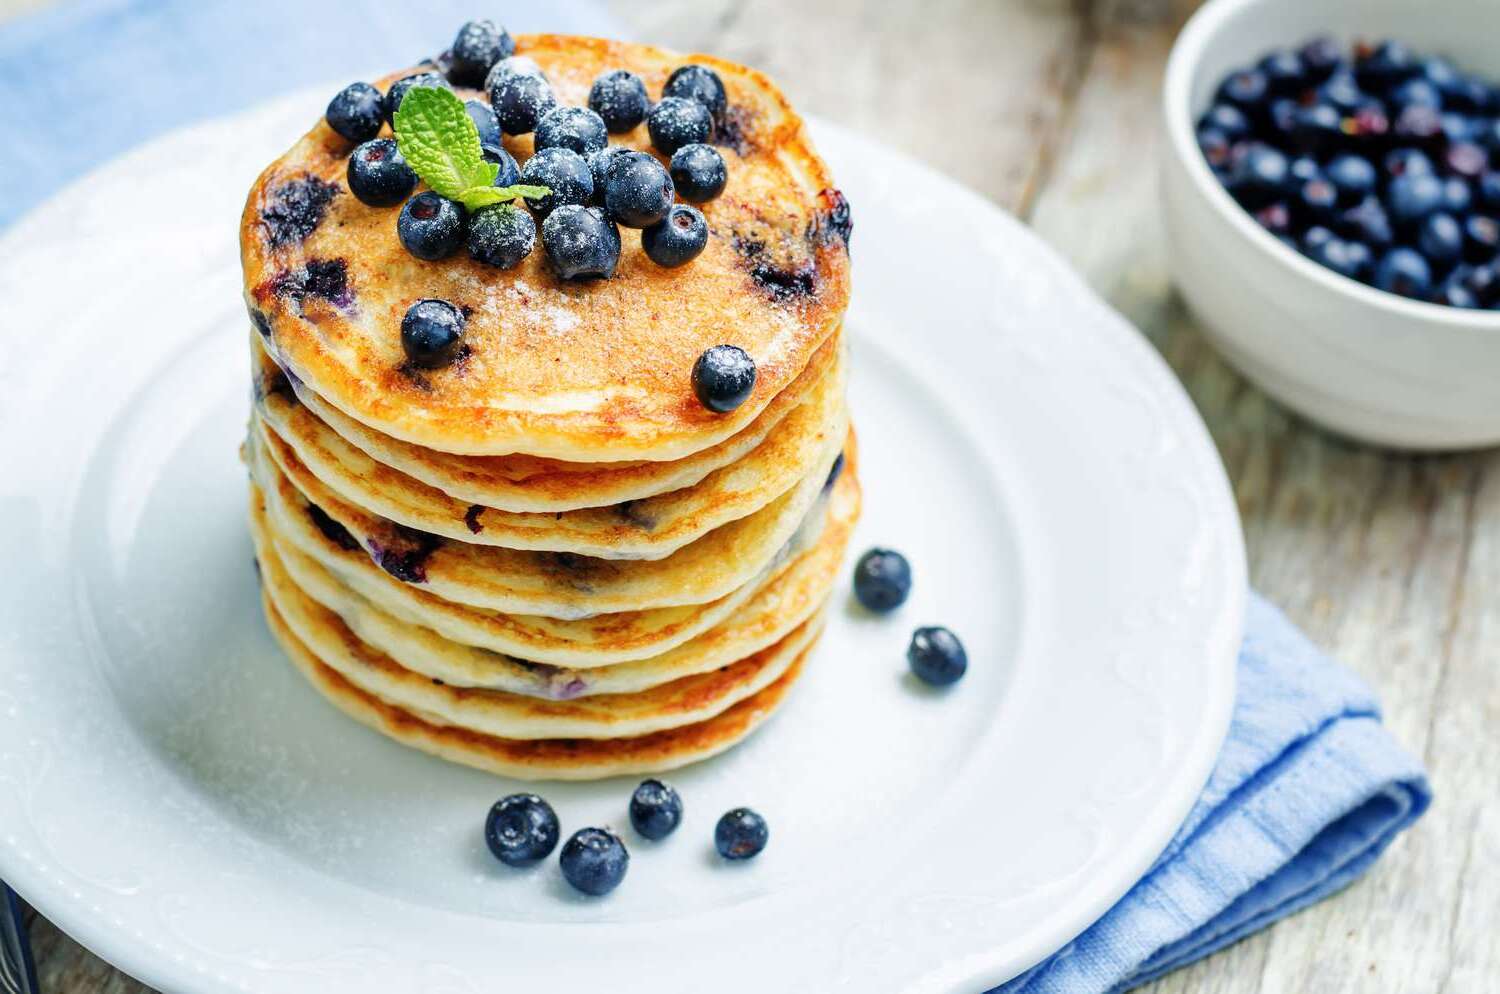
I love making these blini Russian pancakes because they are light, fluffy, and perfect for any time of day. They remind me of cozy mornings and family gatherings where everyone shares stories over warm food. I think you’ll enjoy how simple and fun they are to make, so keep scrolling to try them out!
Most of the ingredients for this recipe are common in many kitchens, like flour, eggs, and milk. The only thing you might want to check for at the supermarket is good quality melted butter, which really adds a nice flavor to the pancakes. Everything else is easy to find and probably already in your pantry.

Ingredients For Blini Russian Pancakes Recipe
Flour: This is the base of the pancakes and gives them their structure.
Milk: Adds moisture and helps create a smooth batter.
Sugar: Just a little bit to add a touch of sweetness.
Eggs: Helps bind the ingredients and makes the pancakes fluffy.
Salt: Enhances the flavors in the batter.
Melted butter: Adds richness and keeps the pancakes from sticking to the pan.
Technique Tip for Perfect Blini
One of the trickiest parts of making these Blini Russian Pancakes is getting the batter spread out thinly in the pan. If the batter is too thick or you pour too much, the pancakes can turn out thick and doughy instead of light and tender. Here’s a simple way to get that perfect thin layer every time:
- Use a small ladle or a tablespoon to scoop up the batter. This helps you control how much you pour.
- Pour the batter into the center of the pan.
- Immediately tilt and gently swirl the pan in a circular motion. This spreads the batter evenly across the surface.
- If you see any thick spots, you can use the back of a spoon or a small spatula to spread it out a bit more.
- Let the pancake cook until you see little bubbles forming on the surface—that’s your sign to flip it.
Doing this makes the pancakes cook evenly and get that lovely golden color all over. Thin pancakes also taste lighter and are easier to roll or fold with your favorite toppings.
I remember the first time I tried making these, I poured too much batter and ended up with pancakes that were more like little cakes. They took forever to cook and didn’t have that delicate texture I wanted. Once I started using a small scoop and swirling the pan, everything got so much easier and the pancakes turned out just right. Plus, it’s kind of fun to swirl the batter around like you’re making a little pancake painting!
Suggested Side Dishes
Alternative Ingredients
flour - Substitute with buckwheat flour: Buckwheat flour is traditionally used in Russian blini and offers a nutty flavor and gluten-free option.
milk - Substitute with almond milk: Almond milk provides a dairy-free alternative while maintaining a similar consistency to regular milk.
sugar - Substitute with honey: Honey adds natural sweetness and a hint of floral flavor, though it may slightly alter the texture.
eggs - Substitute with flaxseed meal: Mix 1 tablespoon of flaxseed meal with 2.5 tablespoons of water per egg for a vegan alternative that helps bind the ingredients.
salt - Substitute with sea salt: Sea salt can be used in the same quantity and provides a slightly different mineral taste.
melted butter - Substitute with coconut oil: Coconut oil is a dairy-free option that adds a subtle coconut flavor and similar moisture to the pancakes.
Alternative Recipes Similar to Blini
How to Store or Freeze These Pancakes
Allow the freshly cooked blini to cool completely on a wire rack. This prevents them from becoming soggy when stored.
Once cooled, stack the blini with a small piece of parchment paper between each one. This ensures they don't stick together, making it easier to separate them later.
Place the stacked blini in an airtight container or a resealable plastic bag. Squeeze out as much air as possible to maintain freshness.
Store the container or bag in the refrigerator if you plan to consume the blini within 2-3 days. This keeps them fresh and ready for a quick reheat.
For longer storage, place the airtight container or bag in the freezer. Blini can be frozen for up to 2 months without losing their delightful texture.
When ready to enjoy, thaw frozen blini in the refrigerator overnight. This gradual thawing helps maintain their delicate structure.
Reheat the blini in a non-stick pan over low heat or in the oven at 300°F (150°C) for a few minutes until warmed through. Avoid microwaving, as it can make them rubbery.
Serve the reheated blini with your favorite toppings, such as sour cream, smoked salmon, or a dollop of caviar, to elevate their flavor profile.
How to Reheat Leftovers
Oven Method: Preheat your oven to 350°F (175°C). Place the blini on a baking sheet lined with parchment paper. Cover them with aluminum foil to prevent drying out. Heat for about 10 minutes or until they are warmed through. This method helps maintain their soft texture.
Stovetop Method: Heat a non-stick skillet over low to medium heat. Add a small amount of butter or oil to the pan. Place the blini in the pan and cover with a lid. Heat for 1-2 minutes on each side until they are warm and slightly crispy on the edges.
Microwave Method: Place the blini on a microwave-safe plate. Cover them with a damp paper towel to keep them moist. Heat on medium power for 20-30 seconds. Check and add more time if necessary, but be cautious not to overheat, as this can make them rubbery.
Steamer Method: Fill a pot with a small amount of water and bring it to a simmer. Place the blini in a steamer basket and cover. Steam for about 3-5 minutes. This method helps retain moisture and keeps them soft.
Toaster Method: If you prefer a slightly crispy texture, place the blini in a toaster on a low setting. Toast them lightly, keeping an eye on them to prevent burning. This method is quick and adds a nice crunch.
Essential Tools for Making Blini
Mixing bowl: A large bowl used for combining and whisking the dry ingredients together.
Whisk: A tool used to blend ingredients smoothly and incorporate air into the mixture.
Frying pan: A flat-bottomed pan used for cooking the blini over medium heat.
Spatula: A utensil used for flipping the blini to cook both sides evenly.
Measuring cup: Used to measure the precise amount of flour and milk needed for the recipe.
Measuring spoons: Used to measure the sugar and melted butter accurately.
Small bowl: Used for beating the eggs before mixing them with milk and melted butter.
Butter knife: Used to lightly grease the frying pan with butter before cooking the blini.
Time-Saving Tips for Making Blini
Prepare ingredients in advance: Measure and set out all ingredients like flour, milk, and eggs before starting. This ensures a smooth cooking process.
Use a blender: Combine the wet ingredients and dry ingredients in a blender for a quick and lump-free batter.
Preheat the pan: Heat your frying pan while mixing the batter to save time when cooking.
Batch cooking: Use multiple pans or a large griddle to cook several blini at once, reducing overall cooking time.
Blini Russian Pancakes Recipe
Ingredients
Main Ingredients
- 1 cup Flour
- 1 cup Milk
- 2 tablespoon Sugar
- 2 unit Eggs
- 1 pinch Salt
- 2 tablespoon Butter melted
Instructions
- In a mixing bowl, whisk together the flour, sugar, and salt.
- In another bowl, beat the eggs and then add the milk and melted butter. Mix well.
- Gradually add the wet ingredients to the dry ingredients, whisking until smooth.
- Heat a frying pan over medium heat and lightly grease it with butter.
- Pour a small amount of batter into the pan, spreading it out thinly. Cook until bubbles form on the surface, then flip and cook until golden brown.
- Repeat with the remaining batter. Serve warm with your favorite toppings.
Nutritional Value
Keywords
Suggested Appetizers and Main Courses
More Amazing Recipes to Try 🙂
- Cold Chicken Macaroni Salad Recipe25 Minutes
- Broccoli Rice Cheese and Chicken Casserole Recipe45 Minutes
- Sweet Sticky and Spicy Chicken Recipe45 Minutes
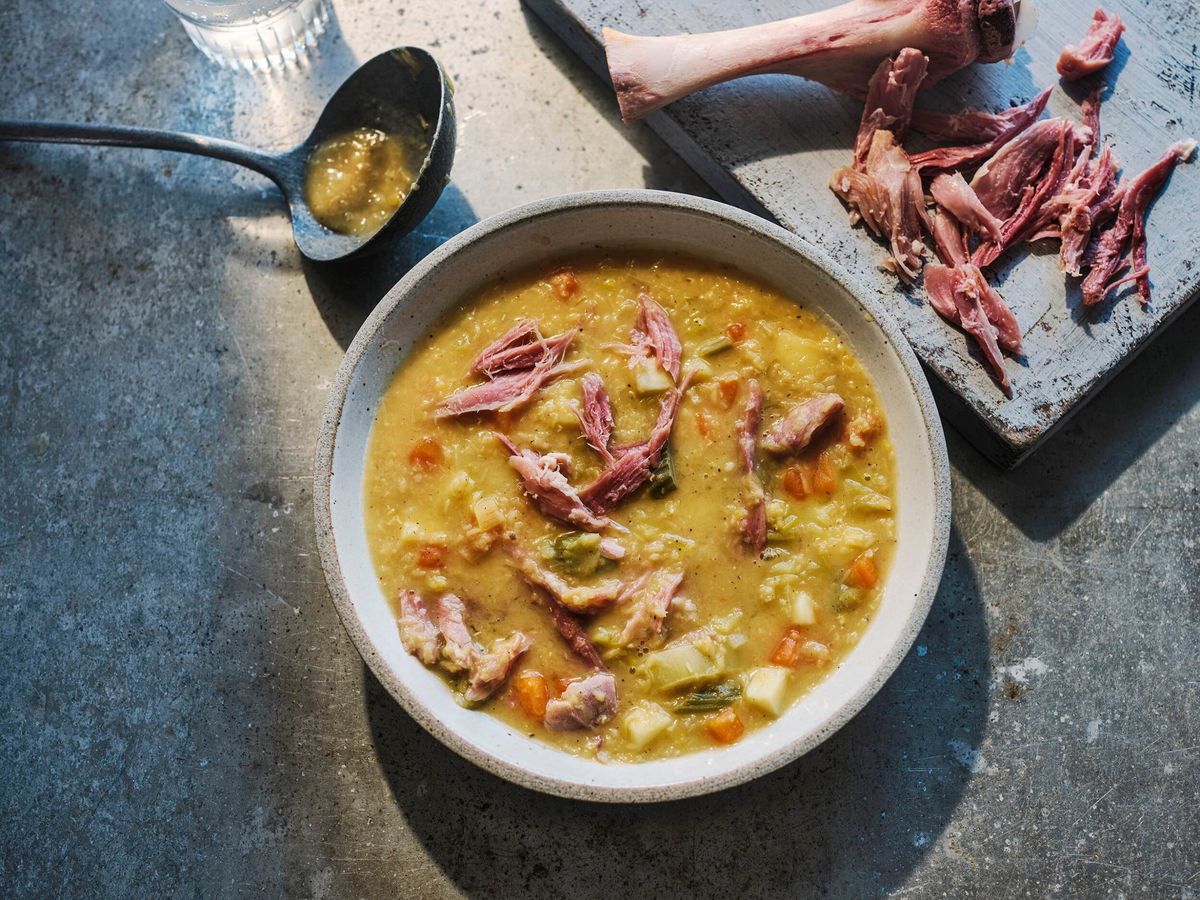
- Lentil Ham Soup Recipe1 Hours 15 Minutes
- Hot Beef Sandwiches Recipe30 Minutes
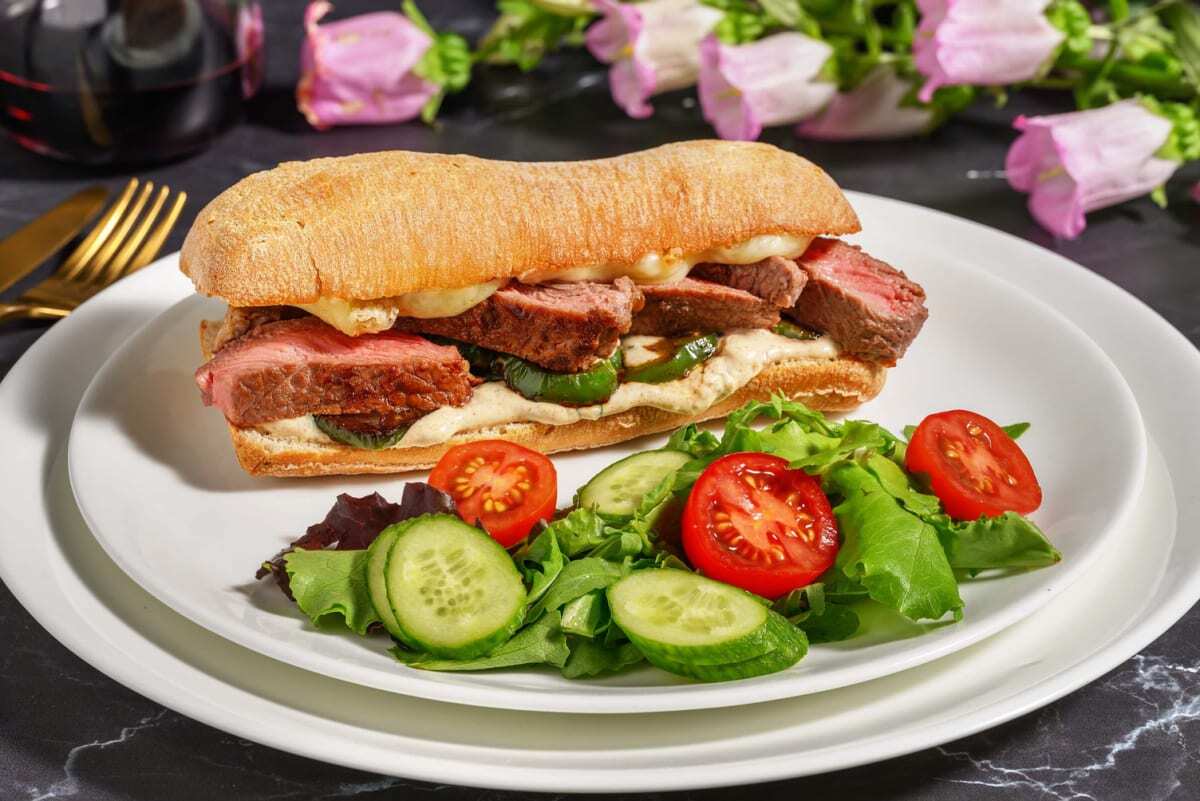
- Mexican Steak Torta Recipe30 Minutes
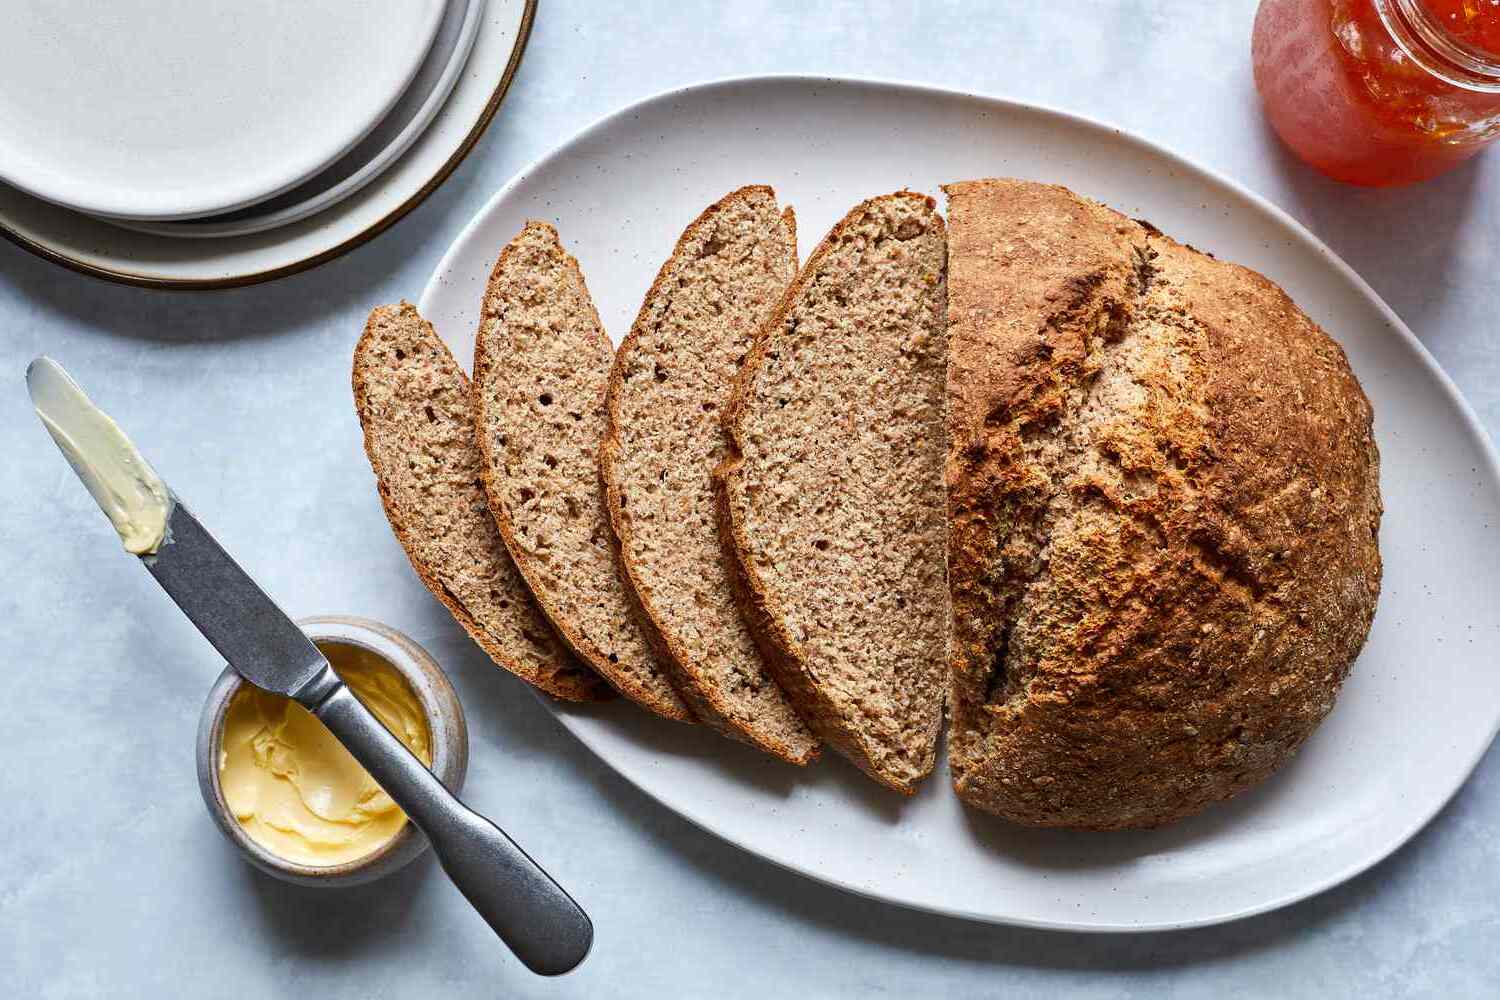
- Irish Wheaten Bread Recipe55 Minutes
- Ham Bone and Vegetable Soup Recipe2 Hours 15 Minutes




Leave a Reply