
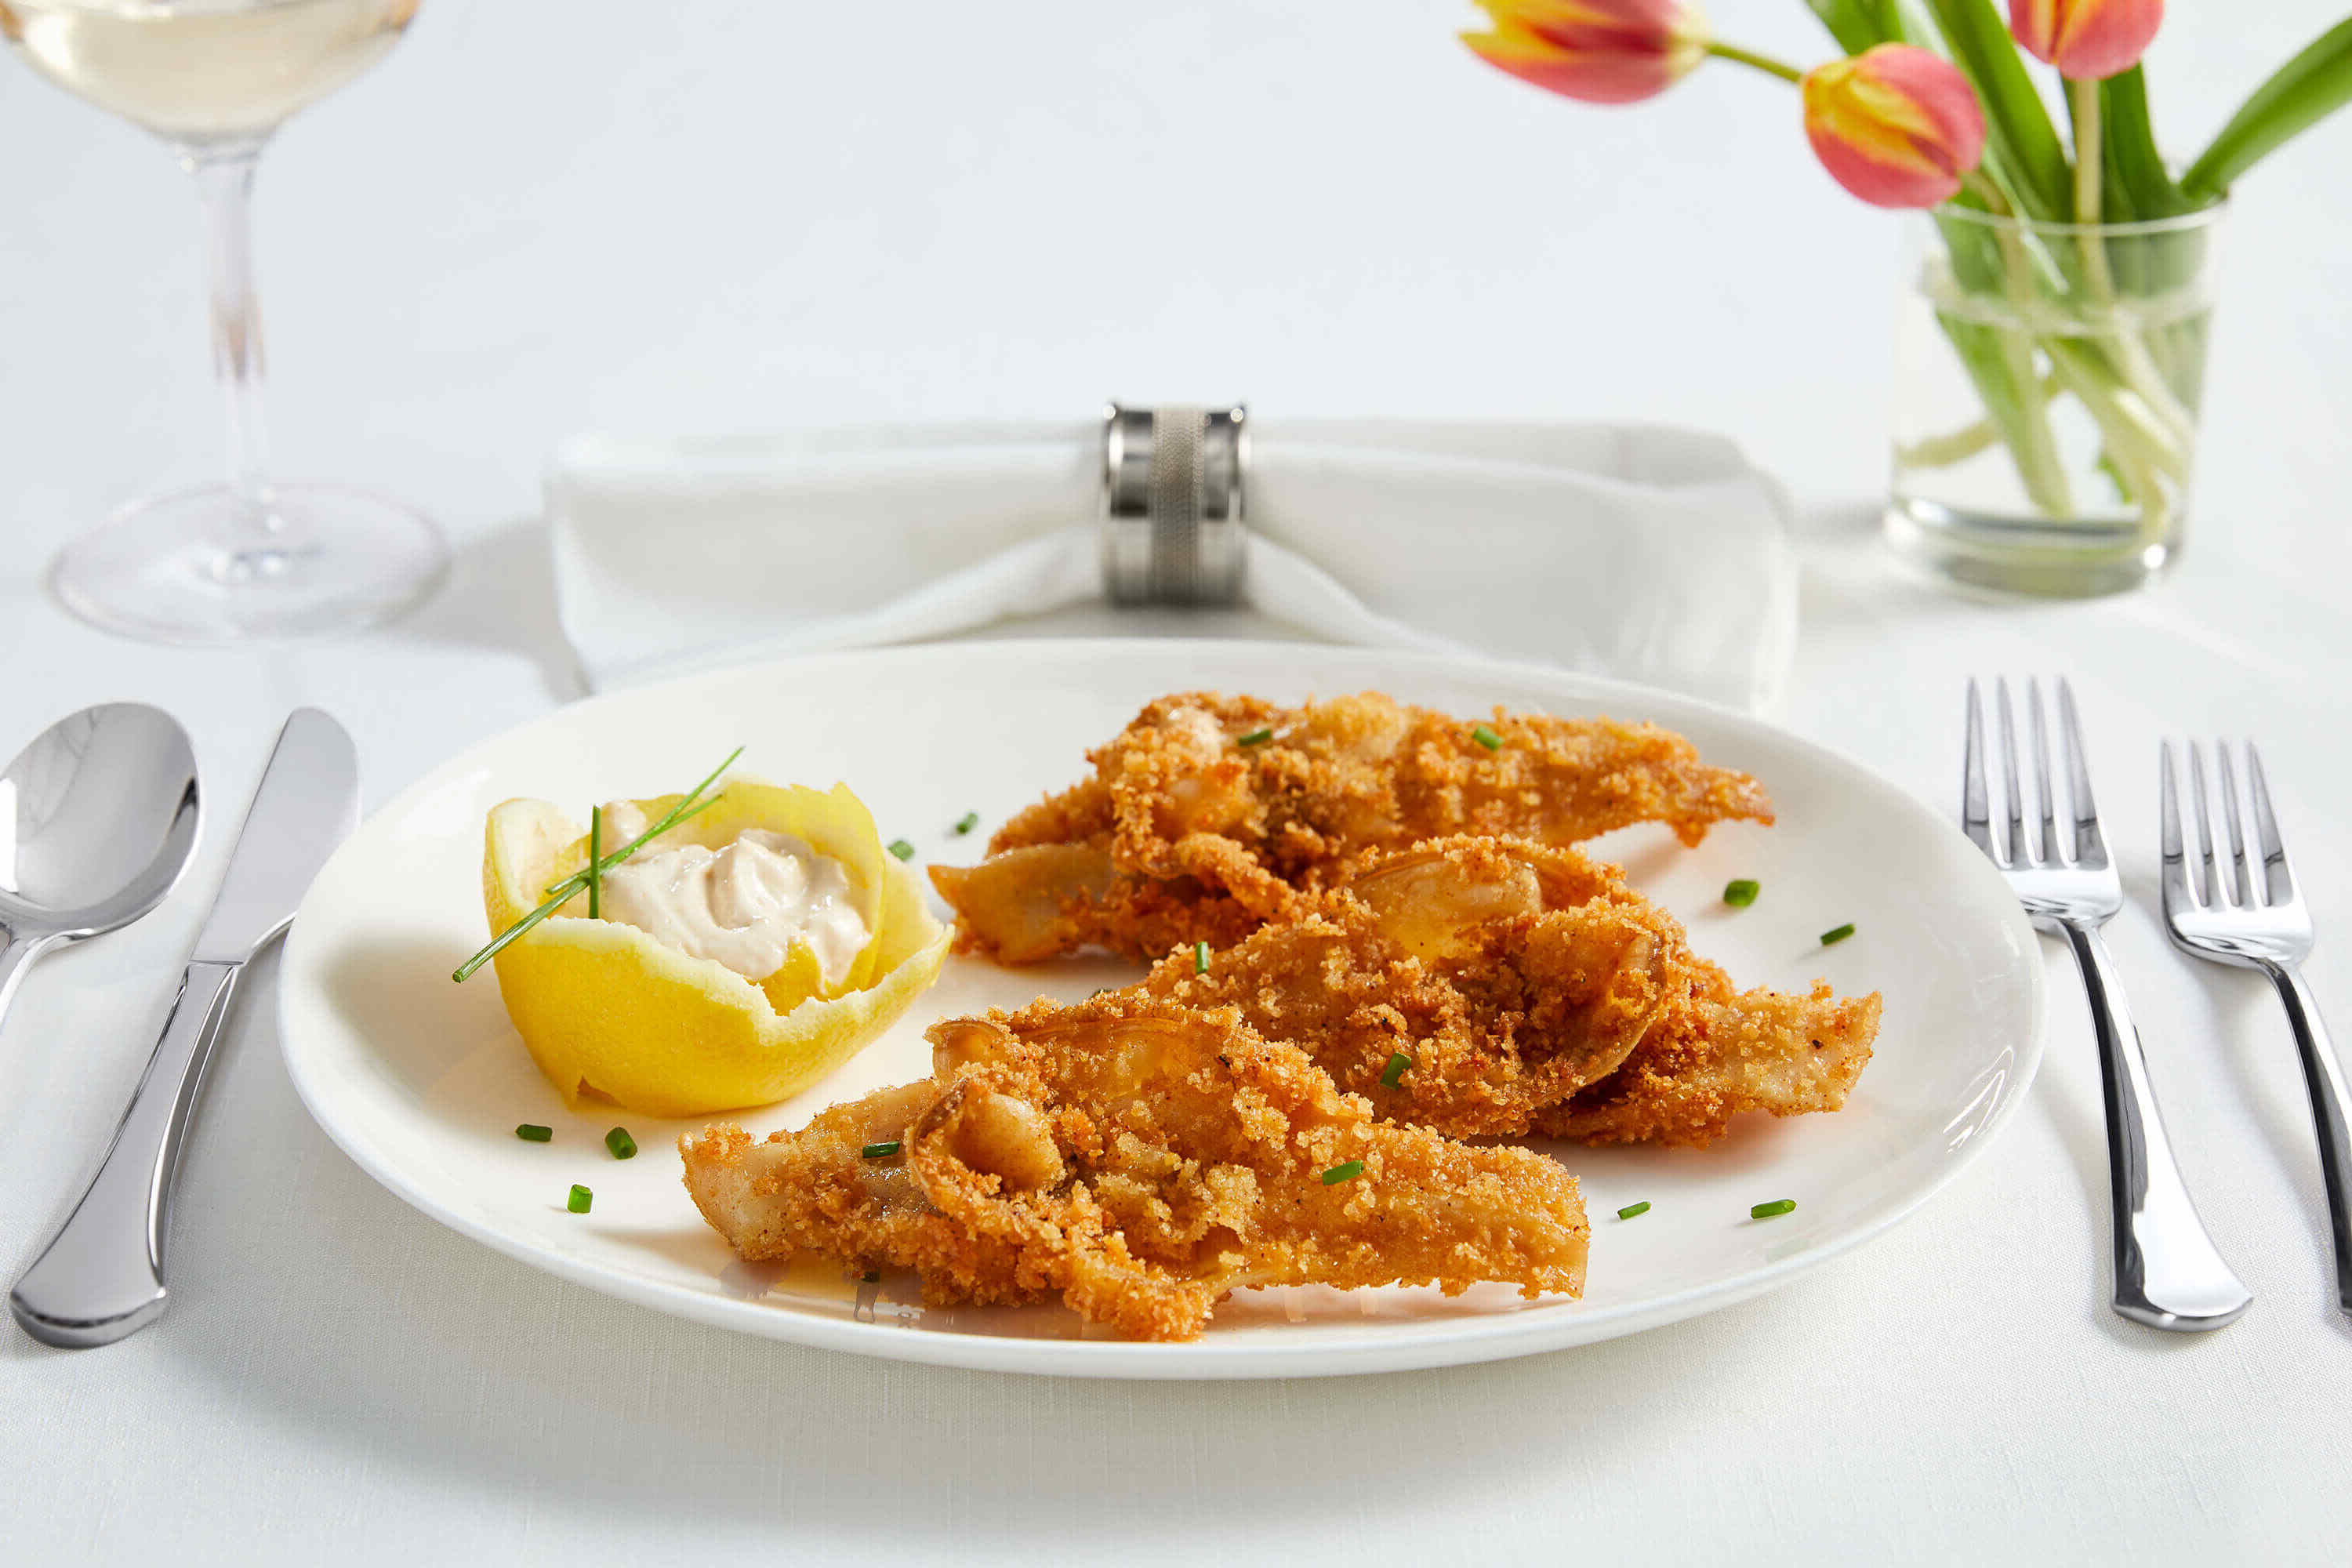
I love how crispy and light these panko breaded fried razor clams turn out every time. It’s a simple recipe that feels special, especially when you want a tasty snack or a fun meal to share. I can’t wait for you to try it and enjoy that perfect crunch with me.
Razor clams might not be something you find in every kitchen, but they are usually available at seafood markets or the fresh fish section of larger supermarkets. Panko breadcrumbs are a Japanese-style breadcrumb that gives a super crispy texture, different from regular breadcrumbs. If you don’t have panko, you can sometimes find it in the Asian foods aisle or near the baking supplies.
Ingredients For Panko Breaded Fried Razor Clams Recipe
Razor clams: These are long, thin clams with a sweet, delicate flavor that cooks quickly.
All-purpose flour: Used to help the egg and breadcrumbs stick to the clams.
Beaten eggs: Acts as a glue to hold the panko breadcrumbs on the clams.
Panko breadcrumbs: Light and flaky breadcrumbs that create a crispy coating.
Salt: Adds flavor to the clams.
Black pepper: Gives a little bit of spice and depth to the seasoning.
Vegetable oil: Used for frying the clams until golden and crispy.
Technique Tip for This Recipe
One of the most important steps in this Panko Breaded Fried Razor Clams Recipe is getting the coating just right. That means the part where you dredge the razor clams in flour, dip them in beaten eggs, and then cover them with panko breadcrumbs. Here’s a simple way to make sure your clams get a perfect, crunchy crust every time:
- First, pat the razor clams dry with a paper towel. This helps the flour stick better.
- Put the flour in one shallow dish, the beaten eggs in another, and the panko breadcrumbs in a third.
- Take each clam and gently roll it in the flour until it’s fully coated. Shake off any extra flour so it’s not clumpy.
- Next, dip the clam into the eggs, making sure it’s covered all over. The egg acts like glue for the breadcrumbs.
- Finally, press the clam into the panko breadcrumbs so it sticks well. You can even press a little with your fingers to help it stick better.
Doing it this way makes the coating stick nicely and fry up golden and crispy instead of falling off in the pan. It also helps the clams cook evenly and stay juicy inside.
When I first tried this, I didn’t shake off the extra flour well enough, and the coating got thick and soggy in spots. After I started shaking off the flour and pressing the breadcrumbs on gently, the clams came out much crunchier and looked way better. Plus, using panko breadcrumbs instead of regular breadcrumbs gives a lighter, airier crunch that’s just perfect for fried clams.
Give this method a try, and you’ll see how much easier it is to get that crispy, golden crust that makes this dish so tasty!
Suggested Side Dishes
Alternative Ingredients
razor clams - Substitute with scallops: Scallops have a similar texture and mild flavor, making them a good alternative for razor clams in fried dishes.
all-purpose flour - Substitute with rice flour: Rice flour provides a similar coating and is gluten-free, making it suitable for those with gluten sensitivities.
eggs - Substitute with buttermilk: Buttermilk can help the breadcrumbs adhere to the clams and adds a slight tangy flavor.
panko breadcrumbs - Substitute with crushed cornflakes: Crushed cornflakes offer a similar crunchy texture and can be a gluten-free option.
salt - Substitute with soy sauce: Soy sauce can add a similar salty flavor along with a bit of umami, enhancing the overall taste.
black pepper - Substitute with white pepper: White pepper has a similar heat but a slightly different flavor profile, which can add a unique twist.
vegetable oil - Substitute with canola oil: Canola oil has a high smoke point and neutral flavor, making it a good alternative for frying.
Other Alternative Recipes Similar to This Dish
How to Store / Freeze This Dish
- Allow the fried razor clams to cool completely before storing to prevent condensation, which can make them soggy.
- Place the cooled clams in an airtight container, separating layers with parchment paper to avoid sticking.
- Store the container in the refrigerator if you plan to consume them within 2-3 days.
- For longer storage, arrange the clams in a single layer on a baking sheet and freeze until solid, about 1-2 hours.
- Transfer the frozen clams to a freezer-safe bag or container, removing as much air as possible to prevent freezer burn.
- Label the container with the date to keep track of freshness; they can be stored in the freezer for up to 2 months.
- When ready to eat, reheat the clams in a preheated oven at 375°F (190°C) for 10-15 minutes or until heated through and crispy.
- Avoid microwaving as it can make the panko breading lose its crunch.
- Serve with a squeeze of lemon juice or your favorite dipping sauce for an extra burst of flavor.
How to Reheat Leftovers
Preheat your oven to 350°F. Place the razor clams on a baking sheet lined with parchment paper. Bake for about 10-12 minutes or until they are heated through and crispy.
Use an air fryer for a quick and efficient method. Set the air fryer to 350°F and arrange the razor clams in a single layer. Heat for 5-7 minutes, shaking the basket halfway through to ensure even reheating.
For a stovetop method, heat a small amount of vegetable oil in a skillet over medium heat. Add the razor clams and cook for 2-3 minutes on each side until they are warmed through and regain their crispy texture.
If you prefer using a microwave, place the razor clams on a microwave-safe plate. Cover them with a damp paper towel to prevent drying out. Heat on medium power for 1-2 minutes, checking frequently to avoid overcooking. Note that this method may not retain the original crispiness.
To steam, place the razor clams in a steamer basket over boiling water. Cover and steam for about 5 minutes. This method will keep them moist but may soften the panko breadcrumbs.
Best Tools for This Recipe
Frying pan: A large, heavy-bottomed pan is essential for evenly frying the razor clams to a golden brown.
Tongs: Useful for turning the clams while frying and for removing them from the hot oil.
Paper towels: Necessary for draining the excess oil from the fried clams.
Mixing bowls: You will need at least three bowls for the flour, beaten eggs, and panko breadcrumbs.
Whisk: Handy for beating the eggs until they are well combined.
Measuring cups: Essential for accurately measuring the flour, panko breadcrumbs, and oil.
Plate: Useful for holding the dredged clams before frying.
Slotted spoon: Can be used as an alternative to tongs for removing clams from the oil.
Thermometer: Optional but helpful for ensuring the oil is at the right temperature for frying.
Knife: Useful for any additional prep work, such as trimming the clams if necessary.
Cutting board: Provides a stable surface for any prep work involving the clams.
How to Save Time on Making This Recipe
Prep ingredients in advance: Clean and season the razor clams ahead of time to streamline the cooking process.
Organize your workspace: Arrange the flour, beaten eggs, and panko breadcrumbs in an assembly line for efficient dredging.
Use a thermometer: Ensure the oil is at the right temperature (around 350°F) to avoid undercooking or burning the clams.
Batch frying: Fry multiple clams at once without overcrowding the pan to save time and ensure even cooking.
Drain properly: Use a wire rack instead of paper towels to keep the clams crispy while draining excess oil.
Panko Breaded Fried Razor Clams
Ingredients
Main Ingredients
- 1 lb Razor clams cleaned
- 1 cup All-purpose flour
- 2 Eggs beaten
- 1 cup Panko breadcrumbs
- 1 teaspoon Salt
- ½ teaspoon Black pepper
- ½ cup Vegetable oil for frying
Instructions
- 1. Season the razor clams with salt and pepper.
- 2. Dredge the clams in flour, then dip in beaten eggs, and coat with panko breadcrumbs.
- 3. Heat oil in a frying pan over medium heat.
- 4. Fry the clams until golden brown, about 2-3 minutes per side.
- 5. Drain on paper towels and serve hot.
Nutritional Value
Keywords
Suggested Appetizers and Desserts
More Amazing Recipes to Try 🙂
- Turkey Brine Recipe15 Minutes
- Vegan Breaded Tofu Recipe35 Minutes
- Air Fryer Vegan Buffalo Cauliflower Recipe30 Minutes
- Lemon Posset Recipe15 Minutes
- Banana Coconut Loaf Recipe1 Hours 15 Minutes
- Pear Bread Recipe1 Hours 15 Minutes
- Spicy Tuna Fish Sandwich Recipe10 Minutes
- Keto Tuna Salad Recipe10 Minutes
Leave a Reply