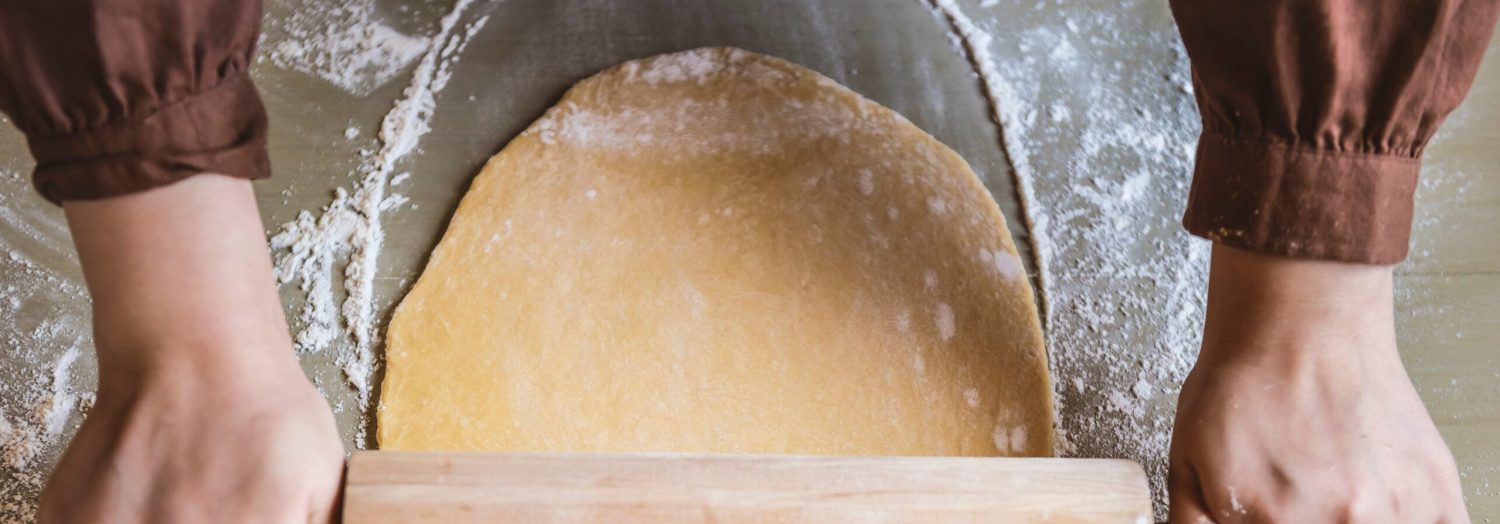

I love making onion rings because they are crispy, tasty, and perfect for sharing with friends or family. There’s something special about biting into a golden, crunchy ring that makes any meal feel a little more fun. Scroll down to see how simple it is to make these at home!
Most of the ingredients for this onion rings recipe are common in many kitchens, like flour, salt, and milk. If you don’t have baking powder or bread crumbs, you can find them easily at the supermarket near the baking or snack aisles. The oil for frying should be something with a high smoke point, like vegetable or canola oil, so the rings get perfectly crispy without burning.
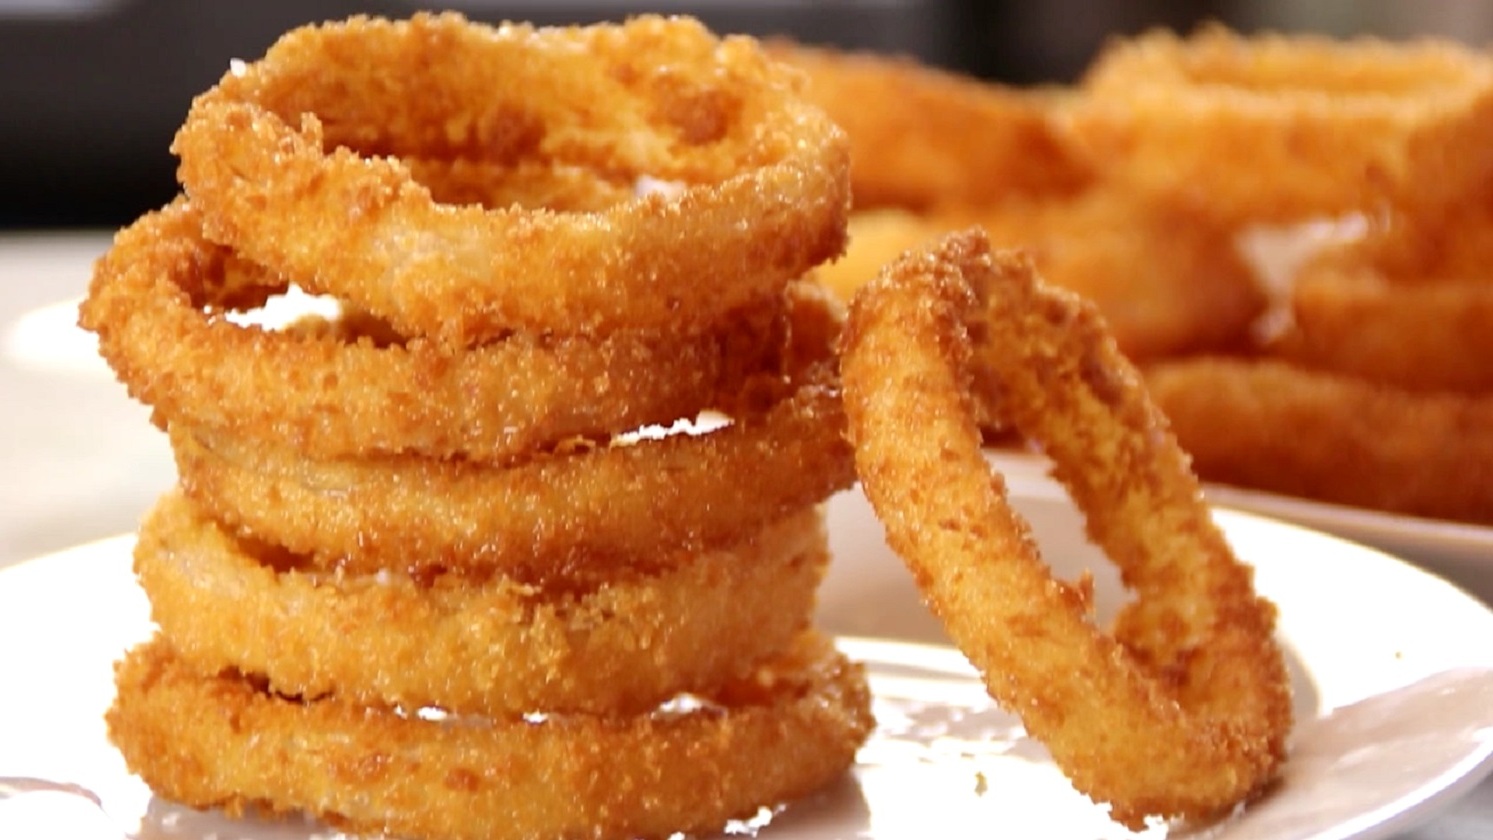
Ingredients for Onion Rings Recipe
Onions: The main ingredient, sliced into rings to get that classic shape and crunch.
All-purpose flour: Used to coat the onion rings and help the batter stick.
Baking powder: Helps make the batter light and crispy when fried.
Salt: Adds flavor to both the batter and the finished onion rings.
Milk: Mixed into the batter to create a smooth coating.
Bread crumbs: Give the onion rings a crunchy outer layer.
Oil for frying: Needed to deep fry the rings until golden and crispy.
Technique Tip
One of the trickiest parts of making these onion rings is getting the batter to stick just right before you coat them in bread crumbs. Here’s how you can do it step by step:
- First, dip your onion rings into the dry flour mixture. This helps the wet batter stick better.
- Next, dip the floured rings into the batter you made by mixing milk, egg, and the flour mixture. Make sure each ring is fully covered.
- After that, place the rings on a wire rack and wait until the batter stops dripping. This is important because if the batter is too runny, the bread crumbs won’t stick well.
- Finally, press each ring into the bread crumbs and tap off the extra crumbs. The crumbs should cling tightly to the batter.
Doing this makes the onion rings crispy and golden when you fry them. If the batter is too thin or dripping, the crumbs slide right off, and you end up with a messy fry. Waiting for the batter to set a little before coating helps everything stick perfectly.
I remember the first time I made these, I got impatient and didn’t wait for the batter to stop dripping. The crumbs just fell off in the oil, and my onion rings looked sad and patchy. Now, I always give them a minute on the rack, and it makes a huge difference. Also, tapping the rings after coating helps shake off loose crumbs so they don’t burn in the oil.
This little extra step makes frying smoother and your onion rings taste way better—crispy on the outside and soft on the inside, just like you want!
Suggested Side Dishes
Alternative Ingredients
onions - Substitute with shallots: Shallots have a milder flavor and can provide a similar texture when sliced into rings.
all-purpose flour - Substitute with rice flour: Rice flour can make the batter lighter and crispier, and it's also gluten-free.
baking powder - Substitute with club soda: Club soda can help create a light and airy batter without the need for baking powder.
salt - Substitute with soy sauce: Soy sauce can add a depth of flavor and a bit of saltiness to the batter.
milk - Substitute with buttermilk: Buttermilk adds a tangy flavor and helps tenderize the onion rings.
bread crumbs - Substitute with panko: Panko bread crumbs are lighter and can create a crispier coating.
oil for frying - Substitute with peanut oil: Peanut oil has a high smoke point and a neutral flavor, making it ideal for frying.
Other Alternative Recipes
How to Store / Freeze Your Onion Rings
Allow the onion rings to cool completely after frying. This prevents condensation and sogginess when storing.
Place the cooled onion rings in a single layer on a baking sheet lined with parchment paper. Ensure they are not touching to avoid sticking together.
Freeze the baking sheet with the onion rings for about 1-2 hours, or until they are solid. This step is crucial for maintaining their shape and texture.
Transfer the frozen onion rings to a resealable plastic freezer bag or an airtight container. Label the bag or container with the date for reference.
Store the onion rings in the freezer for up to 3 months. For best results, consume them within this period to enjoy their optimal flavor and crunch.
To reheat, preheat your oven to 375°F (190°C). Place the frozen onion rings on a baking sheet in a single layer.
Bake for 10-15 minutes, or until they are heated through and crispy. You can also use an air fryer for a quicker and equally crispy result.
Avoid microwaving the onion rings as it can make them soggy and lose their delightful crunch.
How to Reheat Leftovers
Preheat your oven to 375°F (190°C). Arrange the leftover onion rings on a baking sheet in a single layer. Bake for 10-15 minutes, flipping halfway through, until they are crispy and heated through.
Use an air fryer for a quick and efficient method. Preheat the air fryer to 350°F (175°C). Place the onion rings in the basket in a single layer. Air fry for 3-5 minutes, shaking the basket halfway through, until they regain their crispiness.
For a stovetop method, heat a non-stick skillet over medium heat. Add a small amount of oil to the pan. Place the onion rings in the skillet and cook for 2-3 minutes on each side, until they are hot and crispy.
If you have a toaster oven, preheat it to 375°F (190°C). Place the onion rings on the toaster oven tray in a single layer. Toast for 10-12 minutes, flipping halfway through, until they are heated and crispy.
For a microwave method, although not recommended for maintaining crispiness, place the onion rings on a microwave-safe plate lined with a paper towel. Microwave on high for 20-30 seconds, checking frequently, until they are heated through.
Best Tools for This Recipe
Deep fryer: Essential for heating the oil to the precise temperature needed for frying the onion rings to a perfect golden brown.
Small bowl: Used to combine the flour, baking powder, and salt mixture.
Wire rack: Allows the battered onion rings to drain until the batter stops dripping.
Fork: Useful for whisking the milk and egg into the flour mixture.
Plate or shallow dish: Ideal for spreading out the bread crumbs and coating the onion rings.
Paper towels: Necessary for draining the excess oil from the fried onion rings.
Tongs: Handy for placing the onion rings into the oil and removing them once they are cooked.
Knife: Needed for slicing the onions into rings.
Cutting board: Provides a safe surface for slicing the onions.
Measuring cups: Ensures accurate measurement of ingredients like flour, milk, and bread crumbs.
Measuring spoons: Used to measure small quantities of ingredients such as baking powder and salt.
How to Save Time on This Recipe
Prepare ingredients in advance: Slice the onions and measure out the flour, baking powder, and salt ahead of time.
Use a deep fryer: A deep fryer maintains a consistent temperature, ensuring even cooking and saving you from constantly adjusting the heat.
Double coat efficiently: Set up a breading station with flour mixture, batter, and bread crumbs in a row to streamline the coating process.
Batch frying: Fry multiple onion rings at once without overcrowding to save time and ensure they cook evenly.
Onion Rings Recipe
Ingredients
Main Ingredients
- 2 large Onions sliced into rings
- 1 cup All-purpose flour
- 1 teaspoon Baking powder
- 1 teaspoon Salt
- 1 cup Milk
- 1 cup Bread crumbs
- 1 quart Oil for frying
Instructions
- Heat the oil in a deep fryer to 375°F (190°C).
- In a small bowl, combine flour, baking powder, and salt.
- Dip the onion rings into the flour mixture until they are all coated; set aside.
- Whisk the milk and egg into the flour mixture using a fork. Dip the floured rings into the batter to coat, then place on a wire rack to drain until the batter stops dripping.
- Spread the bread crumbs out on a plate or shallow dish. Place rings one at a time into the crumbs, and scoop the crumbs up over the rings to coat. Give it a hard tap as you remove it from the crumbs. The coating should cling very well. Repeat with remaining rings.
- Deep fry the rings a few at a time for 2 to 3 minutes, or until golden brown. Remove to paper towels to drain. Season with salt, and serve.
Nutritional Value
Keywords
Suggested Main Courses and Desserts
More Amazing Recipes to Try 🙂
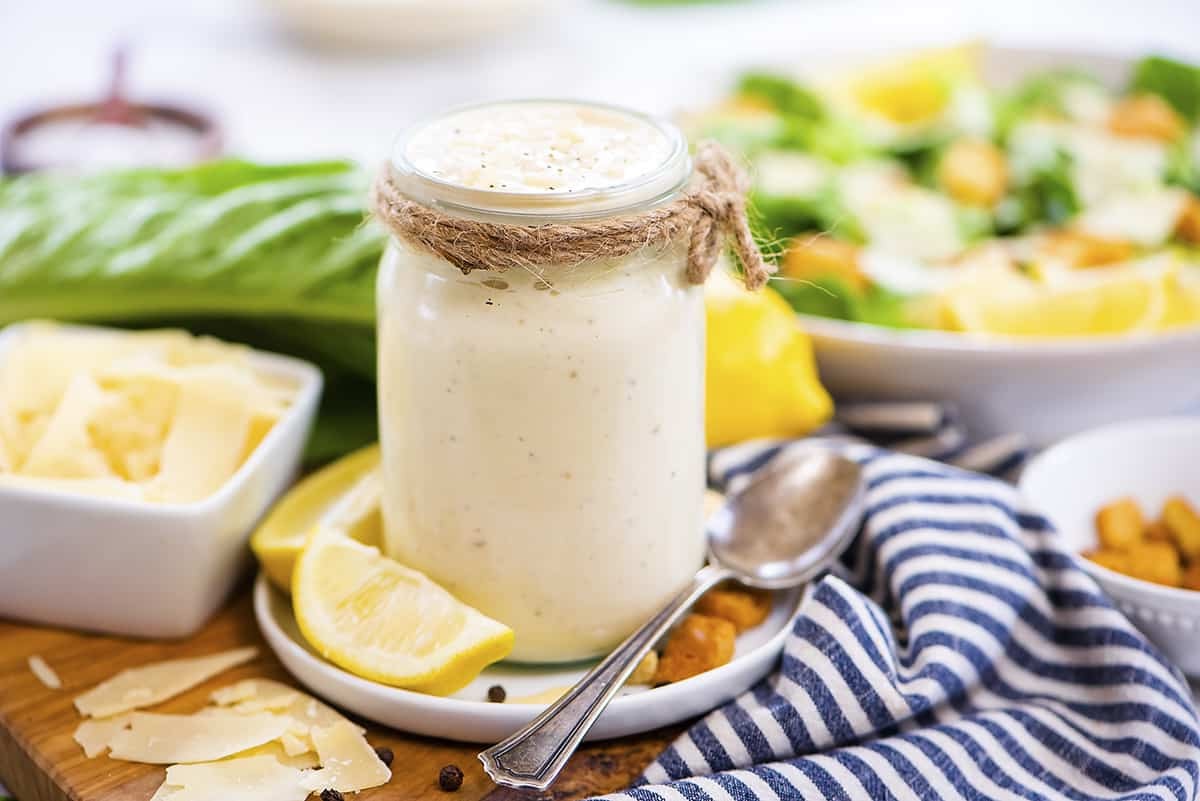
- Keto Dressing Recipe10 Minutes
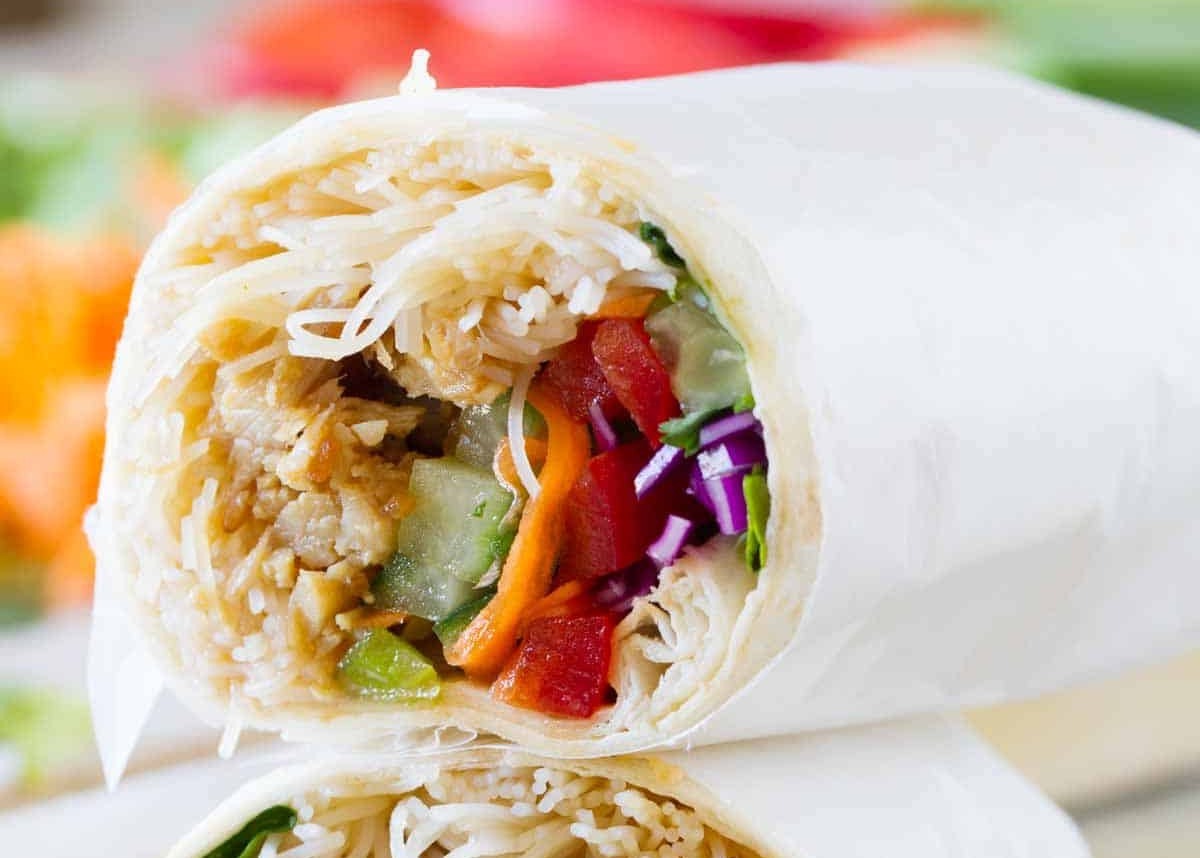
- Teriyaki Chicken Wraps Recipe30 Minutes
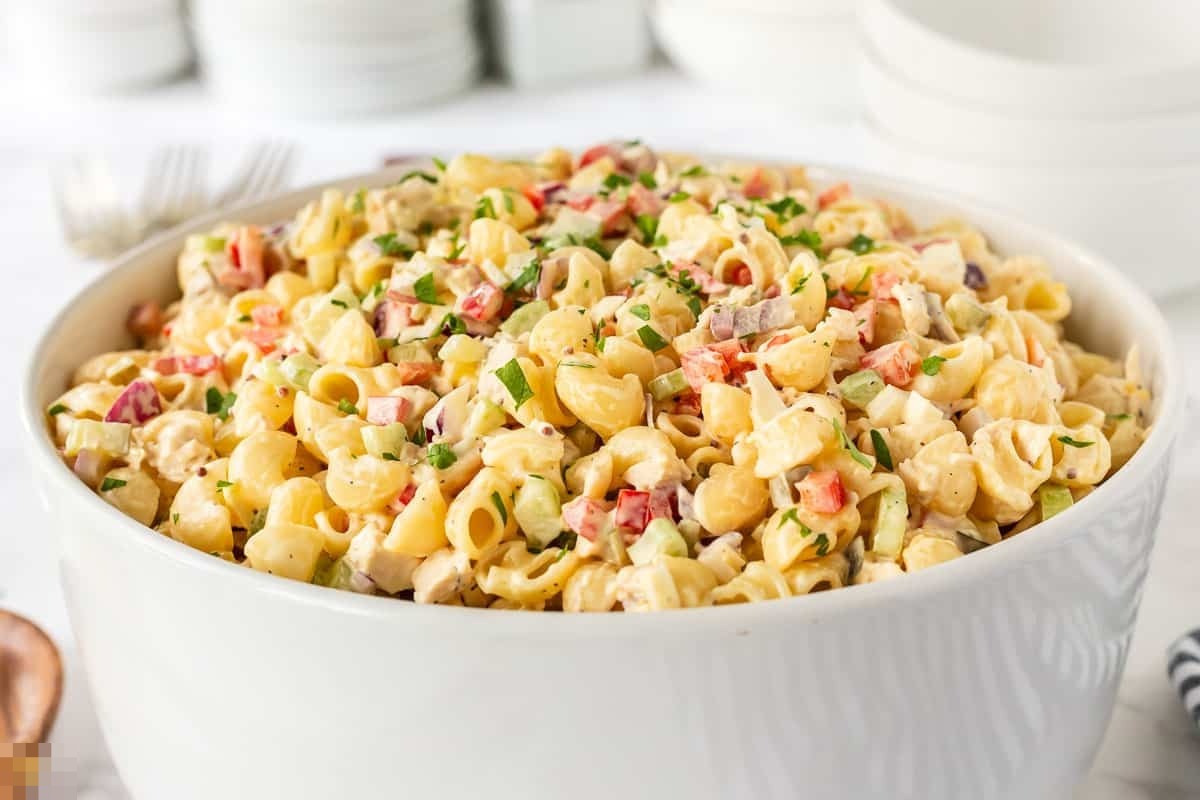
- Cold Chicken Macaroni Salad Recipe25 Minutes
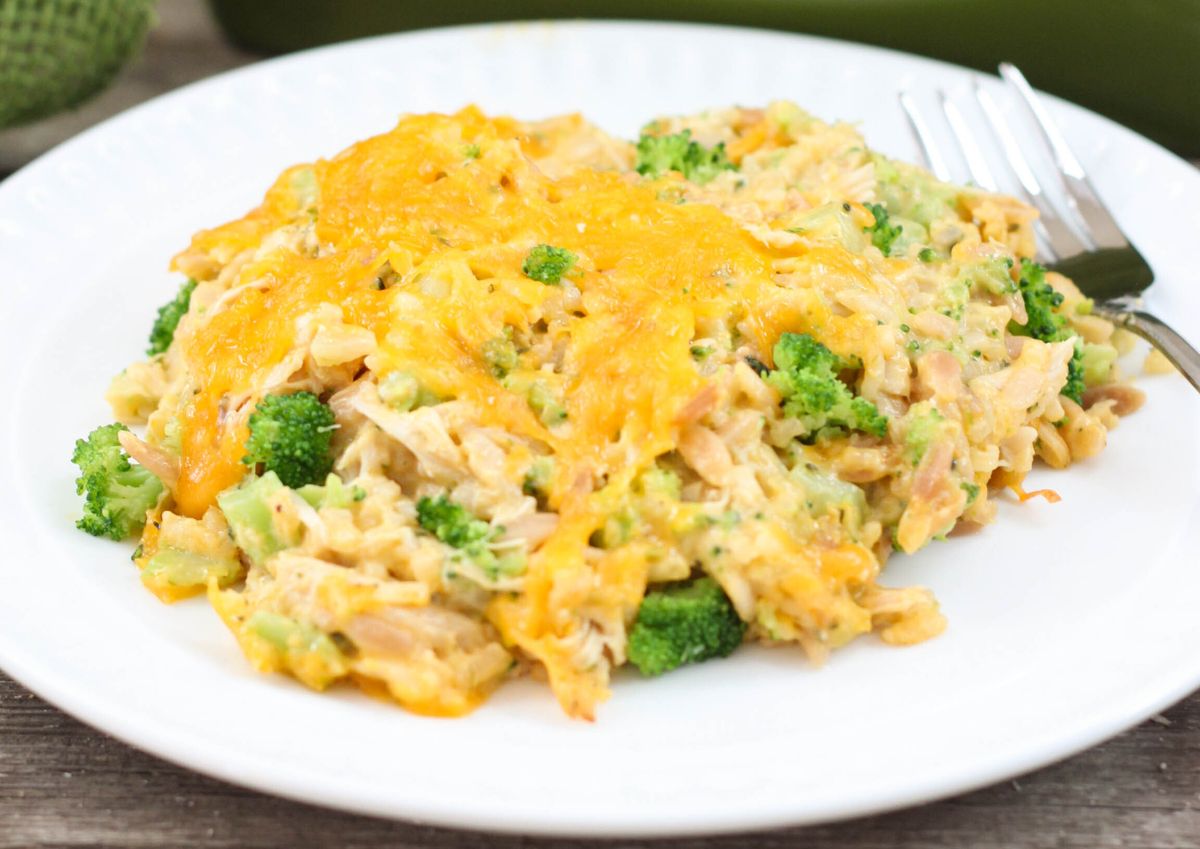
- Broccoli Rice Cheese and Chicken Casserole Recipe45 Minutes
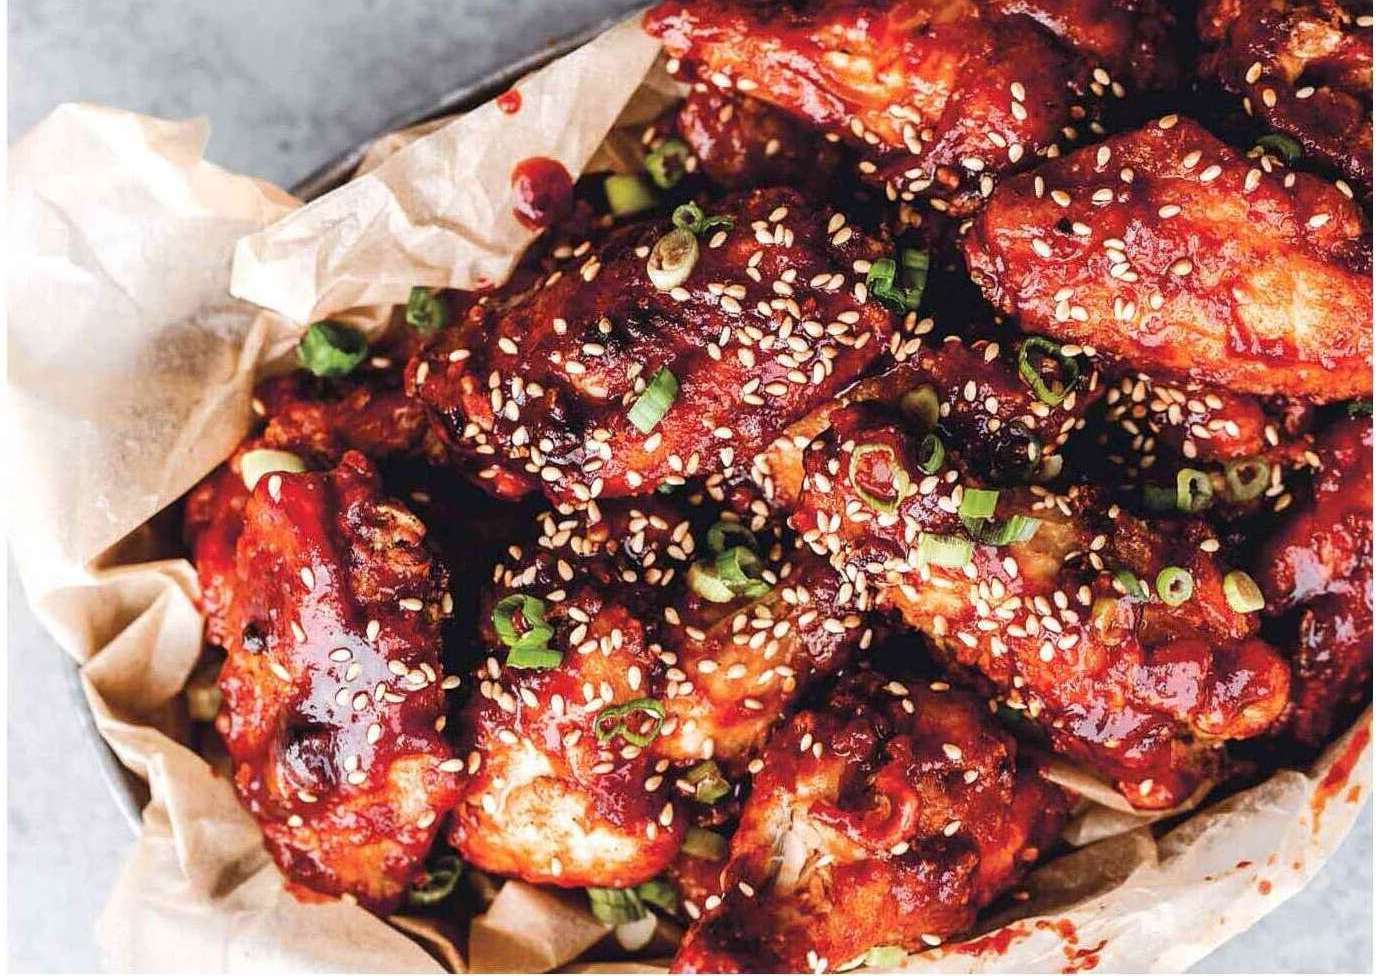
- Sweet Sticky and Spicy Chicken Recipe45 Minutes
- Lentil Ham Soup Recipe1 Hours 15 Minutes
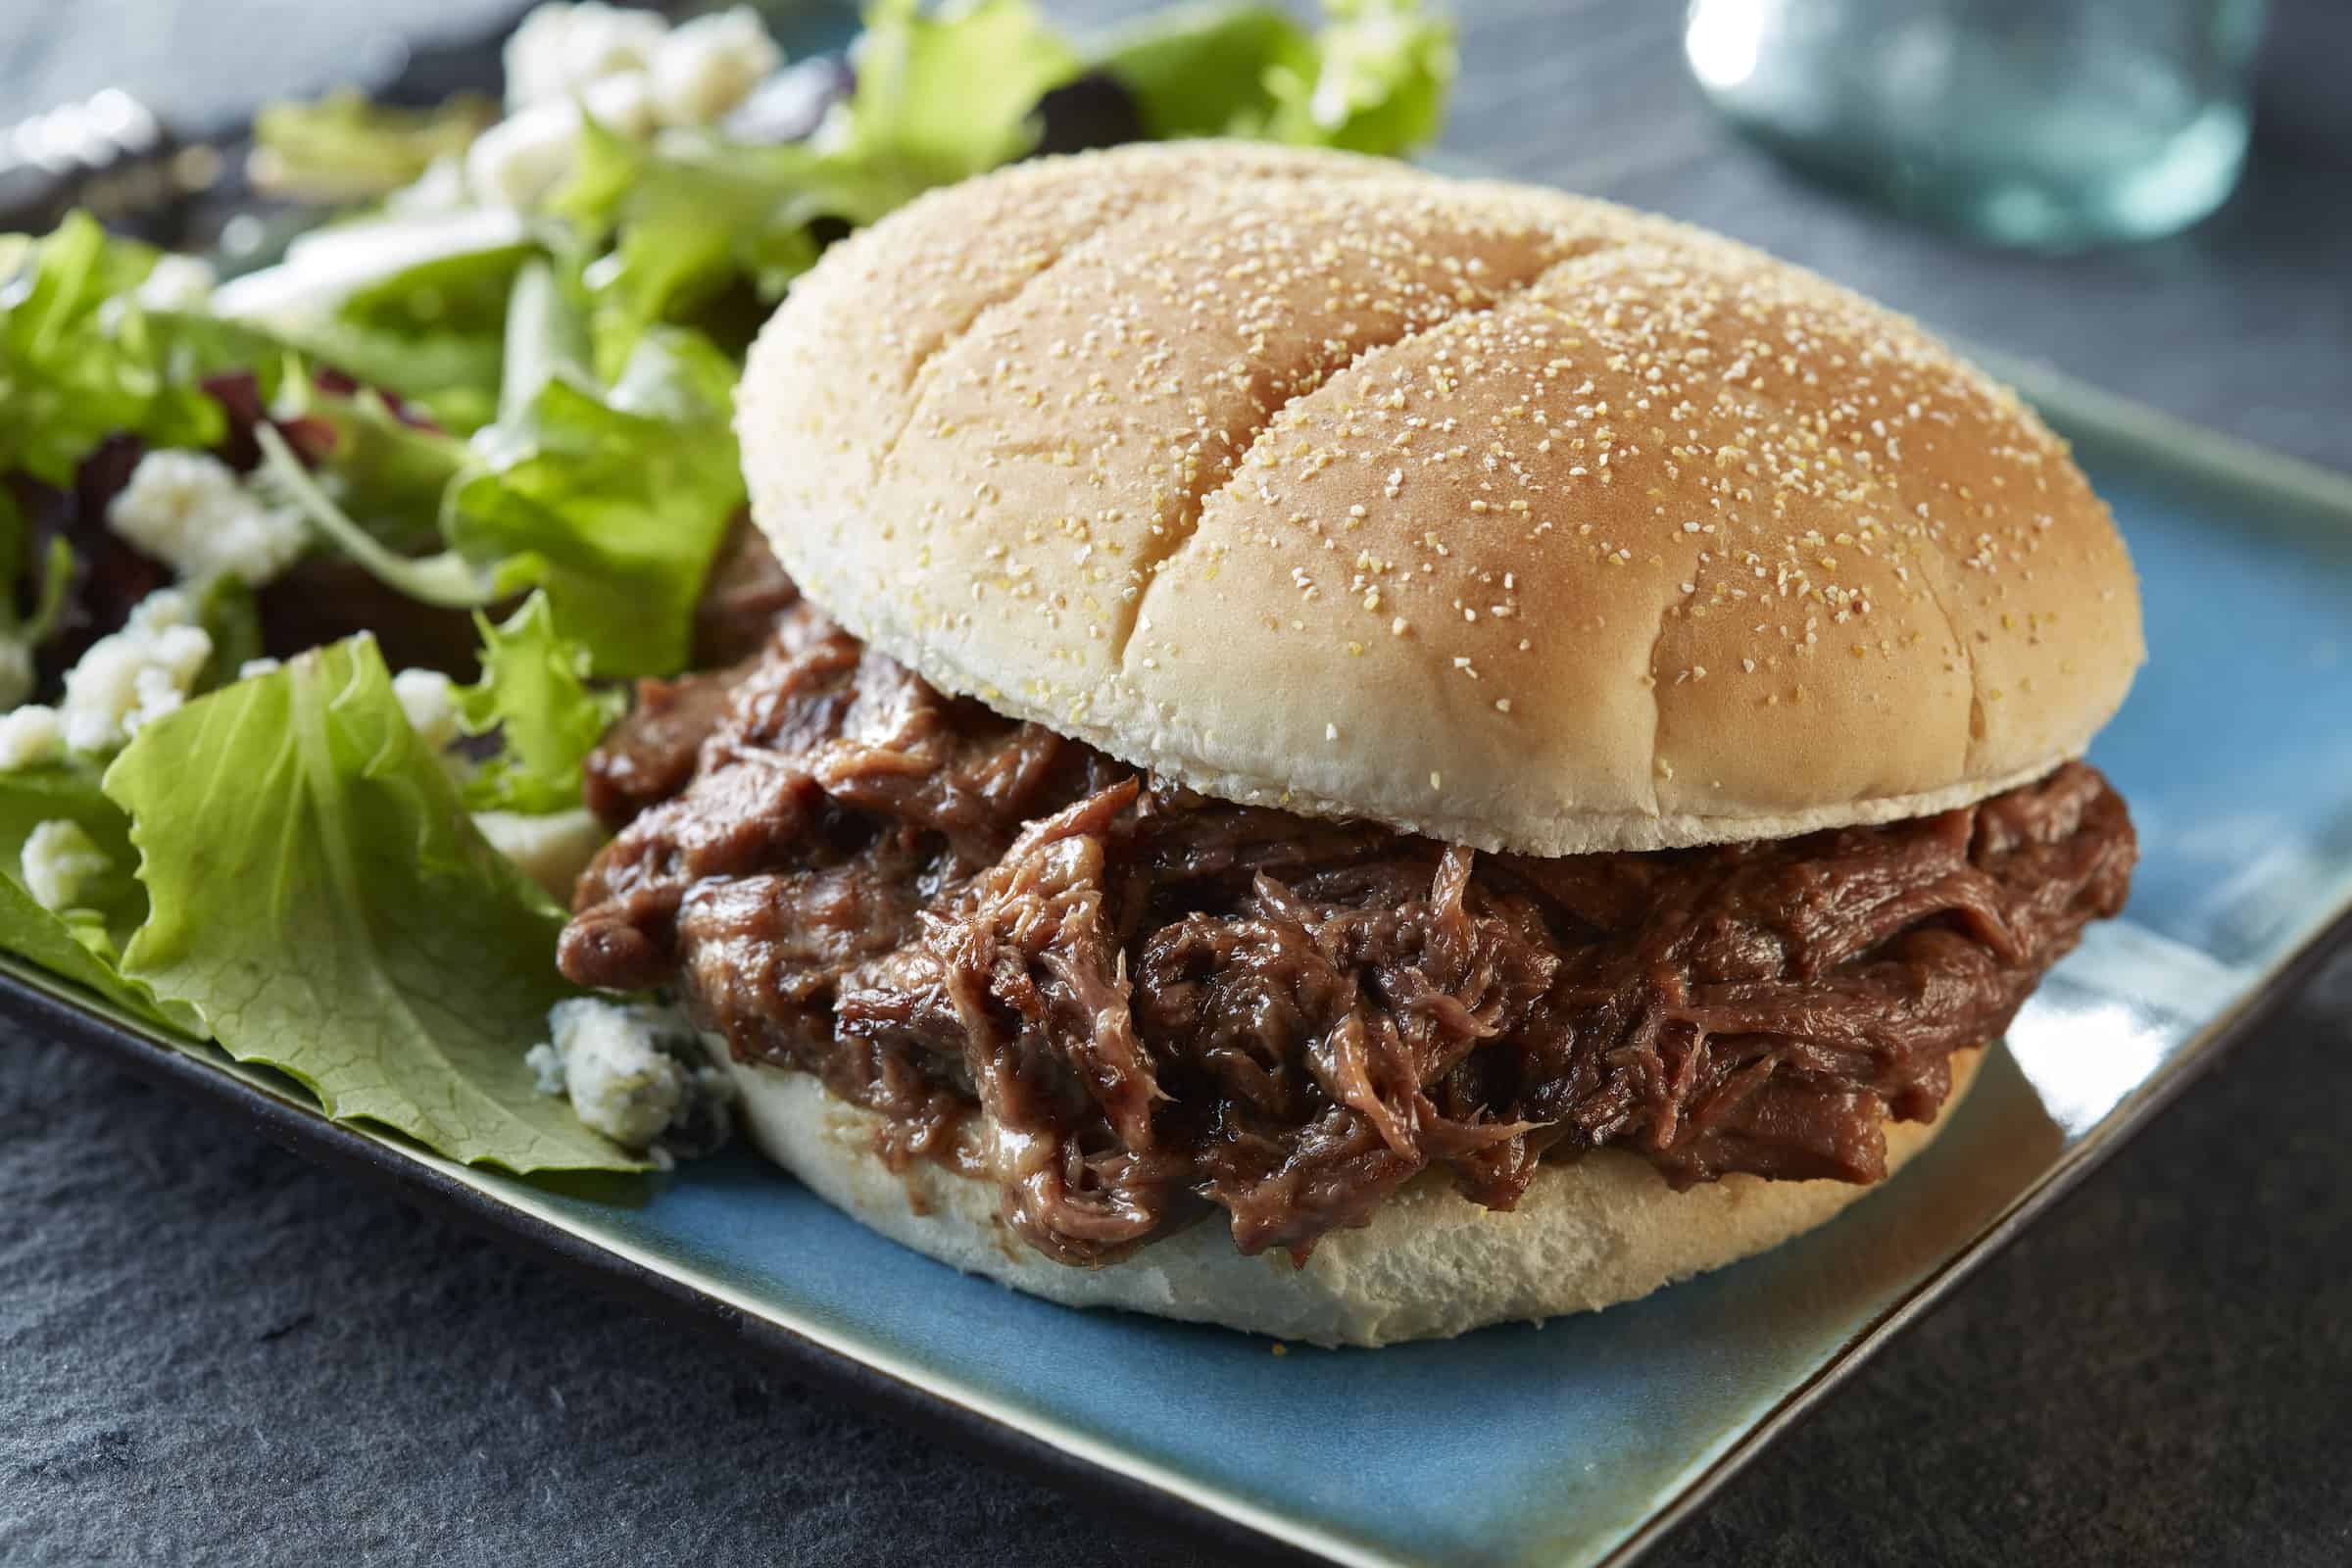
- Hot Beef Sandwiches Recipe30 Minutes
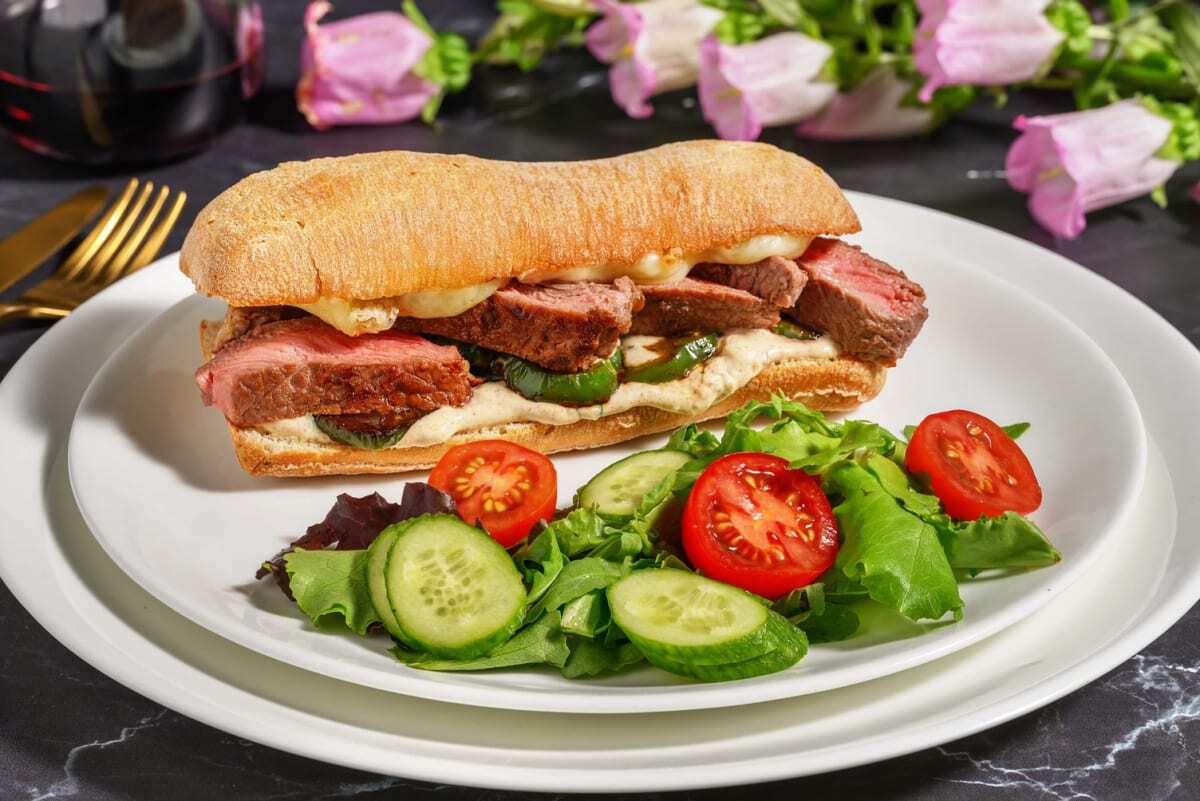
- Mexican Steak Torta Recipe30 Minutes


Leave a Reply