
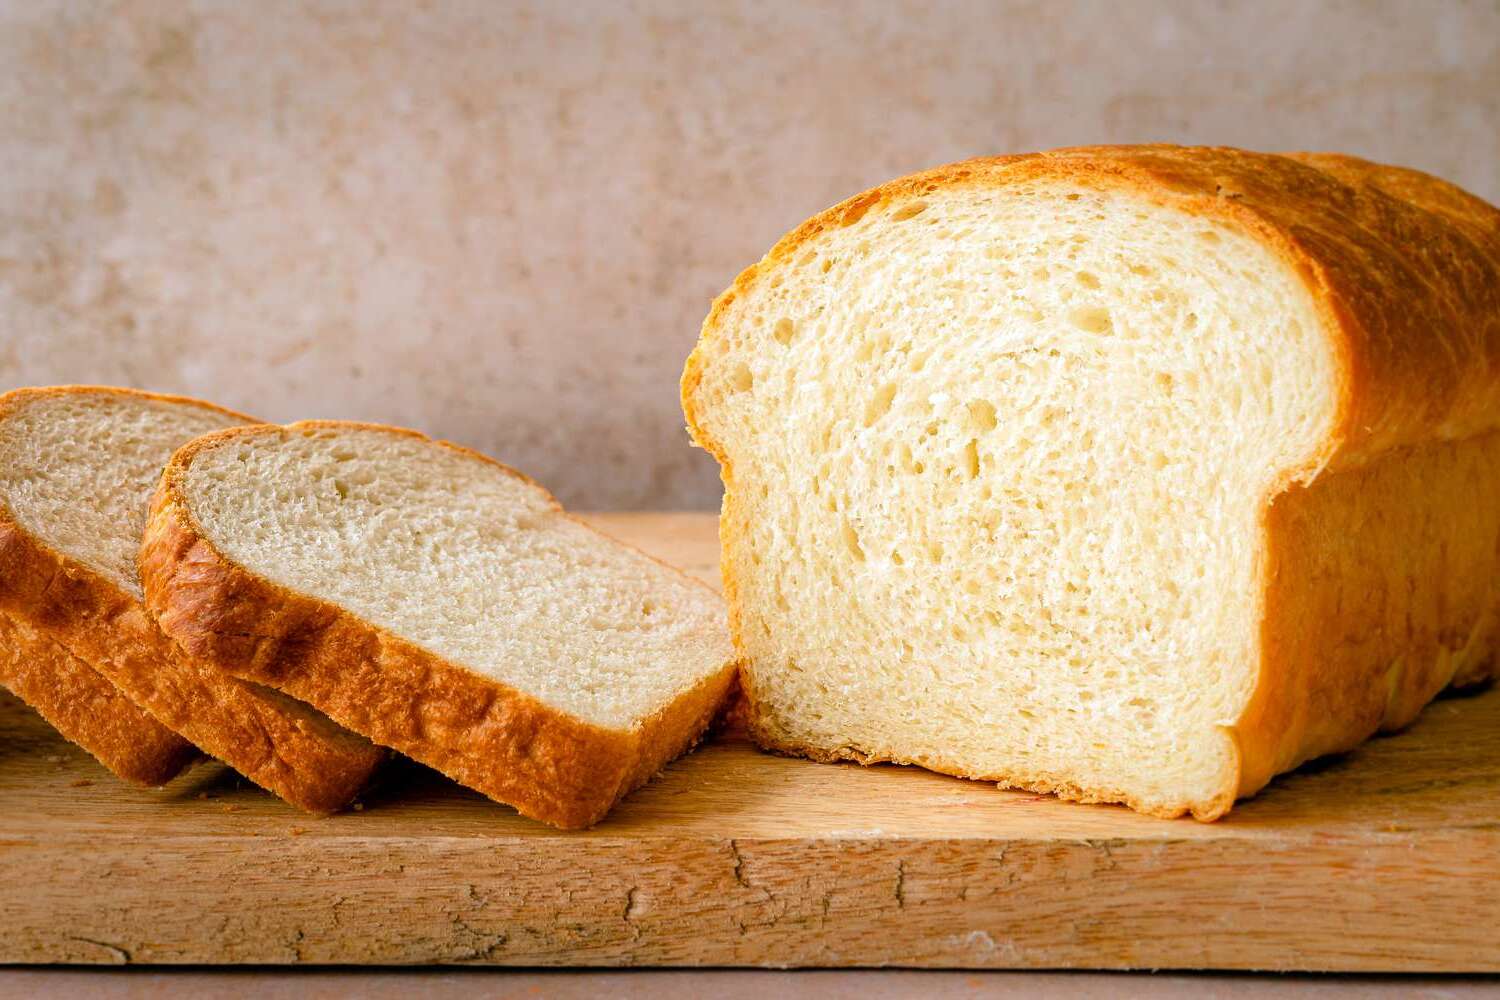
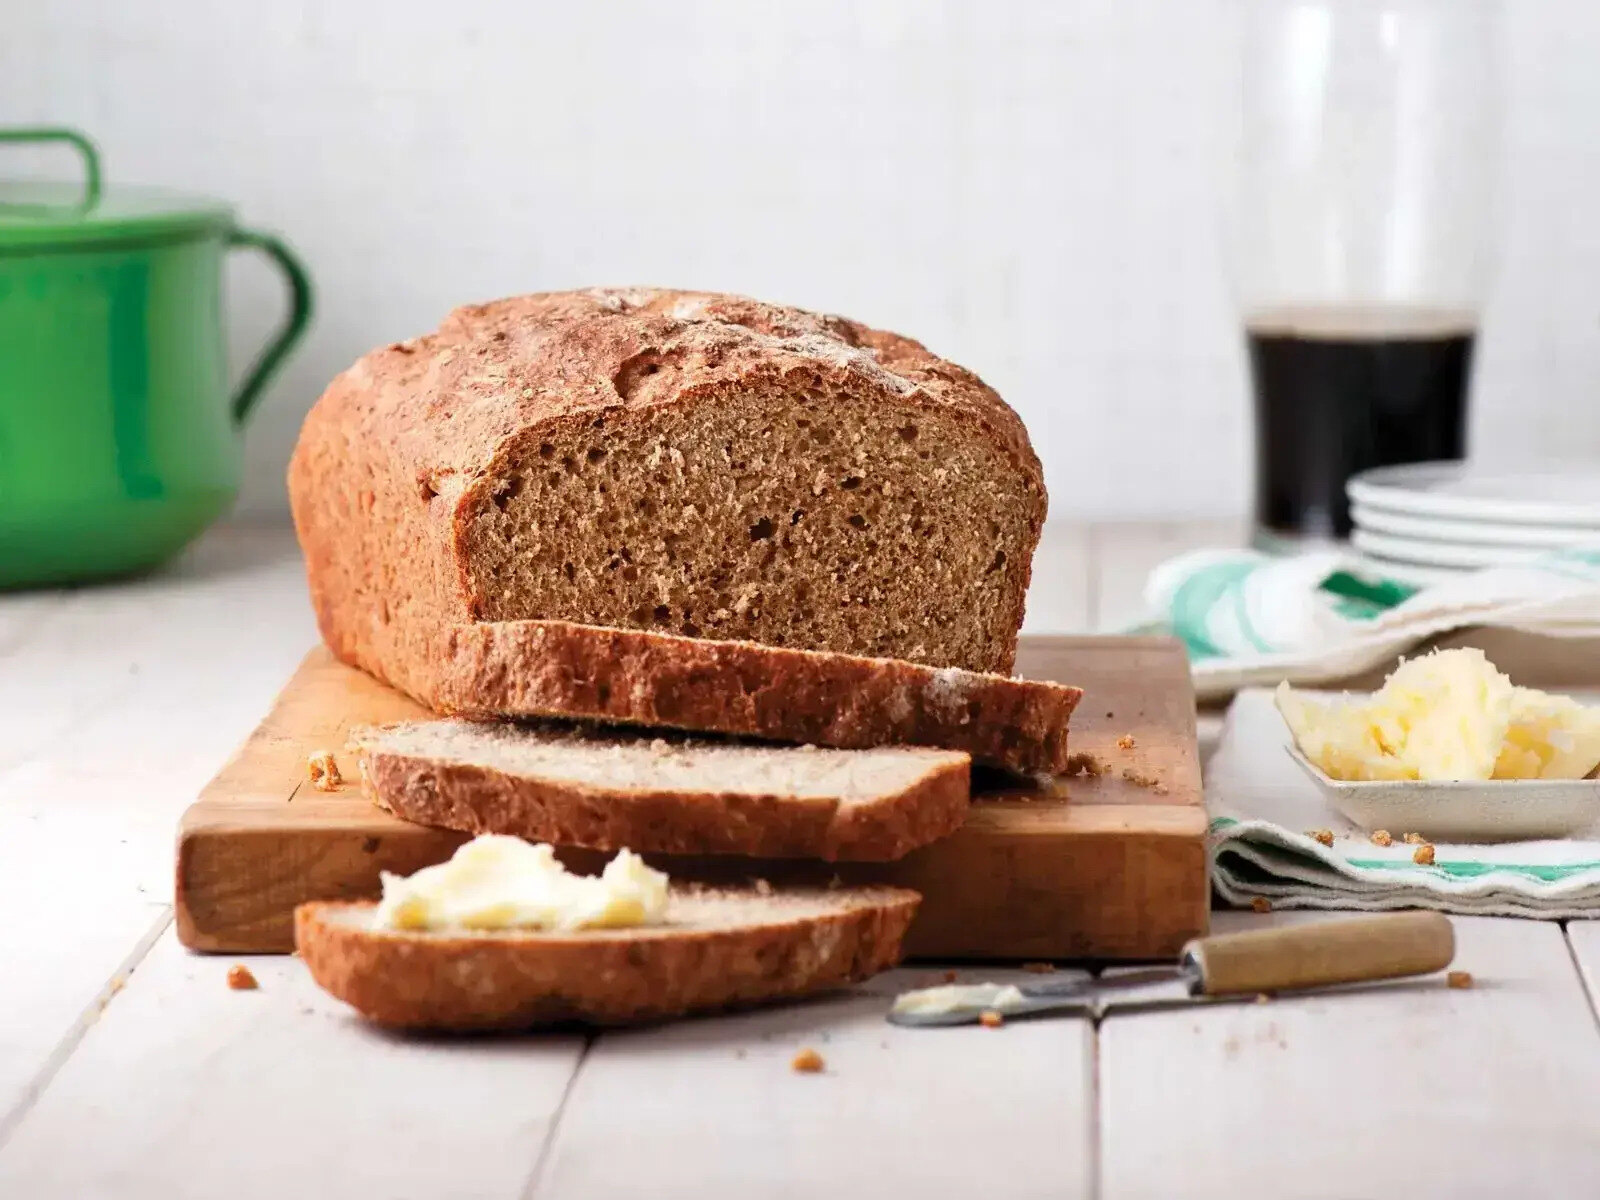
I love making this buttermilk bread because it’s simple and fills the house with the best smell. It’s soft, slightly tangy, and perfect for sandwiches or just with butter. I hope you enjoy baking it as much as I do!
Most of the ingredients in this recipe are common pantry items, but you might want to check if your store has buttermilk. It’s a little thicker and tangier than regular milk and helps make the bread soft and flavorful. If you can’t find buttermilk, you can make a quick substitute by adding a little lemon juice or vinegar to regular milk.
Ingredients For Buttermilk Bread Recipe
All-purpose flour: The main ingredient that gives the bread structure and texture.
Buttermilk: Adds moisture and a slight tang, making the bread soft and flavorful.
Sugar: Helps feed the baking soda and adds a touch of sweetness.
Salt: Enhances the flavors and balances the sweetness.
Baking soda: Acts as a leavening agent to help the bread rise.
Melted butter: Adds richness and keeps the bread tender.
Technique Tip for Baking
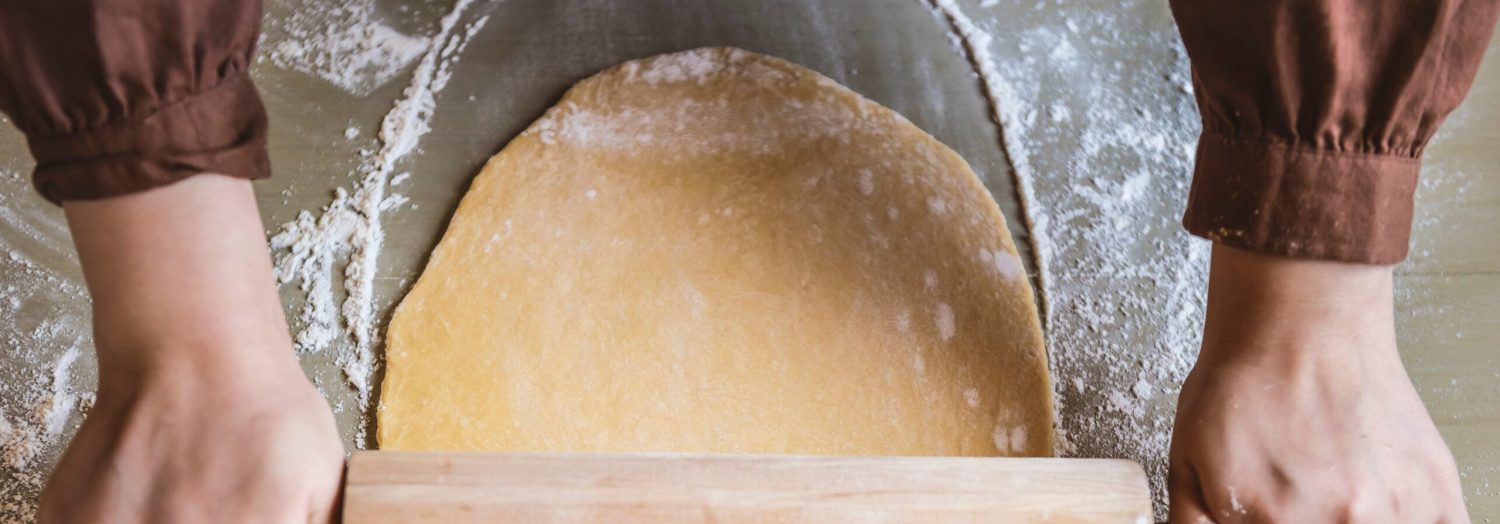
One of the most important steps in this Buttermilk Bread Recipe is kneading the dough. Kneading might sound tricky, but it’s actually pretty simple once you get the hang of it. Here’s how you can do it step by step:
- Sprinkle some flour on a clean surface to stop the dough from sticking.
- Place your dough on the floured surface.
- Use the heels of your hands to push the dough away from you.
- Fold the dough back over itself.
- Turn the dough a little and repeat pushing, folding, and turning.
- Keep going for about 5 minutes until the dough feels smooth and a bit springy.
Kneading helps mix everything really well and makes the bread soft and fluffy. When you knead, you’re actually helping the gluten in the flour develop, which gives the bread its structure. If you don’t knead enough, the bread might turn out dense or crumbly instead of light and airy.
When I first tried kneading, I thought I had to do it forever, but it really just takes a few minutes. Also, if your dough feels sticky, don’t add too much extra flour at once—just sprinkle a little at a time so the bread doesn’t get tough. I like to set a timer for 5 minutes and knead until I feel the dough change texture. It’s kind of fun to watch it go from sticky and rough to smooth and stretchy!
Once you get comfortable with kneading, it makes baking bread feel less like a chore and more like a fun project. Plus, there’s nothing better than slicing into a warm loaf you made yourself!
Suggested Side Dishes
Alternative Ingredients
all-purpose flour - Substitute with whole wheat flour: Whole wheat flour adds a nutty flavor and more fiber, though it may make the bread denser.
buttermilk - Substitute with milk and lemon juice: Mix 1 cup of milk with 1 tablespoon of lemon juice or vinegar to mimic the acidity and tanginess of buttermilk.
sugar - Substitute with honey: Honey adds natural sweetness and moisture, though it may slightly alter the flavor.
salt - Substitute with sea salt: Sea salt can be used for a more mineral-rich flavor, though the difference is subtle.
baking soda - Substitute with baking powder: Use 3 teaspoons of baking powder for every teaspoon of baking soda, but reduce the salt slightly as baking powder contains some salt.
melted butter - Substitute with olive oil: Olive oil provides a similar fat content and moisture, with a slightly different flavor profile.
Alternative Recipes to Try
How to Store or Freeze Your Bread
Allow the freshly baked buttermilk bread to cool completely on a wire rack. This prevents condensation from forming inside the storage container, which can lead to sogginess.
For short-term storage, wrap the bread tightly in plastic wrap or aluminum foil. This helps maintain its moisture and keeps it fresh for up to 3 days at room temperature.
If you prefer to store the bread in the refrigerator, place it in an airtight container or resealable plastic bag. This can extend its freshness for up to a week, though it may slightly alter the texture.
To freeze, slice the buttermilk bread before wrapping each slice individually in plastic wrap. This allows you to take out only what you need without defrosting the entire loaf.
Place the wrapped slices in a freezer-safe bag or airtight container, ensuring all air is removed to prevent freezer burn. The bread can be frozen for up to 3 months.
When ready to enjoy, thaw the slices at room temperature or reheat them directly from the freezer in a toaster or oven for a warm, fresh taste.
For a delightful twist, consider spreading a touch of butter or jam on the reheated slices to enhance the flavor and texture.
How to Reheat Leftovers
Preheat your oven to 350°F (175°C). Wrap the buttermilk bread in aluminum foil to prevent it from drying out. Place it directly on the oven rack and heat for about 10-15 minutes until it's warm and soft.
For a quick fix, use a microwave. Place a slice of buttermilk bread on a microwave-safe plate. Cover it with a damp paper towel to retain moisture. Heat on medium power for 10-15 seconds. Check and repeat if necessary, but be cautious not to overheat, as it can become rubbery.
If you have a toaster oven, it's a great option for reheating. Set it to 350°F (175°C) and place the buttermilk bread slice directly on the rack. Toast for about 5 minutes until it's warm and slightly crispy on the outside.
For a delightful twist, use a skillet. Heat a non-stick skillet over medium heat. Add a small pat of butter and let it melt. Place the buttermilk bread slice in the skillet and toast each side for about 2-3 minutes until golden and warm.
If you have a steamer, it can gently reheat your buttermilk bread. Wrap the bread in parchment paper and place it in the steamer basket. Steam for about 5 minutes, which will keep it moist and soft.
Essential Tools for Baking
Oven: Used to bake the bread at a consistent temperature of 375°F (190°C).
Large mixing bowl: Essential for combining the dry ingredients and then mixing in the wet ingredients to form the dough.
Measuring cups: Necessary for accurately measuring the flour, buttermilk, and melted butter.
Measuring spoons: Used to measure smaller quantities of ingredients like sugar, salt, and baking soda.
Whisk or spoon: Helpful for mixing the dry ingredients together before adding the wet ingredients.
Floured surface: A clean, flat area dusted with flour to prevent the dough from sticking while kneading.
Loaf pan: A greased pan where the shaped dough is placed for baking.
Cooling rack: Allows the bread to cool evenly after baking, preventing it from becoming soggy.
Knife: Used for slicing the bread once it has cooled.
Time-Saving Tips for Baking
Pre-measure ingredients: Measure and prepare all ingredients like flour, sugar, and buttermilk before starting. This streamlines the process and reduces prep time.
Use a stand mixer: If you have a stand mixer, use it to combine the dough. It saves time and effort compared to hand mixing.
Skip kneading: For a quicker version, mix until just combined and skip the kneading. The texture will be slightly different but still delicious.
Double the batch: Make two loaves at once and freeze one for later. This way, you only need to bake once.
Buttermilk Bread Recipe
Ingredients
Main Ingredients
- 3 cups all-purpose flour
- 1 cup buttermilk
- 2 tablespoon sugar
- 1 teaspoon salt
- 1 teaspoon baking soda
- ¼ cup melted butter
Instructions
- Preheat your oven to 375°F (190°C).
- In a large bowl, mix the flour, sugar, salt, and baking soda.
- Add the buttermilk and melted butter to the dry ingredients. Mix until combined.
- Knead the dough on a floured surface for about 5 minutes.
- Shape the dough into a loaf and place it in a greased loaf pan.
- Bake for 30 minutes or until golden brown.
- Let it cool before slicing.
Nutritional Value
Keywords
More Amazing Recipes to Try 🙂
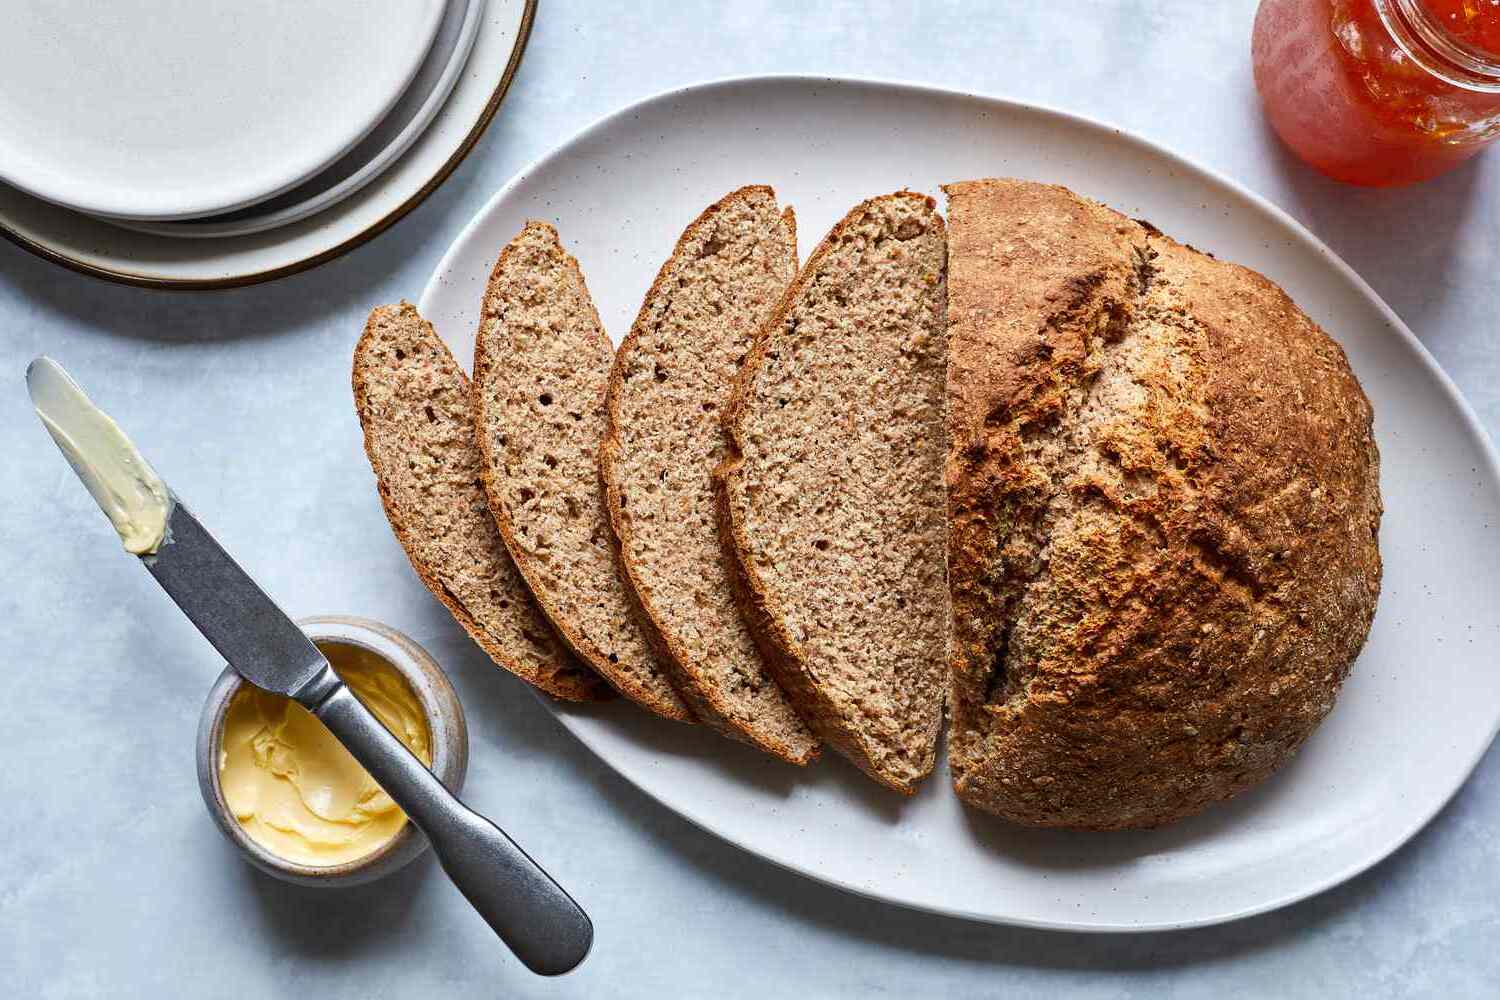
- Irish Wheaten Bread Recipe55 Minutes
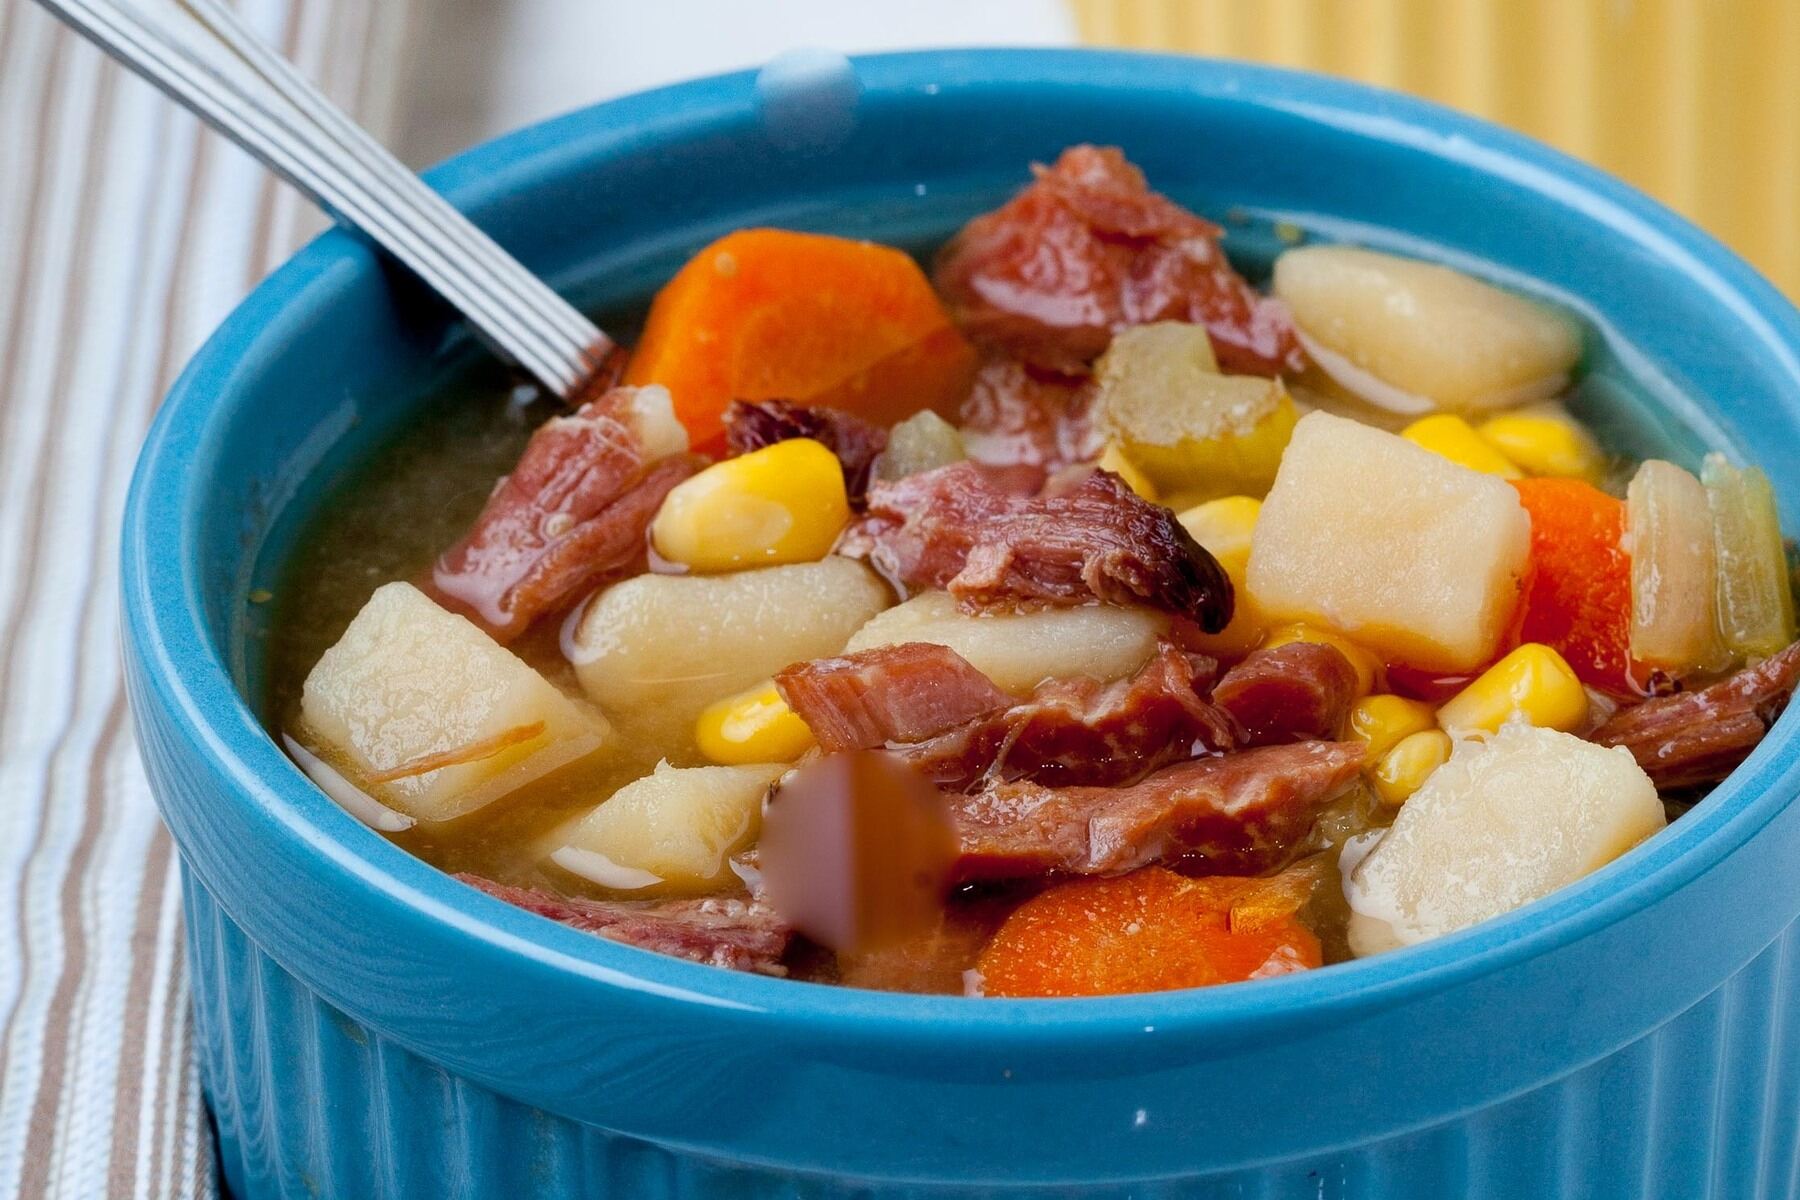
- Ham Bone and Vegetable Soup Recipe2 Hours 15 Minutes
- Hot Cocoa Mix Recipe10 Minutes
- Simple Syrup Recipe10 Minutes
- Cauliflower Soup Recipe30 Minutes
- Gluten-Free Chicken Soup Recipe45 Minutes
- Toasted Pumpkin Seeds Recipe30 Minutes
- Doughnuts Recipe35 Minutes
Leave a Reply