
I love this fried chicken skin recipe because it turns a simple part of the chicken into a crispy, tasty snack that feels special. It’s a fun way to enjoy something crunchy and flavorful, and I can’t wait for you to try it yourself.
Most of the ingredients for this recipe are probably already in your kitchen, like flour, salt, and black pepper. The chicken skin might be the only thing you need to pick up at the supermarket. When you buy it, make sure it’s cleaned and dried well, so it fries up nice and crispy without any extra moisture.

Ingredients For Fried Chicken Skin Recipe
Chicken skin: The main ingredient, cleaned and dried to get crispy when fried.
Flour: Used to coat the chicken skin and help it get golden and crunchy.
Salt: Adds flavor to the coating and brings out the taste of the chicken skin.
Freshly ground black pepper: Gives a little spicy kick and depth to the seasoning.
Vegetable oil: Used for frying the chicken skin until it’s crispy and golden brown.
Technique Tip for This Recipe
One of the most important steps in this Fried Chicken Skin Recipe is dredging the chicken skin in the flour mixture. This might sound simple, but doing it right makes a big difference in how crispy and tasty your fried chicken skin turns out. Here’s how to do it step by step:
- Put the flour, salt, and black pepper in a bowl and mix them well.
- Take a piece of the cleaned and dried chicken skin and gently press it into the flour mixture.
- Make sure the skin is coated evenly on all sides.
- Shake off any extra flour so it’s not too thick or clumpy.
Why does this help? When the chicken skin is coated just right, it fries up with a perfect golden crust that’s crunchy but not heavy. If you leave too much flour on, it can burn or get soggy, and if you don’t coat it enough, the skin won’t get that satisfying crunch. Plus, the seasoning in the flour adds flavor right on the outside.
A little tip from me: the first time I tried this, I didn’t shake off the extra flour well enough, and the skin came out a bit floury and thick. After that, I made sure to give each piece a good shake before frying, and it made all the difference. Also, drying the chicken skin really well before coating helps the flour stick better and keeps the frying oil from splattering too much.
Taking a moment to coat the skin carefully makes frying smoother and the final snack way more delicious. It’s a small step that’s totally worth it!
Suggested Side Dishes
Alternative Ingredients
chicken skin - Substitute with pork rinds: Pork rinds have a similar crispy texture and can be fried to achieve a similar result.
flour - Substitute with cornstarch: Cornstarch provides a lighter, crispier coating compared to flour.
salt - Substitute with soy sauce: Soy sauce adds a salty flavor along with a bit of umami, enhancing the overall taste.
freshly ground black pepper - Substitute with cayenne pepper: Cayenne pepper adds a bit of heat and a different flavor profile, making the dish spicier.
vegetable oil - Substitute with peanut oil: Peanut oil has a high smoke point and adds a subtle nutty flavor, making it ideal for frying.
Other Alternative Recipes Similar to This Dish
How to Store / Freeze This Dish
Allow the fried chicken skin to cool completely at room temperature. This prevents condensation, which can make the skin soggy.
Place the cooled chicken skin in an airtight container or a resealable plastic bag. For added protection, you can wrap each piece in parchment paper before placing it in the container.
Store the container in the refrigerator if you plan to consume the fried chicken skin within 2-3 days. This keeps the skin crispy and fresh.
For longer storage, place the airtight container in the freezer. The fried chicken skin can be frozen for up to 2 months without losing its texture and flavor.
When ready to enjoy, reheat the chicken skin in an oven preheated to 375°F (190°C) for about 5-7 minutes. This will help restore its crispiness.
Avoid microwaving the fried chicken skin as it can make it chewy and less enjoyable.
If you have leftover vegetable oil from frying, strain it through a fine mesh sieve to remove any debris. Store the strained oil in a clean, airtight container for future use.
How to Reheat Leftovers
Oven Method: Preheat your oven to 375°F (190°C). Place the leftover fried chicken skin on a baking sheet lined with parchment paper. Bake for 5-7 minutes until they are crispy and heated through. This method helps retain the crispiness without making them greasy.
Air Fryer Method: Preheat your air fryer to 350°F (175°C). Arrange the chicken skin in a single layer in the air fryer basket. Heat for 3-5 minutes, shaking the basket halfway through to ensure even reheating. This method is quick and keeps the skin extra crispy.
Stovetop Method: Heat a non-stick skillet over medium heat. Place the fried chicken skin in the skillet without adding any extra oil. Heat for 2-3 minutes on each side until they are warmed through and crispy. This method is great for small batches.
Microwave Method: Place the chicken skin on a microwave-safe plate lined with a paper towel. Microwave on high for 30-60 seconds. While this method is the quickest, it may not retain the crispiness as well as other methods.
Best Tools for This Recipe
Frying pan: A large, heavy-bottomed pan to ensure even heat distribution while frying the chicken skin.
Tongs: Essential for safely turning and removing the chicken skin from the hot oil.
Mixing bowl: Used for combining the flour, salt, and black pepper mixture.
Paper towels: Placed on a plate to drain excess oil from the fried chicken skin.
Measuring cups: For accurately measuring the flour and vegetable oil.
Measuring spoons: For precisely measuring the salt and black pepper.
Plate: To hold the chicken skin after dredging and before frying.
Thermometer: Optional, but useful for ensuring the oil is at the correct frying temperature.
Knife: For any additional trimming of the chicken skin if necessary.
How to Save Time on Making This Recipe
Prepare ingredients in advance: Clean and dry the chicken skin ahead of time and store it in the fridge to save time on cooking day.
Use a deep fryer: A deep fryer can cook the chicken skin more evenly and quickly than a frying pan, reducing overall cooking time.
Batch cooking: Fry multiple pieces of chicken skin at once, but don't overcrowd the pan to ensure they cook evenly and remain crispy.
Pre-mix the flour mixture: Combine the flour, salt, and black pepper in a sealed container ahead of time to streamline the dredging process.
Fried Chicken Skin Recipe
Ingredients
Main Ingredients
- 500 g Chicken skin cleaned and dried
- 1 cup Flour
- 1 teaspoon Salt
- 1 teaspoon Black pepper freshly ground
- 1 cup Vegetable oil for frying
Instructions
- 1. Heat the oil in a frying pan over medium-high heat.
- 2. Mix the flour, salt, and black pepper in a bowl.
- 3. Dredge the chicken skin in the flour mixture, shaking off any excess.
- 4. Fry the chicken skin in batches until crispy and golden brown, about 5-7 minutes per batch.
- 5. Remove the chicken skin with tongs and drain on paper towels.
- 6. Serve immediately and enjoy!
Nutritional Value
Keywords
Suggested Main Courses and Desserts for This Recipe
More Amazing Recipes to Try 🙂
- Mango Salad Recipe15 Minutes
- Seasoned Swai Fish Fillet Recipe25 Minutes
- Birria Quesa Tacos Recipe4 Hours 30 Minutes
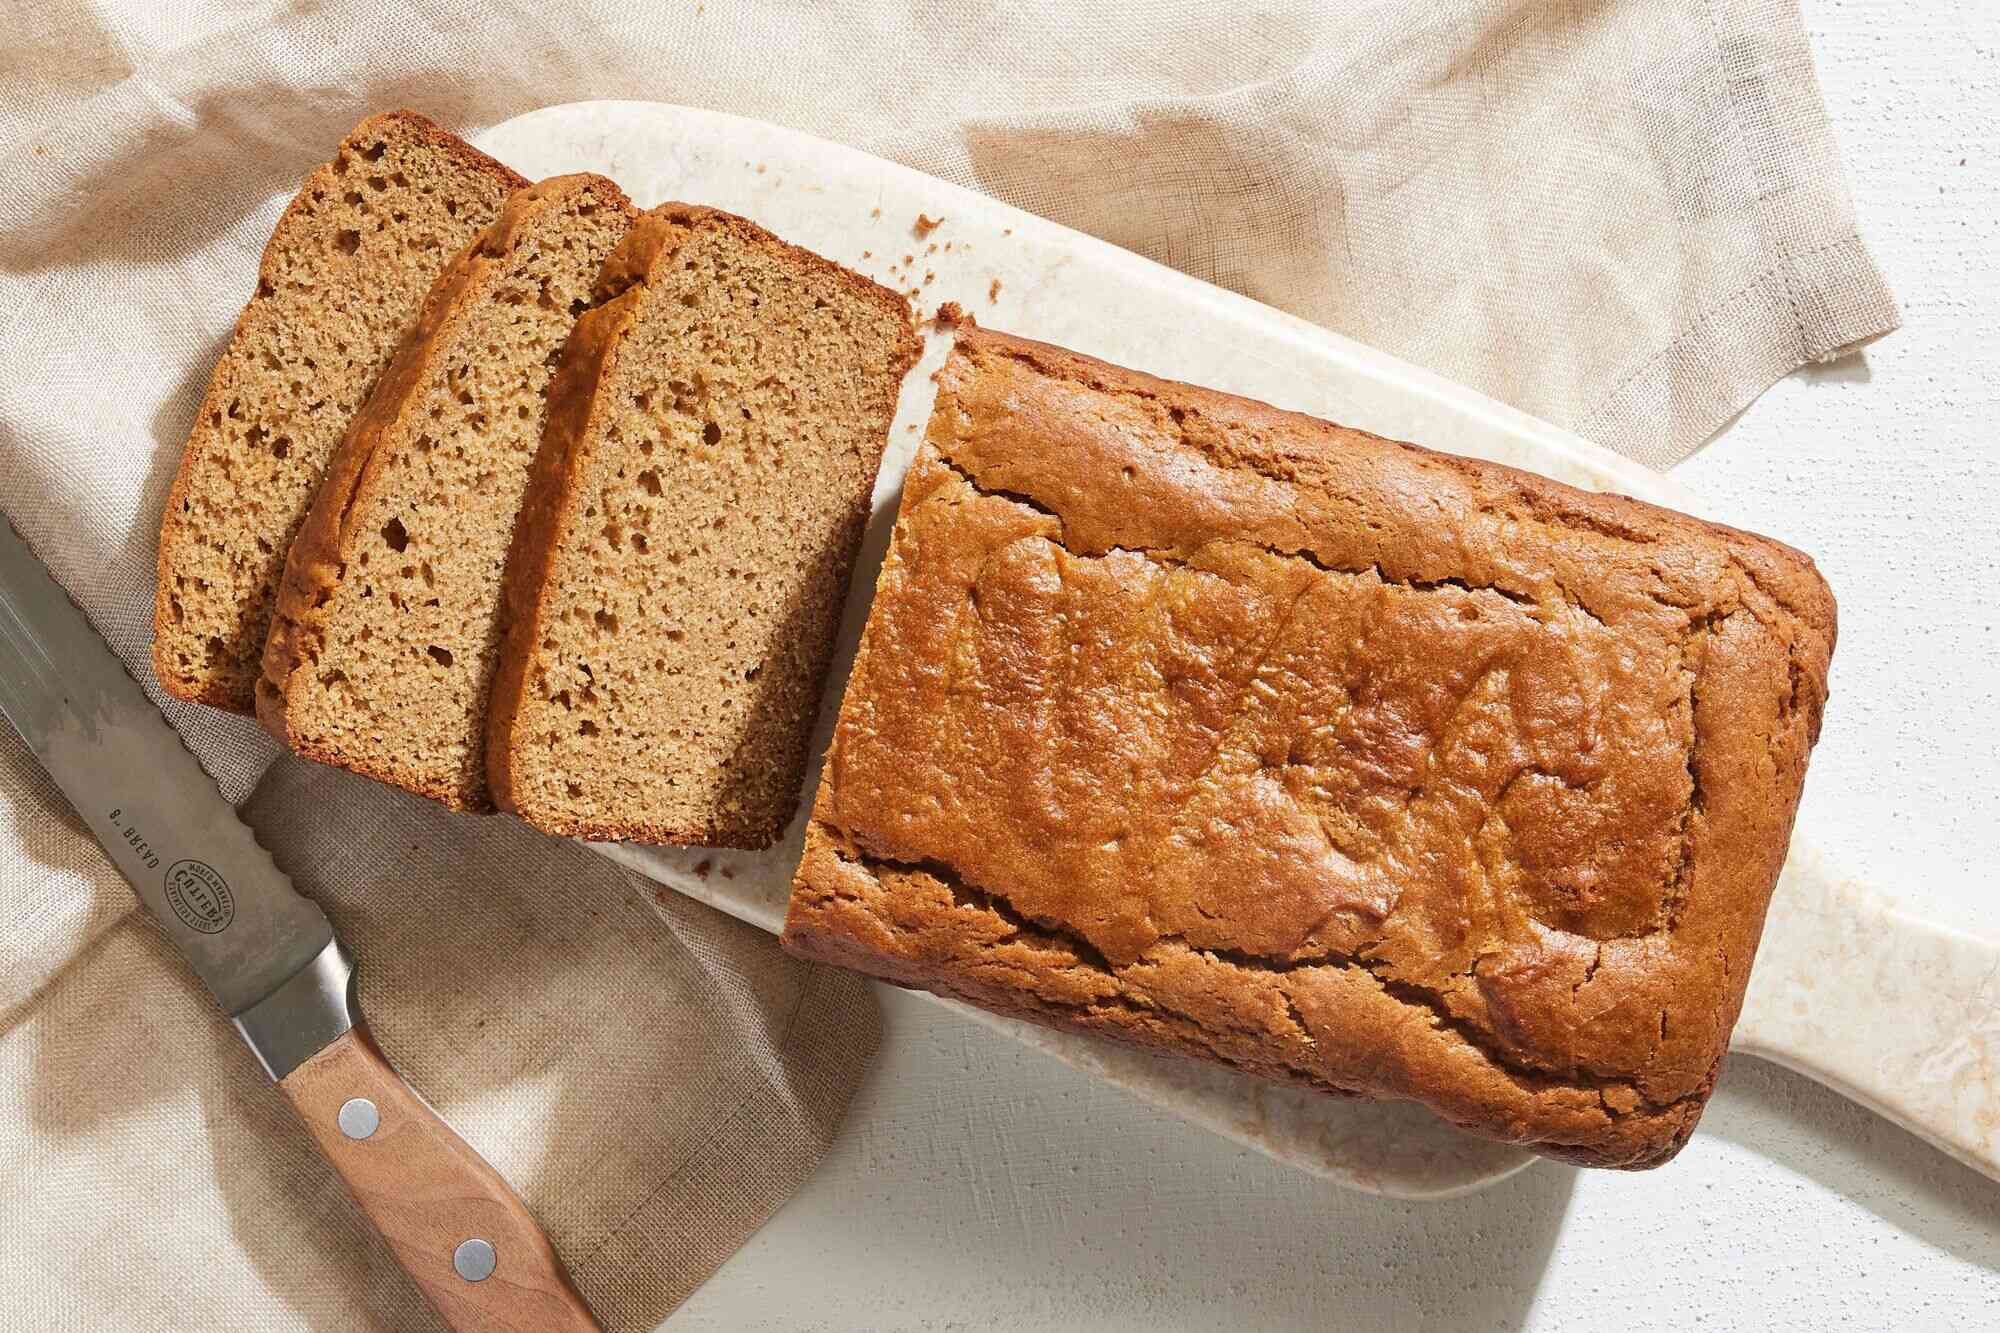
- Peanut Butter Loaf Recipe1 Hours 15 Minutes
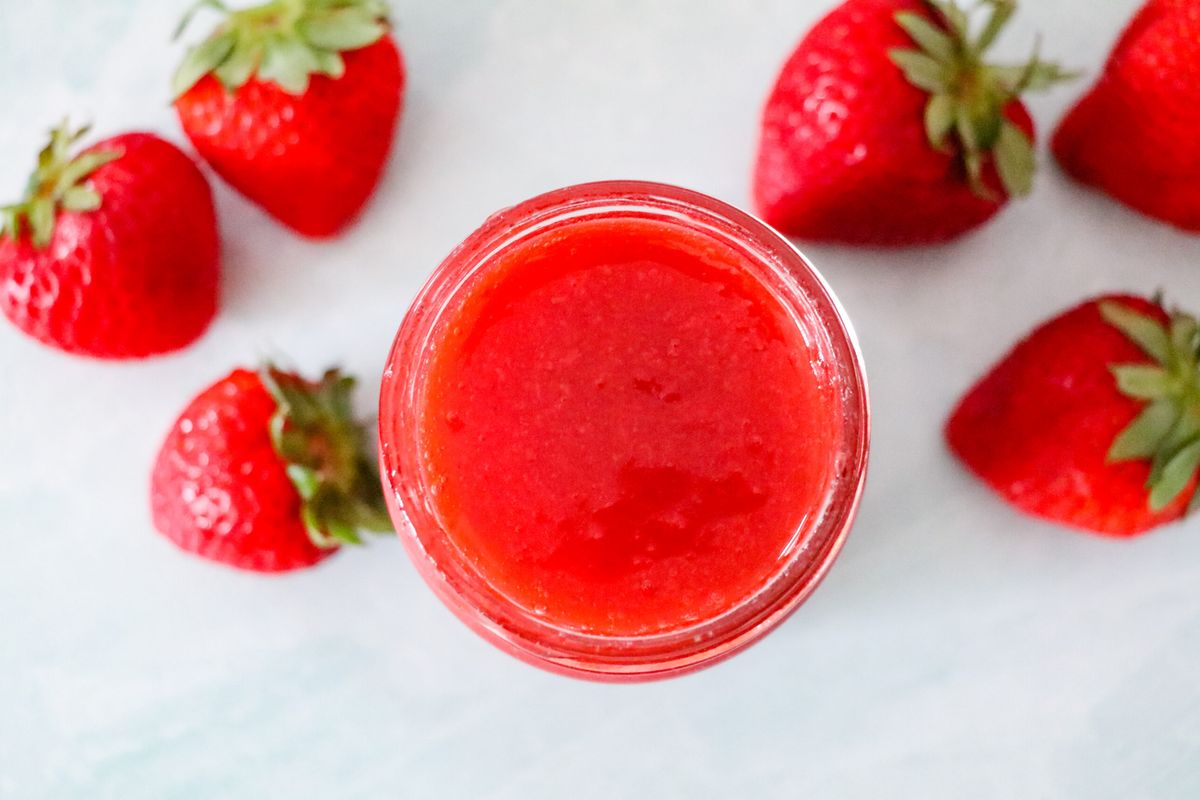
- Strawberry Glaze Recipe15 Minutes
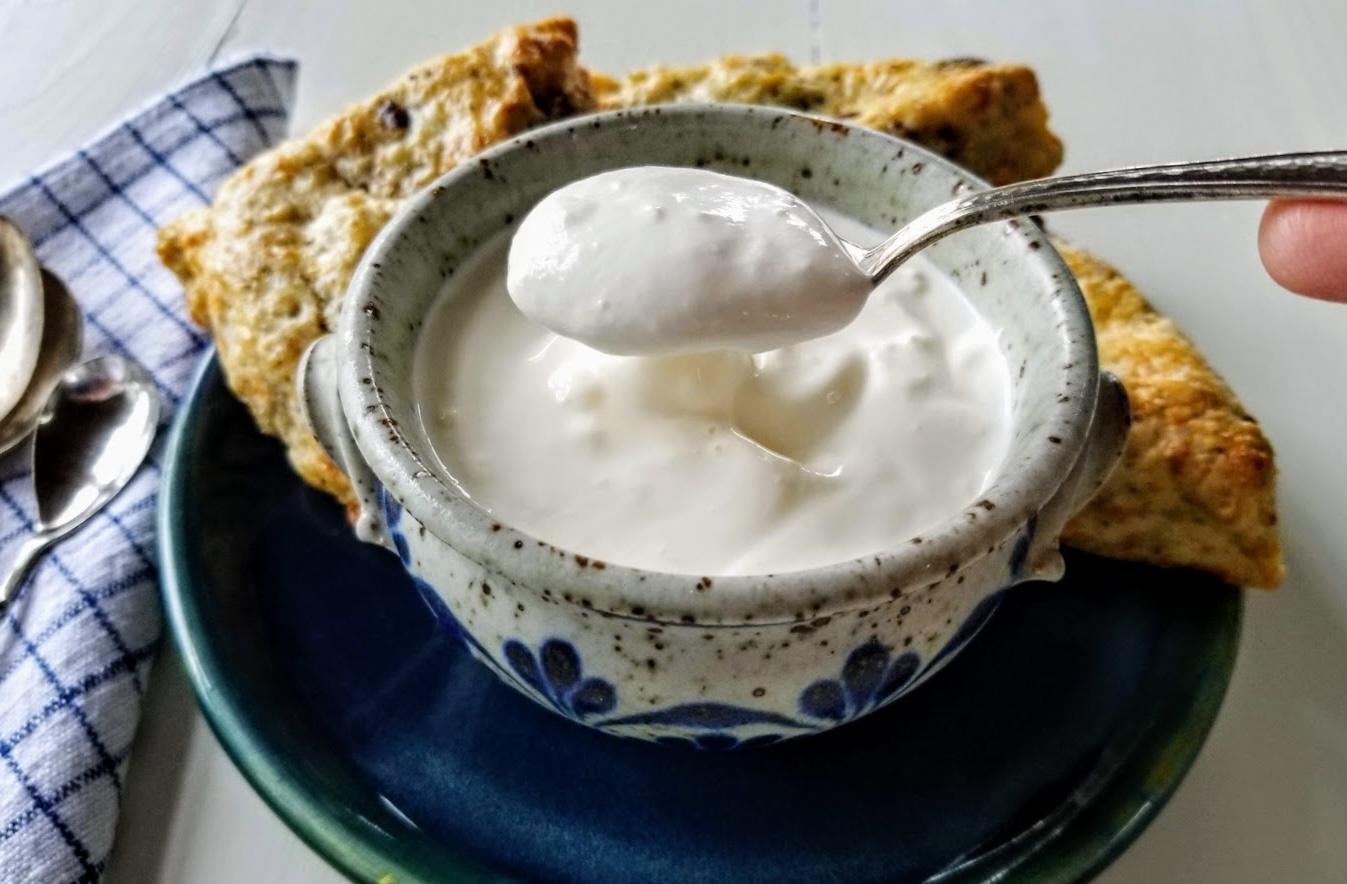
- Creme Fraiche Recipe24 Hours 5 Minutes
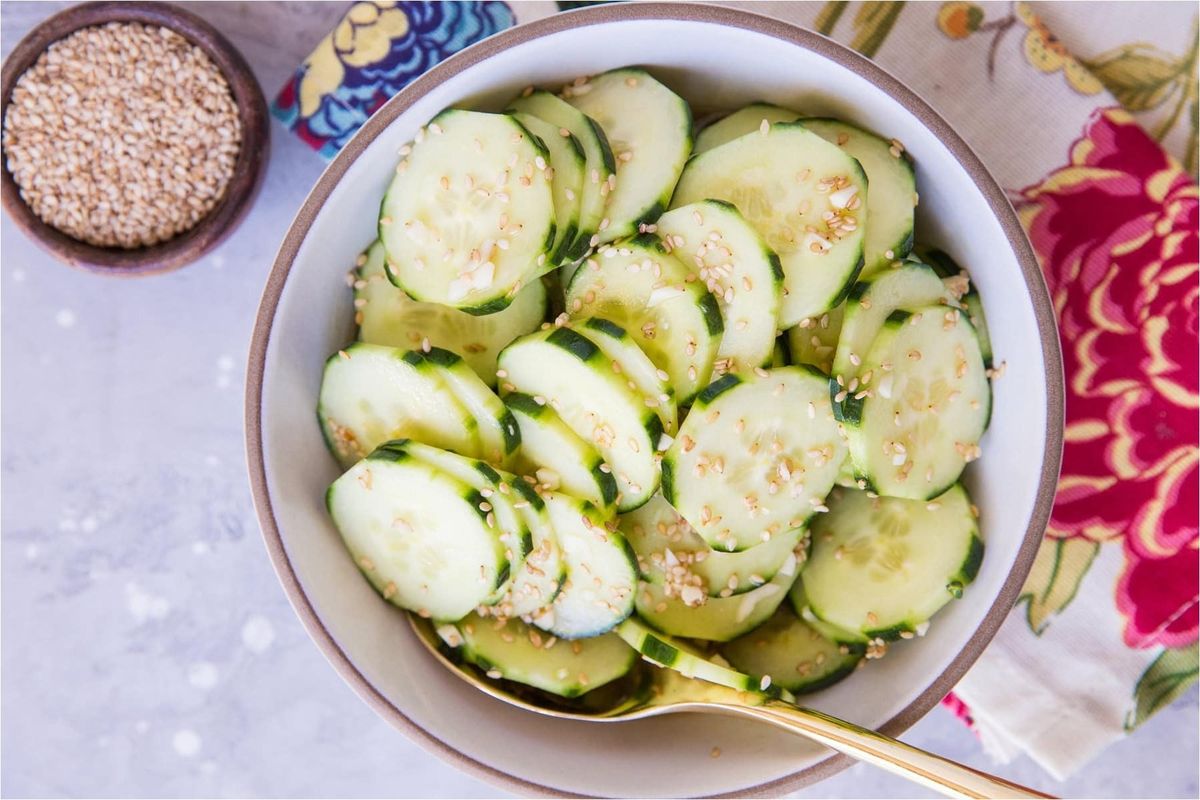
- Asian Cucumber Salad Recipe15 Minutes
- Bacon and Cheese Quiche Recipe1 Hours


Leave a Reply