
I love how this Japanese pickled watermelon rind recipe turns something you might usually throw away into a tasty treat. It’s a fun way to try something new and adds a nice tangy crunch to any meal. I can’t wait for you to try it and see how simple and refreshing it is!
If you don’t usually have rice vinegar at home, you can find it in the Asian or international section of most supermarkets. Red pepper flakes add a little spicy kick, but you can adjust the amount or leave them out if you prefer milder flavors. Watermelon rind might be new to you as an ingredient, but it’s just the white part under the green skin, so don’t toss it after eating the sweet red part!
Ingredients for Japanese Pickled Watermelon Rind Recipe
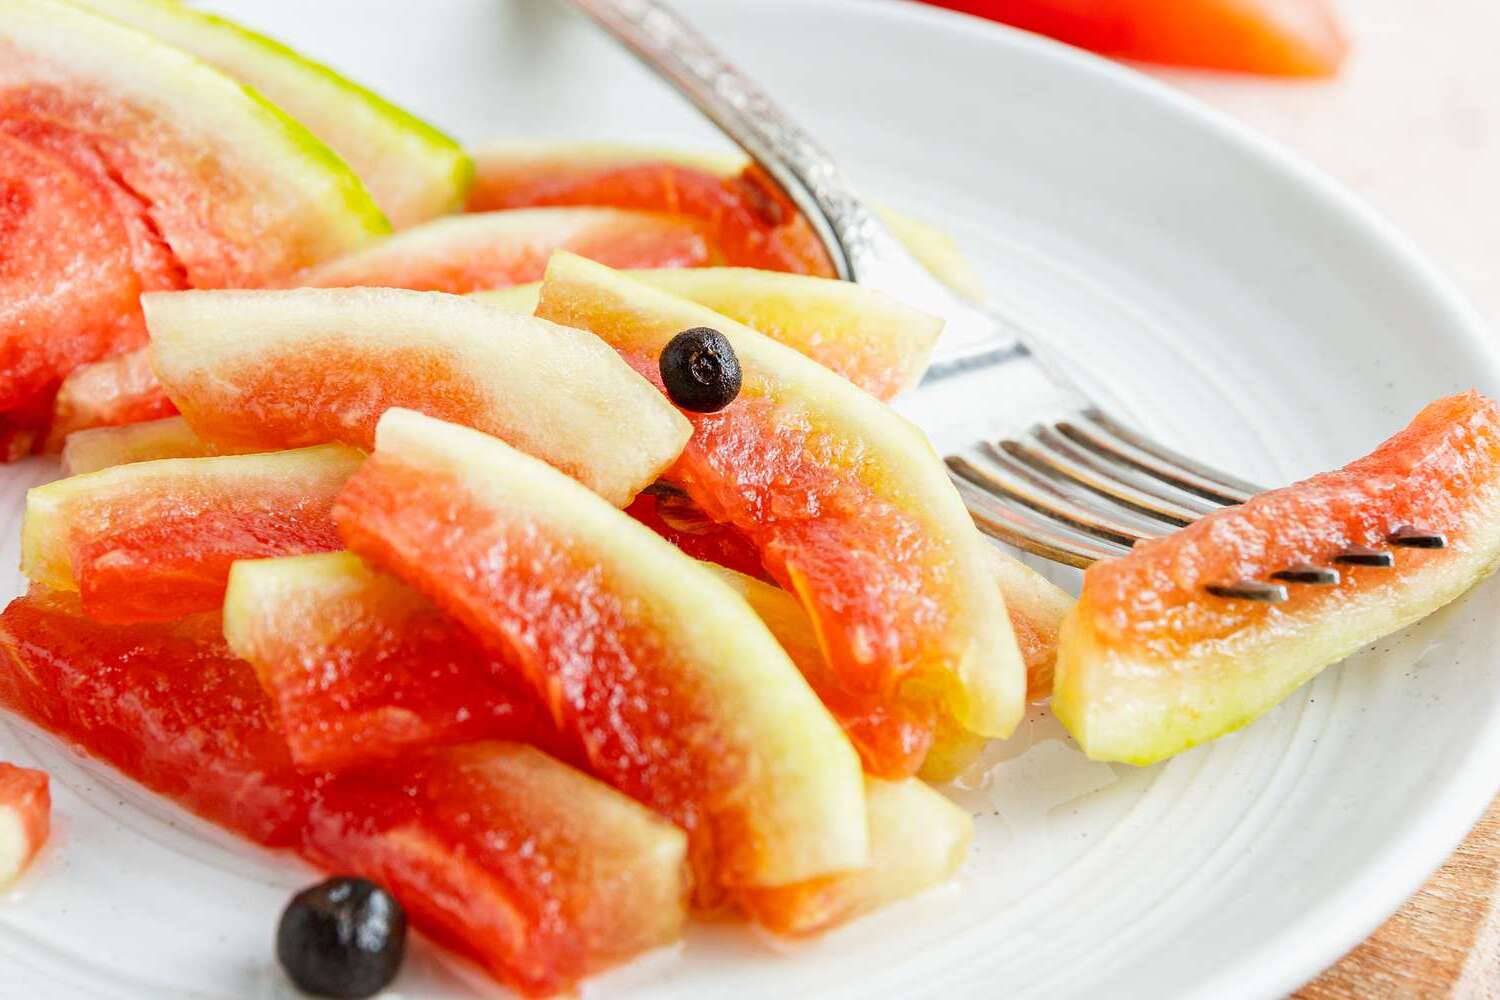
Watermelon rind: The white part of the watermelon under the green skin, peeled and cut into strips.
Rice vinegar: A mild vinegar made from fermented rice, giving the pickles their tangy flavor.
Water: Used to dilute the vinegar and balance the taste.
Sugar: Adds sweetness to balance the sourness of the vinegar.
Salt: Enhances the flavors and helps with the pickling process.
Red pepper flakes: Adds a little heat and spice to the pickles.
Technique Tip for This Recipe
One important step in this Japanese Pickled Watermelon Rind Recipe is bringing the vinegar, water, sugar, salt, and red pepper flakes to a boil before adding the watermelon rind. Here’s how to do it smoothly:
- Put all the liquid ingredients and seasonings into a saucepan.
- Turn the heat to medium-high and watch carefully.
- When you see bubbles rising and steam starting to come off, that means it’s boiling.
- Once boiling, add the watermelon rind strips right away.
Boiling the mixture first is key because it helps the sugar and salt dissolve completely, making the pickling liquid taste just right. It also helps the flavors from the red pepper flakes spread evenly, so every bite has a little kick. If you skip this step or don’t get the liquid hot enough, the watermelon rind might not soak up the flavors as well, and the texture could be less crisp.
When I first tried this, I didn’t wait for a full boil and just added the rind as soon as the liquid was warm. The result was a bit bland, and the rind stayed a little tough. Now, I always wait for that bubbling boil—it makes a big difference! Also, if you want to save time, you can prepare the rind while the liquid heats up, so everything goes faster once the mixture is ready.
Taking a moment to get the pickling liquid boiling helps everything come together perfectly, making your Japanese Pickled Watermelon Rind taste fresh, tangy, and just a little spicy.
Suggested Side Dishes
Alternative Ingredients
watermelon rind - Substitute with cucumber: Cucumber has a similar texture and can absorb the pickling flavors well.
rice vinegar - Substitute with apple cider vinegar: Apple cider vinegar has a mild acidity and a slightly fruity flavor that can mimic rice vinegar.
water - Substitute with green tea: Green tea can add a subtle, earthy flavor that complements the pickling process.
sugar - Substitute with honey: Honey provides a natural sweetness and a slightly different flavor profile that can enhance the pickles.
salt - Substitute with sea salt: Sea salt has a more complex mineral content that can add depth to the pickling brine.
red pepper flakes - Substitute with sliced fresh chili: Fresh chili can provide a similar heat and a fresher, more vibrant flavor.
Other Alternative Recipes Similar to This Dish
How to Store or Freeze This Recipe
- Ensure the watermelon rind is fully submerged in the pickling liquid before storing. This helps maintain its flavor and texture.
- Use a clean, airtight glass jar or container to store the pickled watermelon rind. This prevents contamination and keeps the pickles fresh.
- Store the jar in the refrigerator. The cool temperature slows down the fermentation process, preserving the pickles for up to 2 weeks.
- For longer storage, consider canning the pickled watermelon rind. Use a water bath canning method to seal the jars properly, ensuring they are shelf-stable for up to a year.
- If you prefer freezing, transfer the pickled watermelon rind to a freezer-safe container. Leave some space at the top to allow for expansion.
- Label the container with the date of preparation. This helps you keep track of its freshness.
- When ready to use, thaw the pickled watermelon rind in the refrigerator overnight. Avoid microwaving as it can alter the texture and flavor.
- Always use a clean utensil to remove the pickles from the jar. This prevents introducing bacteria and extends the shelf life of your pickled vegetables.
How to Reheat Leftovers
Gently warm the pickled watermelon rind in a small saucepan over low heat. This method preserves the crispness while slightly enhancing the flavors. Stir occasionally to ensure even heating.
For a quick reheat, use the microwave. Place the pickled watermelon rind in a microwave-safe dish, cover with a microwave-safe lid or plastic wrap, and heat on medium power for 30-second intervals. Stir between intervals until warmed through.
If you prefer a more intense flavor, try a light sauté. Heat a small amount of sesame oil in a skillet over medium heat. Add the pickled watermelon rind and sauté for 2-3 minutes, stirring frequently. This method adds a subtle nutty flavor and a bit of warmth.
For a unique twist, reheat the pickled watermelon rind by steaming. Place the rinds in a steamer basket over boiling water for about 3-4 minutes. This method keeps the texture intact while gently warming the pickles.
If you enjoy a bit of char, try grilling. Place the pickled watermelon rind strips on a preheated grill for about 1-2 minutes per side. This adds a smoky flavor and a slight caramelization to the pickles.
Best Tools for This Recipe
Saucepan: A medium-sized saucepan is essential for combining and heating the pickling mixture of rice vinegar, water, sugar, salt, and red pepper flakes.
Cutting board: A sturdy cutting board provides a safe surface for peeling and cutting the watermelon rind into strips.
Knife: A sharp knife is necessary for peeling the watermelon rind and cutting it into uniform strips.
Measuring cups: Accurate measuring cups ensure the correct proportions of rice vinegar, water, and sugar are used in the recipe.
Measuring spoons: Precise measuring spoons are needed to measure out the salt and red pepper flakes.
Stirring spoon: A stirring spoon is used to mix the ingredients in the saucepan and ensure the sugar and salt dissolve properly.
Jar: A jar with a tight-fitting lid is necessary for storing the pickled watermelon rind in the refrigerator.
Refrigerator: A refrigerator is essential for chilling the pickled watermelon rind for at least 2 hours before serving.
How to Save Time on This Recipe
Prepare ingredients in advance: Peel and cut the watermelon rind ahead of time to streamline the process.
Use a mandoline: Slice the watermelon rind quickly and uniformly with a mandoline slicer.
Batch cooking: Double or triple the pickling mixture to make larger batches at once.
Quick cooling: Place the saucepan in an ice bath to cool the pickling mixture faster before transferring to a jar.
Pre-measure spices: Measure out the sugar, salt, and red pepper flakes before starting to save time during cooking.
Japanese Pickled Watermelon Rind Recipe
Ingredients
Main Ingredients
- 2 cups Watermelon rind peeled and cut into strips
- 1 cup Rice vinegar
- 1 cup Water
- ½ cup Sugar
- 1 tablespoon Salt
- 1 teaspoon Red pepper flakes
Instructions
- 1. In a saucepan, combine rice vinegar, water, sugar, salt, and red pepper flakes. Bring to a boil.
- 2. Add watermelon rind strips to the boiling mixture. Reduce heat and simmer for 5 minutes.
- 3. Remove from heat and let it cool. Transfer to a jar and refrigerate for at least 2 hours before serving.
Nutritional Value
Keywords
More Amazing Recipes to Try 🙂
- Chocolate Flan Cake Recipe1 Hours 20 Minutes
- Basil Tomato and Mozzarella Sandwich Recipe10 Minutes
- Menudo Recipe1 Hours 20 Minutes
- Chicken Fettuccine Recipe35 Minutes
- Strawberry Bread Recipe1 Hours 15 Minutes
- Sausage Gravy Recipe30 Minutes
- Coronarita Recipe10 Minutes
- BBQ Beef Brisket Sandwiches Recipe5 Hours 20 Minutes
Leave a Reply