
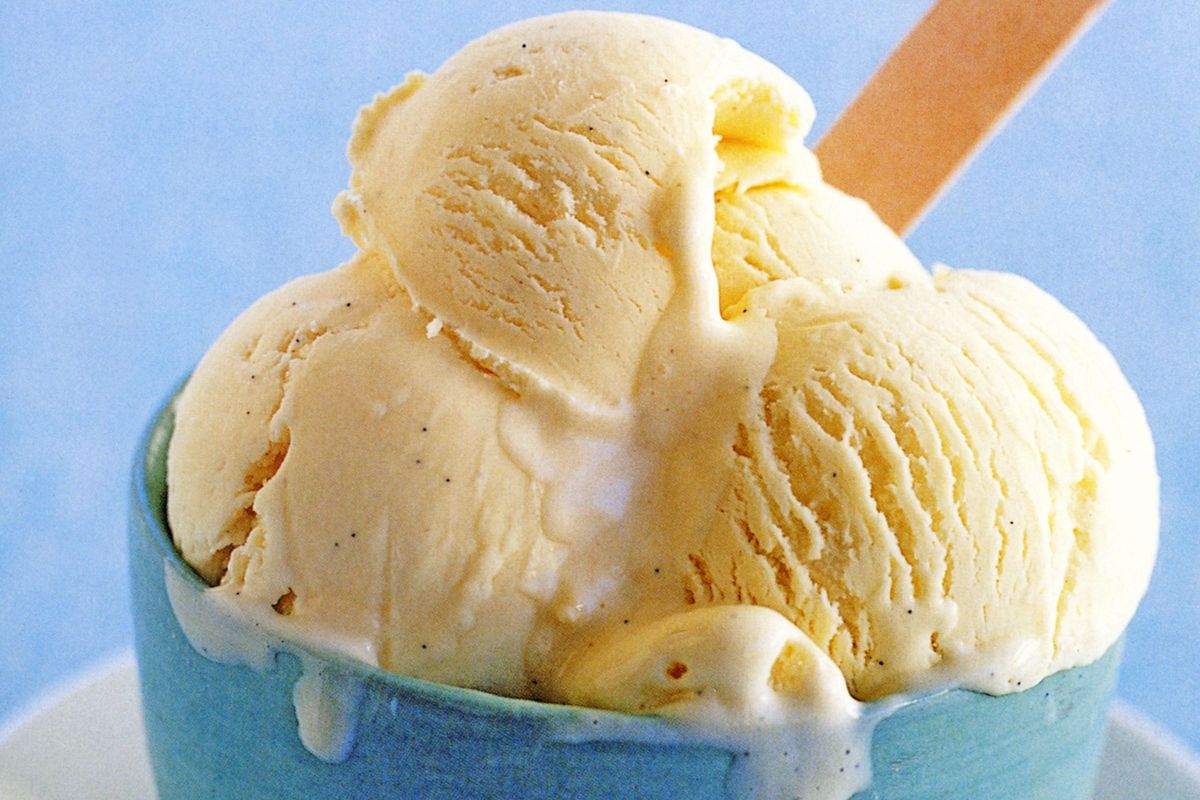
I love making this vanilla bean ice cream because it tastes like a creamy dream and feels special every time. It’s a simple treat that turns any day into a celebration, and I can’t wait for you to try it yourself.
Most of the ingredients for this recipe are easy to find, but the vanilla bean might be new to some. When you go to the supermarket, look for a fresh, plump vanilla bean in the baking aisle or specialty section. It adds a rich, natural flavor that you won’t get from just vanilla extract alone.
Ingredients For Vanilla Bean Ice Cream Recipe
Heavy cream: This is the thick, rich cream that gives the ice cream its smooth and creamy texture.
Whole milk: Adds a lighter creaminess and balances the richness of the heavy cream.
Granulated sugar: Sweetens the ice cream and helps create a smooth texture.
Vanilla bean: A whole vanilla bean is split and scraped to add real vanilla seeds and flavor, making the ice cream taste fresh and natural.
Vanilla extract: Boosts the vanilla flavor and adds depth to the ice cream.
Egg yolks: These help thicken the ice cream base and give it a rich, custardy texture.
Technique Tip for Perfecting This Ice Cream
One of the trickiest parts of making this Vanilla Bean Ice Cream Recipe is mixing the hot cream with the egg yolks without scrambling the eggs. This step is called tempering, and it helps you get a smooth, creamy ice cream base. Here’s how to do it:
- Start by whisking your egg yolks in a bowl until they’re smooth and a little lighter in color.
- Slowly pour a small amount of the hot cream mixture into the yolks while whisking constantly. This warms up the eggs gently.
- Keep adding the cream bit by bit, always whisking, until you’ve mixed in about half or more of the cream.
- Now, pour the egg and cream mixture back into the saucepan with the rest of the cream.
Why does this matter? If you pour the hot cream straight into the eggs too fast, the eggs will cook too quickly and turn into little scrambled bits. Tempering helps the eggs heat up slowly, so they blend perfectly and make your ice cream super smooth and rich.
When I first tried this, I was in a hurry and dumped the cream in all at once. My custard looked lumpy, and I had to strain it a lot to fix it. After that, I learned to take my time and whisk steadily. It really makes a difference! Also, don’t stop whisking — it keeps the eggs moving so they don’t cook unevenly.
Once you’ve tempered the eggs, cooking the mixture slowly on low heat while stirring will thicken it just right. This step is what gives your ice cream that creamy texture everyone loves. So, be patient and gentle here, and your homemade vanilla ice cream will turn out amazing!
Suggested Side Dishes
Alternative Ingredients
Heavy cream - Substitute with coconut cream: Coconut cream provides a rich and creamy texture similar to heavy cream and adds a subtle coconut flavor.
Whole milk - Substitute with almond milk: Almond milk is a lighter alternative that maintains the creamy consistency while being dairy-free.
Granulated sugar - Substitute with honey: Honey adds a natural sweetness and a slightly floral flavor, though it may slightly alter the texture.
Vanilla bean - Substitute with vanilla bean paste: Vanilla bean paste offers a concentrated vanilla flavor and contains the seeds for visual appeal.
Vanilla extract - Substitute with almond extract: Almond extract provides a nutty and aromatic flavor, offering a different but complementary taste profile.
Egg yolks - Substitute with cornstarch: Cornstarch can thicken the mixture without eggs, suitable for a vegan version, though it may lack the richness of yolks.
Alternative Recipes Similar to This Ice Cream
How to Store or Freeze This Ice Cream
Ensure your vanilla bean ice cream is completely frozen before storing. This helps maintain its creamy texture and prevents ice crystals from forming.
Use an airtight container to store your ice cream. This will keep it fresh and prevent it from absorbing any unwanted odors from the freezer. Opt for a shallow, flat container to allow for even freezing.
Place a piece of plastic wrap directly on the surface of the ice cream before sealing the container. This extra layer acts as a barrier against air exposure, preserving the ice cream's smoothness.
Label the container with the date of preparation. Homemade ice cream is best enjoyed within 1 to 2 weeks for optimal flavor and texture.
Store the ice cream in the coldest part of your freezer, typically towards the back. Avoid placing it in the freezer door, where temperature fluctuations are more common.
When ready to serve, let the ice cream sit at room temperature for a few minutes to soften slightly. This will make scooping easier and enhance the creamy mouthfeel.
If you notice any ice crystals forming on the surface, gently scrape them off before serving. This will help maintain the ice cream's delightful texture.
For long-term storage, consider dividing the ice cream into smaller portions. This way, you can enjoy a scoop or two without exposing the entire batch to air each time you open the container.
How to Reheat Leftovers
Gently warm the vanilla bean ice cream in a double boiler over low heat, stirring occasionally, until it reaches a soft, creamy consistency. This method helps maintain the delicate flavor and texture without melting it completely.
Place the ice cream in a microwave-safe bowl and use the defrost setting or low power for short intervals, about 10-15 seconds at a time. Stir between intervals to ensure even warming and prevent it from turning into a puddle.
If you prefer a more artisanal approach, scoop the ice cream into a chilled metal bowl and let it sit at room temperature for a few minutes. Stir gently with a spatula until it softens to your desired consistency, allowing the flavors to bloom as it warms.
For a quick fix, use a warm spoon to scoop the ice cream. Run the spoon under hot water, dry it, and then scoop. The heat from the spoon will slightly soften the ice cream as you serve it, making it easier to enjoy without fully melting it.
If you have a sous vide machine, seal the ice cream in a vacuum bag and immerse it in a water bath set to a low temperature, around 32°F (0°C). This method gently warms the ice cream while preserving its creamy texture.
Essential Tools for Making This Ice Cream
Saucepan: Used to heat the cream, milk, and sugar mixture and later to thicken the custard base.
Mixing bowl: Utilized for whisking the egg yolks and combining them with the hot cream mixture.
Whisk: Essential for whisking the egg yolks and ensuring a smooth blend with the cream mixture.
Spoon: Used to check the thickness of the custard by seeing if it coats the back of the spoon.
Strainer: Helps in removing any solid bits or the vanilla bean from the custard to ensure a smooth texture.
Ice cream maker: Churns the custard mixture into ice cream, incorporating air and creating a creamy texture.
Container: Used to store the churned ice cream in the freezer until it becomes firm.
Time-Saving Tips for Making This Ice Cream
Use pre-split vanilla beans: Save time by purchasing vanilla beans that are already split and scraped, reducing prep time.
Chill quickly: Speed up the cooling process by placing the custard mixture in an ice bath before refrigerating.
Batch preparation: Double the recipe and store extra ice cream base in the freezer for future use.
Efficient churning: Pre-freeze the ice cream maker bowl to ensure quicker churning and better texture.
Simplify straining: Use a fine-mesh sieve directly over the storage container to save on cleanup time.
Vanilla Bean Ice Cream Recipe
Ingredients
Main Ingredients
- 2 cups Heavy Cream
- 1 cup Whole Milk
- ¾ cup Granulated Sugar
- 1 whole Vanilla Bean Split and scraped
- 1 teaspoon Vanilla Extract
- 4 large Egg Yolks
Instructions
- In a saucepan, combine the heavy cream, whole milk, and sugar. Heat over medium heat until the sugar is dissolved.
- Scrape the seeds from the vanilla bean and add both the seeds and the bean to the saucepan. Heat until just below boiling, then remove from heat.
- In a mixing bowl, whisk the egg yolks. Slowly pour the hot cream mixture into the yolks, whisking constantly.
- Return the mixture to the saucepan and cook over low heat, stirring constantly, until it thickens and coats the back of a spoon.
- Remove from heat and stir in the vanilla extract. Strain the mixture into a bowl and let it cool to room temperature.
- Chill the mixture in the refrigerator for at least 4 hours or overnight.
- Churn the mixture in an ice cream maker according to the manufacturer's instructions.
- Transfer the ice cream to a container and freeze until firm, about 2 hours.
Nutritional Value
Keywords
Suggested Appetizers and Main Courses
More Amazing Recipes to Try 🙂
- Roasted Red Potato Salad Recipe45 Minutes
- Italian Vegetable Soup Recipe45 Minutes
- Porridge Recipe15 Minutes
- Tandoori Masala Spice Mix Recipe10 Minutes
- Buttermilk Biscuits Recipe30 Minutes
- Banana Split Cake Recipe20 Minutes
- Beef Ribs Recipe3 Hours 15 Minutes
- Egg in a Hole Recipe10 Minutes
Leave a Reply